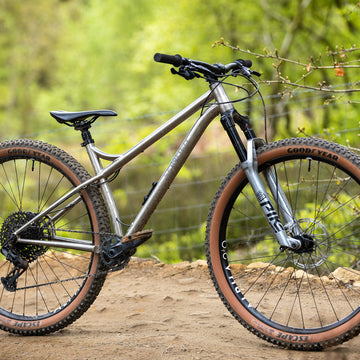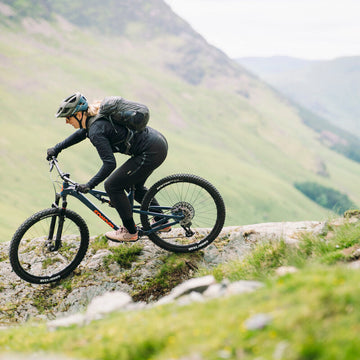
Fit your bike right at home for all-day riding comfort. With a few tweaks and adjustments, you'll be set for miles of exploration and memories.
A good bike fit is essential for long days in the saddle and, as we all know, a comfortable rider is a happy rider that can go further, longer and most probably faster.
In this article we highlight the 6 steps to fit your bike at home and offer practical solutions for common pain points. The steps work for road, gravel and mountain bike. Remember the fit is what works for you, for what you're most happy riding.
- How to set your saddle height
- How to adjust cycling cleats
- Saddle fore/aft position: getting it right
- Setting suspension for all-day riding
- How to choose the right stem length
- Handlebar position: the fastest fix for upper-body discomfort
Practical solutions for common bike pain points
- Numb hands and tingling wrists: how to fix it
- How to fix lower back pain when cycling
- How to fix knee pain when cycling
- Saddle comfort: why more padding is rarely the answer
- How to fix shoulder pain when cycling
- Flared knees when pedalling: diagnosing and fixing the cause
How to set your saddle height
Adjust the seat post height so your leg has a slight bend at the lowest 6 o'clock position.
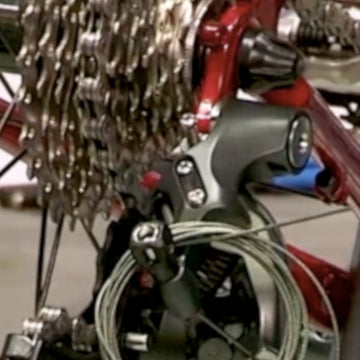
How to adjust cycling cleats
Good cycling shoes are the singular most important aspect of riding comfort. If you've got shoes with cleats the two adjustments are the fore/aft position and the angular position.
Fore/aft
Adjust the cleats on your shoe backwards and forwards so the balls of your feet rest over the centre of the axle of the pedal. It's easy to check by looking down at your feet when you are in the 3 o'clock position.
Angular
Change the angle of the cleat on your shoe so they are parallel to an imaginary line drawn from tip of the toe to the base of the heel. If you feel any stress or strain, change the angle slightly to eliminate discomfort by trial and error.
Saddle fore/aft position: getting it right
Adjust your saddle forwards/backwards using a plumb line so your kneecap is above the centre of the pedal in the 3 o'clock position.
Saddles can be horizontal with a slight tilt up or down. Start in a horizontal position and go on a few easy rides to find out what tilt is most comfortable for you.
Setting suspension for all-day riding
Adjust your suspension with a shock pump. Follow the pressure guide on the back of your fork (or the instructions that came with your bike) and set your rear suspension to use 25% of the travel when sitting on the bike fully loaded.
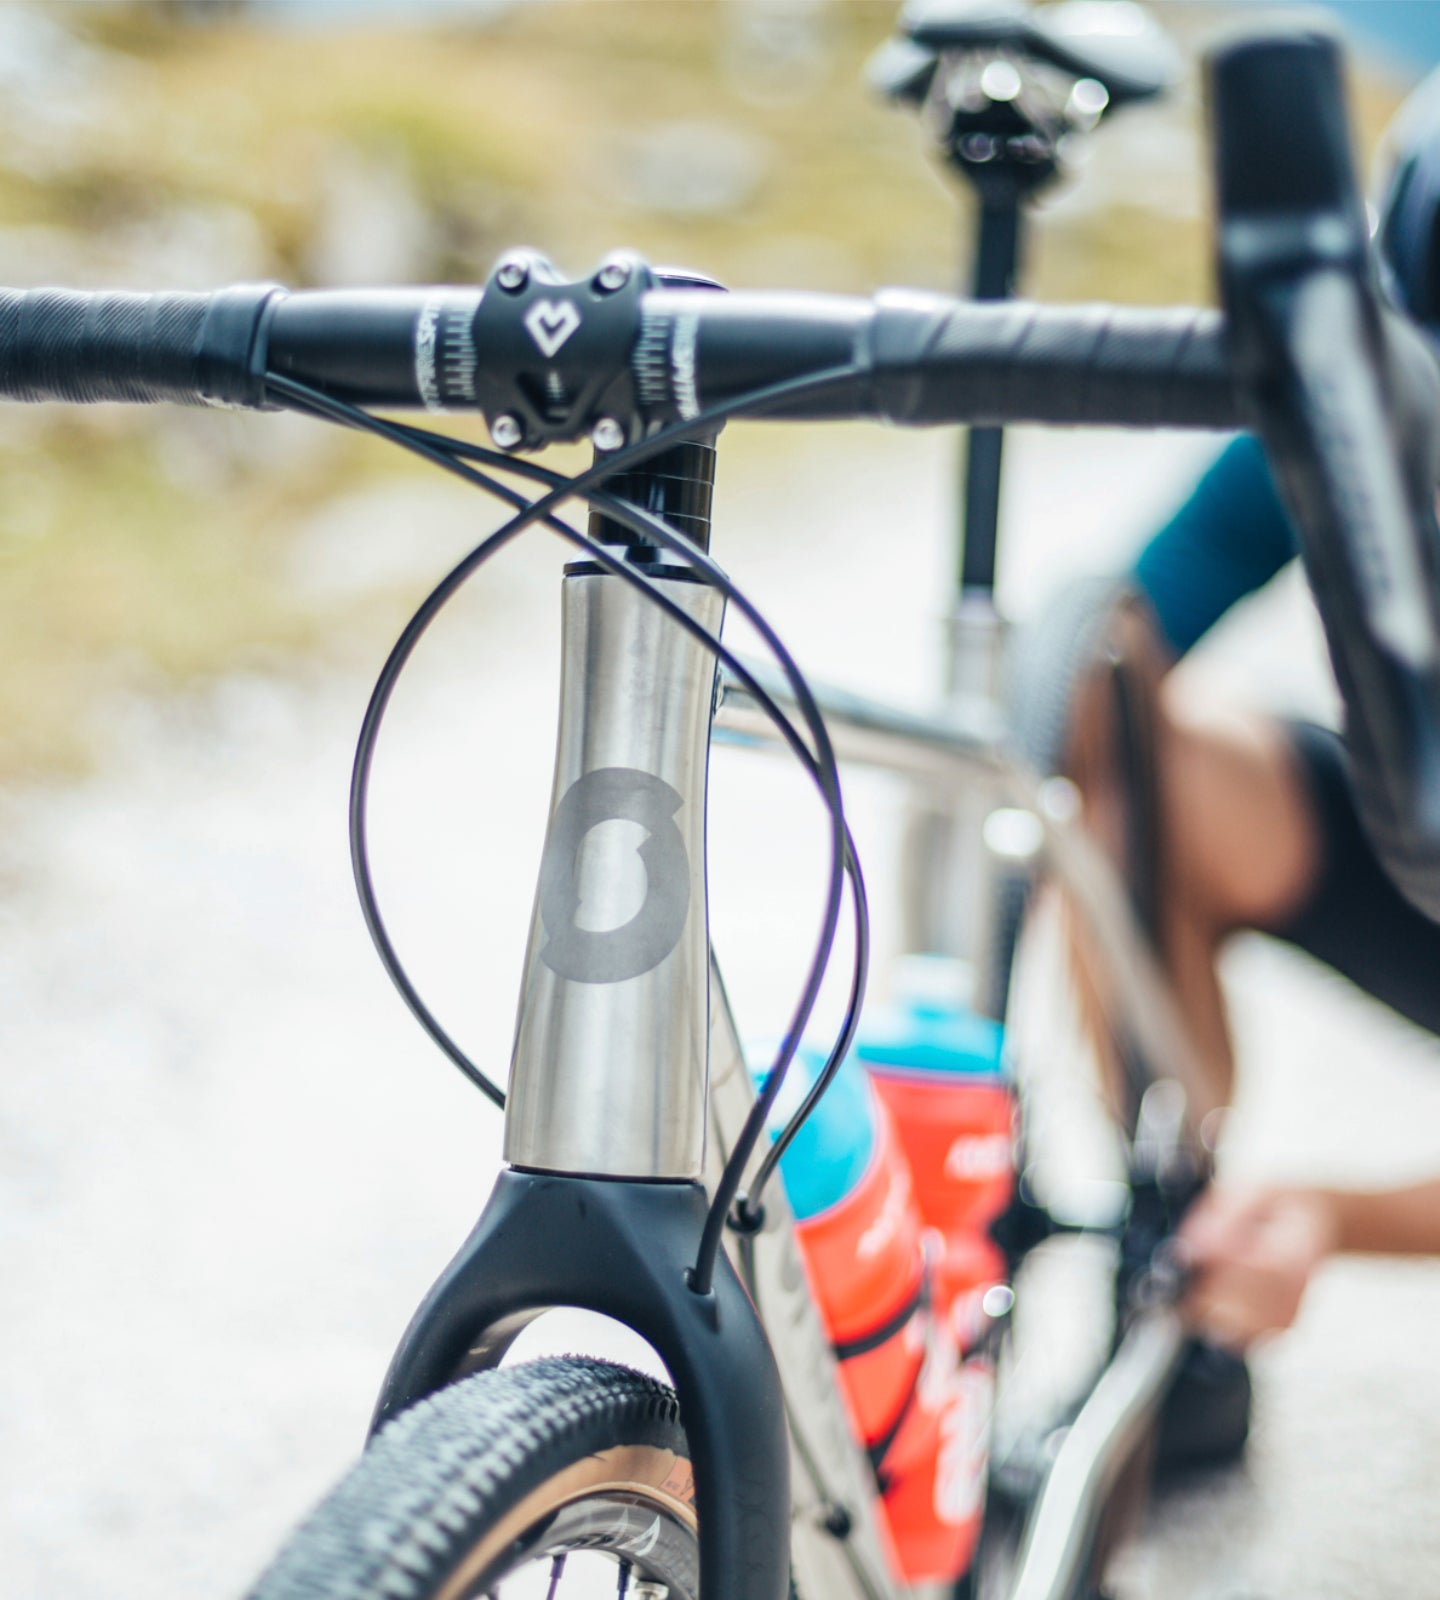
How to choose the right stem length
Your bike can be adjusted to your reach by adjusting the stem length. Bars that are too far or too close can lead to neck, shoulder, back and hand pain.
Change your stem so your handlebars are in the sightline of your front axle (when riding on the hoods for drop bars). Your stem could be too short if the axle is forward of the handlebar and too long if the axle is visible behind your bar.
Handlebar position: the fastest fix for upper-body discomfort
If you're finding a bike uncomfortable and may be experiencing lower back pain then your handlebar height may need adjusting. Handlebar height is achieved by adjusting the spacers above and below the stem. When looking at the bike on level ground the handlebar can be up to 10cm lower than the saddle. A good recreational rider may have their bar up to 5cm lower than the saddle. A flexible racer may be 10cm or more below the saddle.
Drop handlebars come in widths from 36cm to 48cm. A good width of bar is one that matches your shoulder width. Measure from the bony protrusion on the top of your shoulder blades from side to side. Narrower bars increase your aerodynamic profile and so many riders choose narrow bars.
Flat bar riders appreciate wider bars for extra control when riding technical ground, but not so wide that trees and other obstacles become an issue as trails cut through the woods.
Drop bars with a flare provide the best of both worlds: all-day comfort for riding on the hoods and extra width when riding technical trails in the drops.
Numb hands and tingling wrists: how to fix it
One common issue cyclists face is tingling hands and numb wrists, often stemming from improper saddle positioning. To overcome this, focus on adjusting the saddle angle. Tilt it downward to shift your pelvis backwards, aligning it with the bike's geometry. This simple tweak helps distribute your weight evenly and alleviates pressure on your hands and wrists during long rides.
How to fix lower back pain when cycling
Lower back pain can put a damper on any ride. Achieving the correct reach and saddle angle is essential. Experiment with your bike's reach by adjusting the stem length or swapping it for a different size. Fine-tune the saddle angle to support your lower back properly. A slight tilt forward can work wonders, ensuring a comfortable riding position without straining your back muscles.
How to fix knee pain when cycling
Knee pain is usually caused by improper cleat positioning, saddle height, or fore/aft adjustments. Ensure your cleats are positioned correctly to align with the natural angle of your feet. Experiment with saddle height. Too high or too low can strain your knees. Consider fore/aft adjustments to find the position that minimises stress on your knees during each pedal stroke.
Saddle comfort: why more padding is rarely the answer
Saddle discomfort is common among cyclists, especially during the initial break-in period. Wearing in your saddle gradually is essential, so don't rush it. Invest in quality padding that suits your anatomy.
How to fix shoulder pain when cycling
Shoulder pain is often caused by handlebars that are too wide or too narrow. Find the right width by adjusting your handlebars to align with your shoulder width, allowing for a natural, relaxed riding posture. This simple adjustment can make a significant difference in your overall comfort on long rides.
Flared knees when pedalling: diagnosing and fixing the cause
Flared legs can indicate that your saddle is too low, causing unnecessary strain on your knees and hips. Experiment with saddle height to achieve optimal leg extension during each pedal stroke. A proper saddle height ensures efficient power transfer and reduces the risk of discomfort and fatigue in your legs.
While it can feel like all this tweaking takes a lot of time, a well-fitted bike enhances your riding experience and contributes to your overall well-being as you go nice places and do good things. So we say it's time very well spent.
Further reading
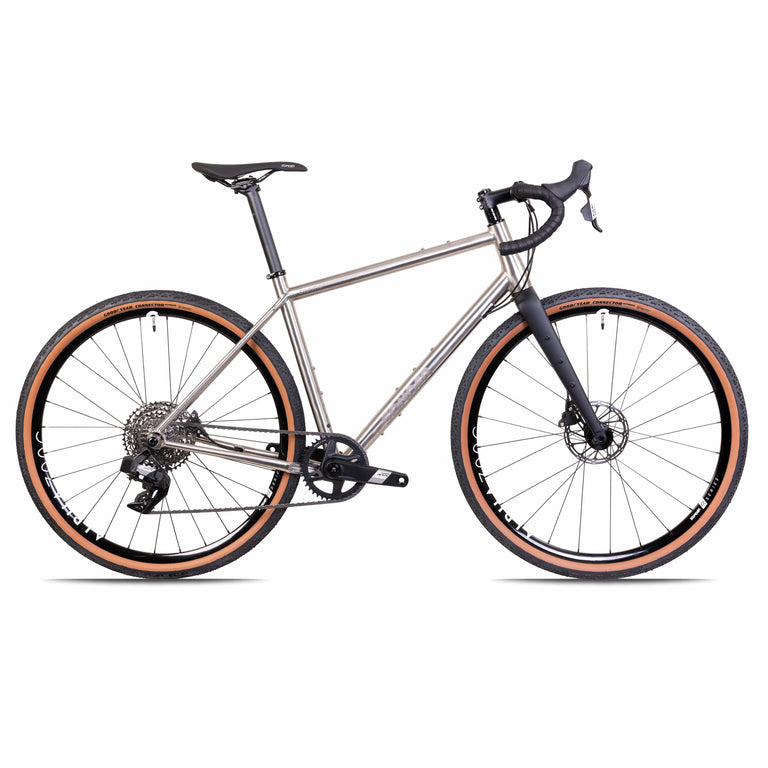
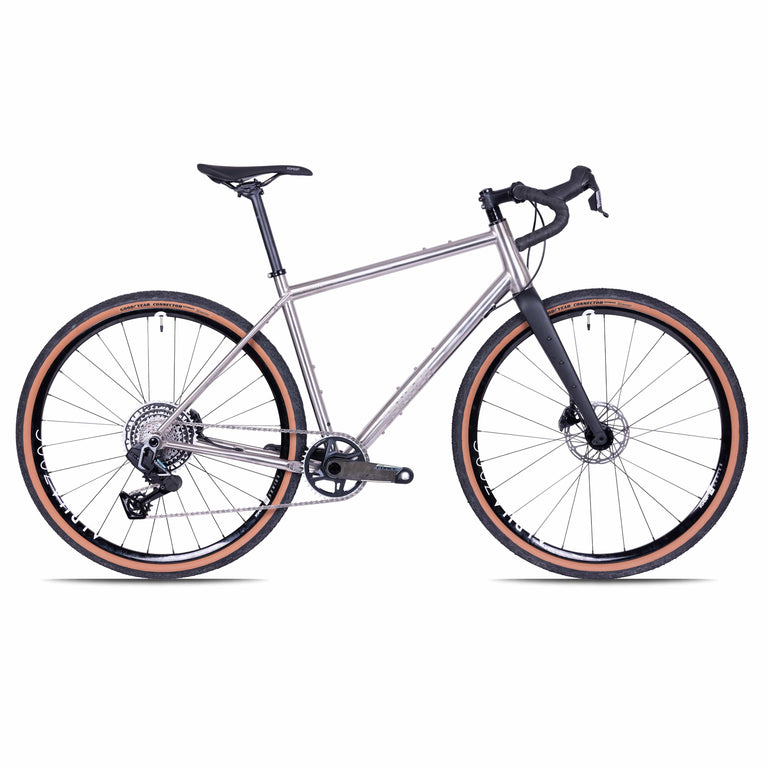
Sonder Bikes


Camino Al Apex1 AXS XPLR
- Sram Apex AXS XPLR 12-speed groupset
- Sonder Nova I25 Gravel UK Made wheelset
£1,849.00
-
Sale
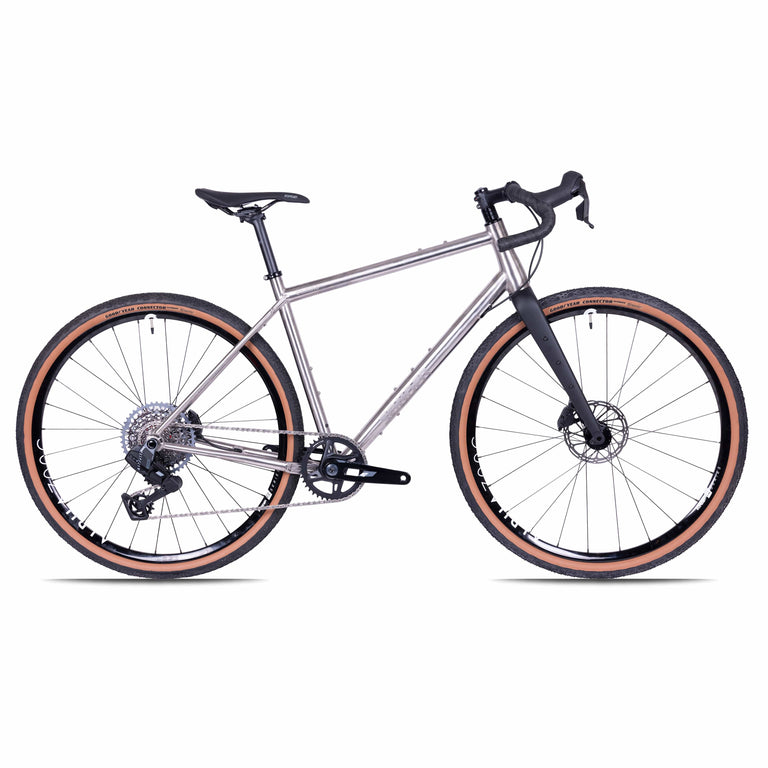
Camino Ti Apex1 AXS XPLR
- Sram Apex AXS XPLR 12-speed groupset
- Sonder Alpha I25 Gravel UK Made wheelset
£2,499.00
£2,949.00
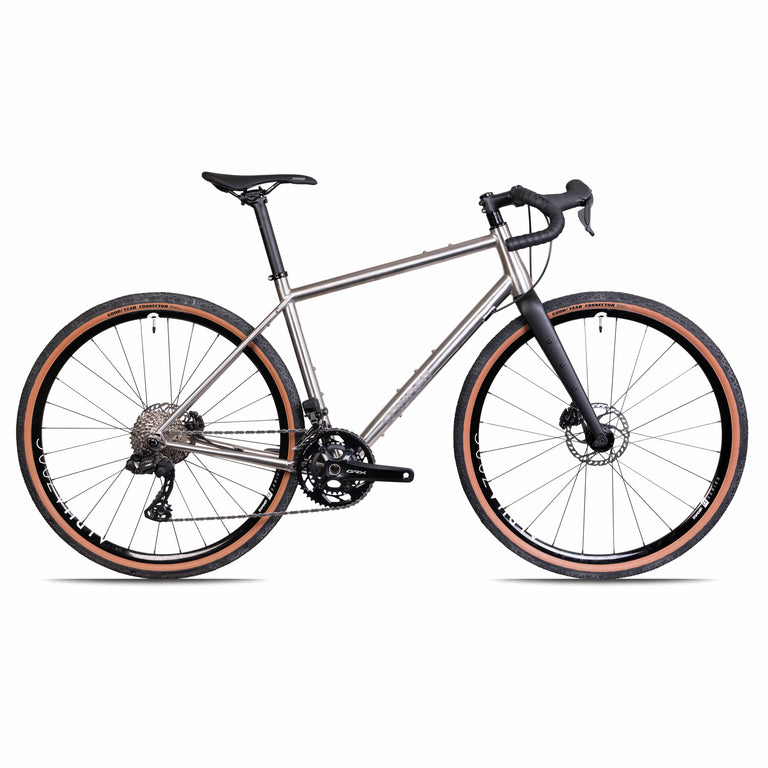
Camino Al Rival1 AXS XPLR
- SRAM Rival AXS XPLR 13-speed groupset
- Sonder Alpha I25 Gravel UK Made wheelset
£2,199.00
-
Sale
Camino Ti Force1 AXS XPLR
- SRAM Force XPLR 13-speed groupset
- Sonder Alpha I25 Gravel UK Made wheelset
£3,099.00
£3,749.00
-
Sale
Camino TI Rival1 AXS XPLR
- SRAM Rival AXS XPLR 13-speed groupset
- Sonder Alpha I25 Gravel UK Made wheelset
£2,799.00
£3,349.00
-
Flat Bar Best Seller


Camino Al Apex1 Flat Bar
- SRAM Apex 12-speed groupset
- Sonder Nova I25 Gravel UK Made wheelset
£1,199.00


-
Highest customer rating

Camino Al 105 di2
- Shimano 105 R7170 Di2 12-speed groupset
- Sonder Alpha I25 Gravel UK Made wheelset
£2,299.00
-
Sale

Camino Ti 105
- Shimano 105 R7120 12-speed groupset
- Sonder Alpha I25 Gravel UK Made wheelset
£2,294.00
£2,699.00
-
Sale
Camino Ti GRX2
- Shimano GRX 610 12-speed groupset
- Sonder Alpha I25 Gravel UK Made wheelset
£2,399.00
£2,799.00
Your next reads