

 Sonder Bikes

Most mechanicals start as something a quick check would have caught. What to check before each ride, the repairs worth learning and the kit to carry.
Bike maintenance is mostly small, regular jobs. Check the tyres, brakes and bolts before you ride, keep the chain clean and lubed, and replace worn parts before they fail. Learn a handful of trailside repairs and carry the kit for them, and most mechanicals become a roadside stop rather than a long walk home.
Each repair below links to its own step-by-step guide.

In this guide
- Checks to do before every ride
- Cleaning and lubing your chain and drivetrain
- Tyre pressures, punctures and tubeless sealant
- Keeping your gears and brakes adjusted
- Setting up and fitting your bike at home
- Trailside repairs worth knowing
- A repair kit for everyday rides
- A repair kit for bikepacking and cycle touring
- When to get your bike serviced
Checks to do before every ride
A two-minute check before you ride catches most problems while they're still easy to fix. Work from the front of the bike to the back:
- Wheels. Check the quick-release levers or thru-axles are tight, then spin each wheel to see it runs straight and doesn't rub.
- Tyres. Pump them to the pressure you ride at and look for cuts, bulges or a worn-through tread.
- Brakes. Squeeze both levers. They should bite firmly before the lever reaches the bar. A spongy lever or a squeal is a sign to look closer.
- Headset. Hold the front brake on and rock the bike back and forth. A knock means the headset is loose.
- Bars, stem and saddle. Make sure nothing twists when you lean on it.
- Chain and gears. Run through the gears. The chain should shift cleanly and run quietly.
On a carbon frame or carbon parts, tighten bolts with a torque wrench to the figure printed on the part. Too tight cracks carbon, and too loose lets things slip.
Cleaning and lubing your chain and drivetrain
A clean, lubed chain shifts better, runs quieter and lasts longer. Grit mixed with old oil turns into a grinding paste that wears the chain, cassette and chainrings together. If you leave a worn chain on, it takes those parts with it, and they cost more to replace.
Wash the bike after muddy or salty rides. Kingud Bike Cleaner is water-based and safe on every surface, carbon included. Degrease the chain, cassette and derailleurs with Kingud Citrus Degreaser, rinse and let it dry. Then put one drop of lube on each roller and wipe off what's left on the outside. Lube on the outside of the chain only collects dirt.
Choose your lube by the weather. Kingud Lube comes in a Dry formula for dry and normal conditions, and a Wet one for changeable, all-weather riding. Wet lube lasts longer in the rain but picks up more grit.
Keep lube and degreaser well away from disc rotors and brake pads. Contaminated pads squeal and lose their bite, and often can't be saved. Kingud Bike Cleaner leaves no residue, so you can use it to clean rotors and pads too.
Check the chain for wear every few months with a chain checker. A stretched chain is the cheapest part of the drivetrain to replace, so swap it before it wears the rest. Our bike maintenance essentials cover the cleaners, degreasers and lubes.
Tyre pressures, punctures and tubeless sealant
Tyre pressure decides how much grip you have and how hard the bike is to pedal. Too soft and you risk pinch flats and a slow, heavy feel. Too hard and the bike skips over the ground with less grip. Our real-life tyre pressure guide gives starting points for road, gravel and mountain bikes, and how to adjust for weight, wet ground and a loaded bike.
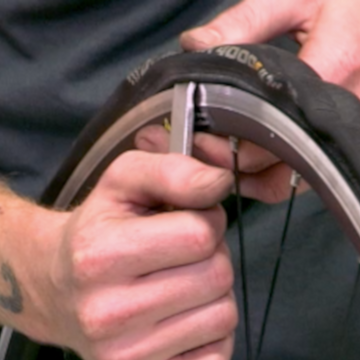
Fixing a puncture is the one repair every rider should know. The steps are in how to replace an inner tube. A spare tube is faster at the roadside than a patch, so carry one and fix the punctured tube at home.
Tubeless tyres seal most small punctures on their own, but the sealant dries out over time. Peaty's rates its Holeshot Tubeless Sealant to seal holes up to 6mm and to last up to six months in the tyre in temperate weather. Check it more often in heat. Shake the wheel and listen. If you can't hear it sloshing, top it up. A tubeless setup still needs a spare tube for the puncture sealant can't close.
Keeping your gears and brakes adjusted
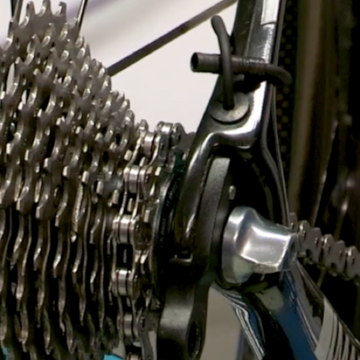
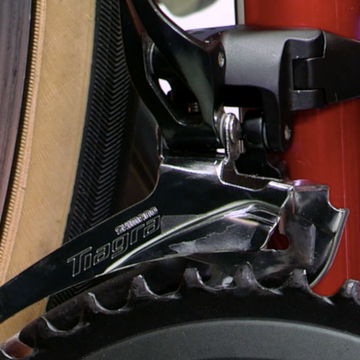
Gears drift out of adjustment as new cables stretch and as the bike takes knocks. If the chain hesitates, clatters or jumps between gears, it usually needs a small turn of the barrel adjuster, not a new part. Our step-by-step guides show how to adjust a rear derailleur and adjust a front derailleur, including setting the limit screws.
If the gears won't index however you adjust them, look at the rear derailleur hanger. It's the small metal tab the derailleur bolts to, and it's made to bend in a crash to protect the frame. A bent hanger throws the shifting out, so carry a spare on longer rides.
Check your brake pads every few weeks, and more often in wet or gritty conditions. Replace them before the pad material wears down to the minimum thickness the pad maker gives. Worn to the metal backing, they score the rotor. Hydraulic brakes that feel spongy usually need bleeding, which is a workshop job for most riders (see the servicing section).
Setting up and fitting your bike at home
A bike that's set up well rides better and puts less strain on you and the parts. If your new bike came in a box, how to assemble your new Sonder bike at home goes through fitting the bars, front wheel and pedals, then the first checks.
Saddle height, reach and bar position decide whether you're comfortable after five hours. How to fit your bike at home covers saddle height and position, cleats, stem length and the fixes for numb hands and a sore lower back. For gravel and road bikes, how to set up a drop-bar bike covers the extra steps for drop bars.
For small adjustments to the bars, stem, derailleurs and brakes, the Sonder Flexi Ratchet Tool has a flexible ¼" ratchet head, a bit set and an extender for recessed bolts. It's small enough to take on a ride while you dial in a new position.

Trailside repairs worth knowing
Most mechanicals on a ride are one of a few jobs, and each takes a multi-tool and a few spares. These are the repairs worth practising at home before you need them on a cold hillside:
- A puncture. Swap the tube or plug the tubeless tyre: how to replace an inner tube.
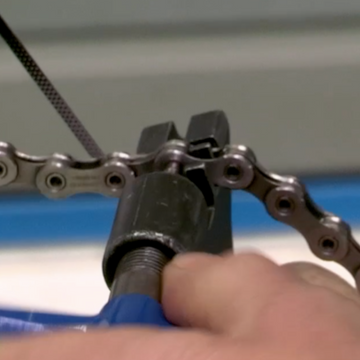
- A snapped chain. Take out the broken links with the chain tool and rejoin it with a quick link: how to deal with a snapped chain.
- A broken rear derailleur. Shorten the chain and turn the bike into a single speed to get home: how to deal with a broken rear derailleur.
- A snapped gear cable. Use the limit screws to hold the derailleur in a gear you can ride: how to deal with a snapped rear gear cable.
- A torn tyre. Put a boot inside the tyre to cover the cut so the tube doesn't push through: how to deal with a torn bike tyre.
- A buckled wheel. Tension the spokes with a spoke key until it stops rubbing: how to true a bike wheel.
Each guide lists the tools for the job. They're written for the most common parts, so check the maker's manual if yours differ.
A repair kit for everyday rides
For a day ride, carry enough to fix a puncture and tighten anything that works loose. It fits in a saddle bag or a jersey pocket:
- A multi-tool. The Sonder Trailside 8 is enough for small tweaks on short rides. The Trailside 16 has 16 tools, including one to mend a chain, for 180 grams. The Trailside 20 adds a chain link extractor and a steel-cored tyre lever for tight tyre beads.
- Tyre levers. Sonder Persuaders are a set of three that work together to lift a tight tyre off the rim.
- A pump. Aeropump is a USB-C rechargeable pump that inflates to 120 PSI and shows the pressure as it goes. It works with Presta, Schrader and Dunlop valves. Charge it before each ride, and on a long trip plan where you'll recharge it.
- A spare tube. Get one in your wheel and tyre size from our tyres and tubes. A Tubolito tube is more than 100g lighter than a standard butyl tube in the 29" size, and more resistant to thorns and glass.
- Patches. Park Tool's Glueless Super Patch Kit has six self-adhesive patches with no glue to wait for, for the second puncture of the day.
- A quick link. Get one that matches your chain's speed, such as a Fibrax Quick Link, so you can rejoin a snapped chain without a pin.
The full range is in bike tools and pumps.
A repair kit for bikepacking and cycle touring
Far from a bike shop, you carry spares as well as tools. What you take depends on the trip. A long weekend in the Peak District needs less than a month in the mountains abroad. Build on the everyday kit above.
Extra tools
- A spoke key
- Pliers or cable cutters
- A shock pump, if you have air suspension
- An adjustable spanner, if your racks or panniers use nuts
Spares
- A second inner tube
- A rear derailleur hanger for your frame (see Sonder spare mech hangers)
- Brake pads to fit your brakes
- A gear inner cable
- Two spare spokes in the right lengths
- Extra chain links and quick links
Repairs
- A tyre boot. Park Tool tyre boots come in a pack of three and stick inside the tyre over the tear. They're made for tyres with a tube, so on a tubeless tyre, boot the tear and fit a tube.
- A tubeless plug kit and a small bottle of sealant, if you run tubeless
- A small bottle of chain lube
- Zip ties and duct tape
Before a long trip, fit fresh tubeless sealant and replace a worn chain, cables or pads. Check every bolt with the bags fitted. A loaded bike puts more strain on everything, and a loose bolt on the rack or bars is easier to fix at home than on the trail. Bikepacking: the complete guide covers the bags, setup and kit for a trip.

When to get your bike serviced
On top of your own checks, we recommend a full service every 12 months or 6,000 miles, whichever comes first. A mechanic will check the jobs that need special tools or a workshop stand.
- Bleeding hydraulic brakes
- Servicing hubs and freehubs
- Checking and replacing bearings in the bottom bracket and headset
- Servicing the fork and shock, at the intervals the suspension maker sets
Book a service before a big trip, not the week before. It leaves time to ride the bike after any new parts go on. Any Sonder bike can be serviced at any of our stores.
More bike maintenance guides
- Real-life bike tyre pressures for road, gravel and mountain bikes
- How to replace an inner tube
- How to deal with a snapped chain whilst out riding
- How to deal with a broken rear derailleur whilst out riding
- How to deal with a snapped rear gear cable whilst out riding
- How to deal with a torn bike tyre whilst out riding
- How to true a bike wheel
- How to adjust a rear derailleur
- How to adjust a front derailleur
- How to fit your bike at home for all-day riding comfort
- How to set up a drop-bar bike
- How to assemble your new Sonder bike at home
- Bikepacking: the complete guide
Sonder Bikes
-
Black Friday


Camino Al Apex1 AXS XPLR
- Sram Apex AXS XPLR 12-speed groupset
- Sonder Nova I25 Gravel UK Made wheelset
£1,479.00
£1,849.00
-
Black Friday
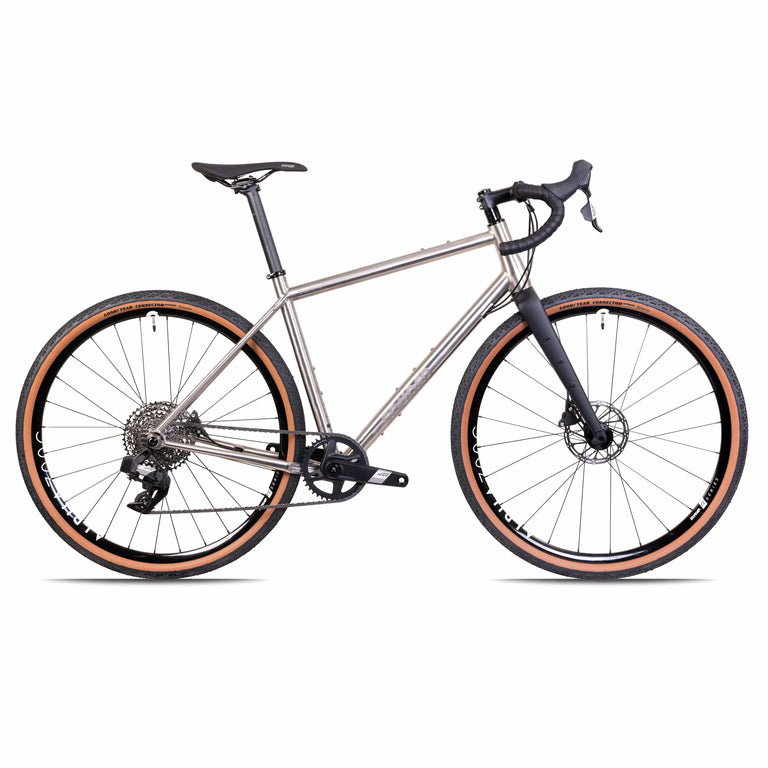
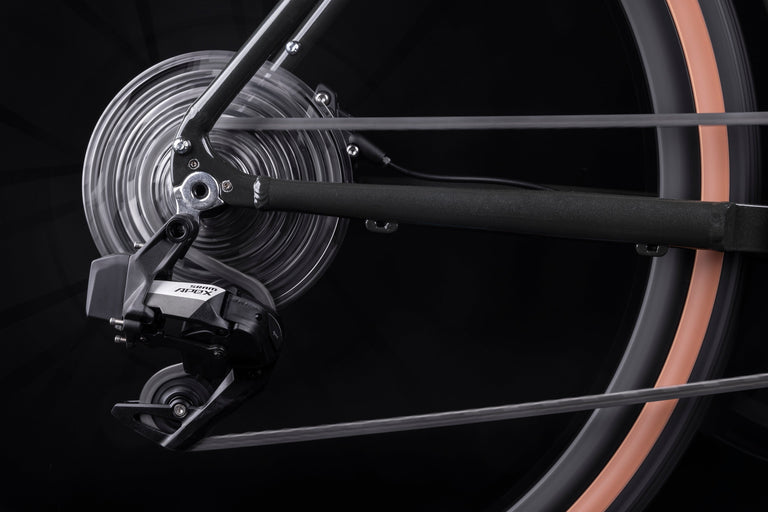
Camino Ti Apex1 AXS XPLR
- Sram Apex AXS XPLR 12-speed groupset
- Sonder Alpha I25 Gravel UK Made wheelset
£2,359.00
£2,949.00
-
Black Friday

Camino Al Rival1 AXS XPLR
- SRAM Rival AXS XPLR 13-speed groupset
- Sonder Alpha I25 Gravel UK Made wheelset
£1,759.00
£2,199.00
-
Black Friday
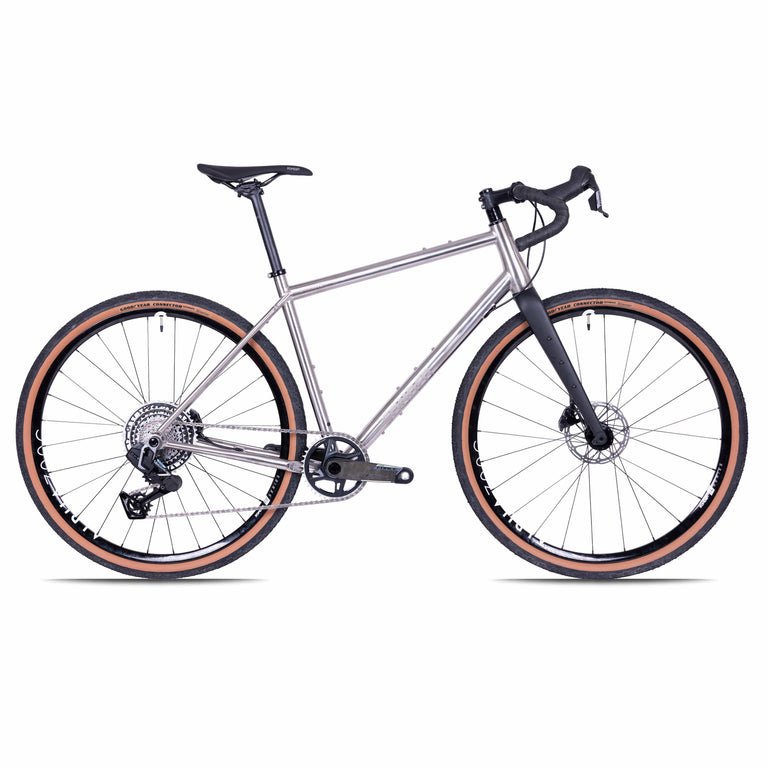
Camino Ti Force1 AXS XPLR
- SRAM Force XPLR 13-speed groupset
- Sonder Alpha I25 Gravel UK Made wheelset
£2,999.00
£3,749.00
-
Black Friday
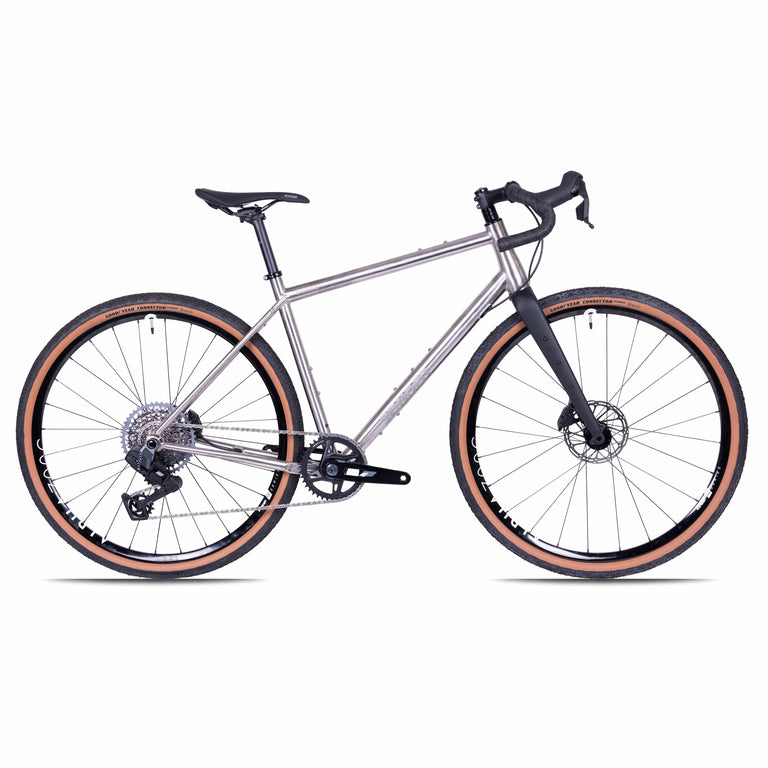
Camino TI Rival1 AXS XPLR
- SRAM Rival AXS XPLR 13-speed groupset
- Sonder Alpha I25 Gravel UK Made wheelset
£2,679.00
£3,349.00
-
Flat Bar Best Seller


Camino Al Apex1 Flat Bar
- SRAM Apex 12-speed groupset
- Sonder Nova I25 Gravel UK Made wheelset
£959.00
£1,199.00
-
Highest customer rating
Camino Al GRX1
- Shimano GRX 610 12-speed groupset
- Sonder Nova I25 Gravel UK Made wheelset
£1,349.00
£1,599.00
-
Black Friday
Camino Al GRX2
- Shimano GRX 610 12-speed groupset
- Sonder Nova I25 Gravel UK Made wheelset
£1,319.00
£1,649.00
-
Black Friday
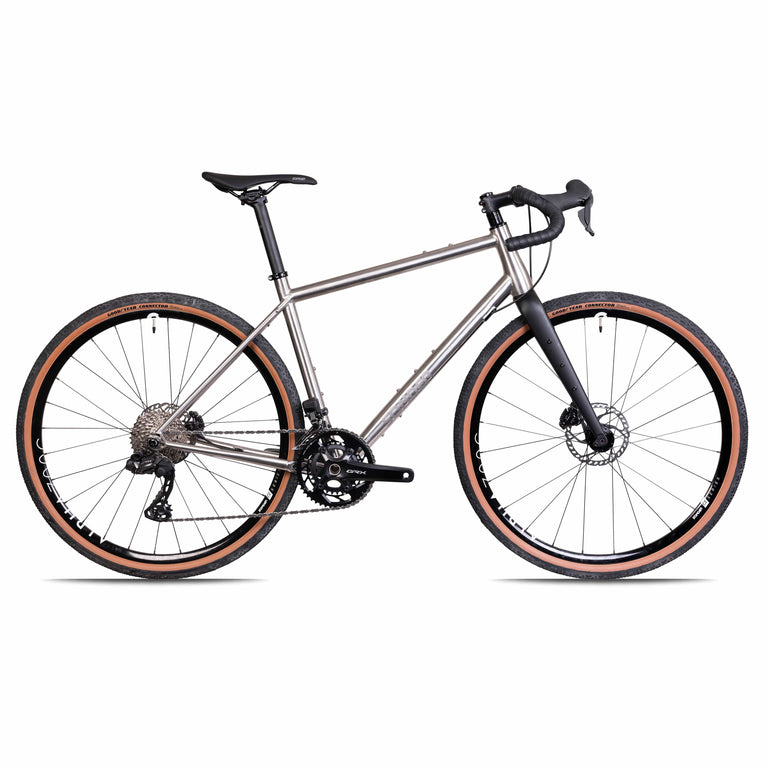
Camino Ti GRX2
- Shimano GRX 610 12-speed groupset
- Sonder Alpha I25 Gravel UK Made wheelset
£2,239.00
£2,799.00
-
Rider Favourite


Colibri Al 105
- Shimano 105 R7120 12-speed groupset
- Sonder Nova I19 Aero UK Made wheelset
£1,239.00
£1,549.00
-
Black Friday


Colibri Al 105 Di2
- Shimano 105 R7170 Di2 12-speed groupset
- Sonder Alpha 700c Race UK Made wheelset
£1,799.00
£2,249.00
-
Best Seller

Colibri Ti 105
- Shimano 105 R7120 12-speed groupset
- Sonder Alpha 700c Race UK Made wheelset
£2,119.00
£2,649.00
Your next reads