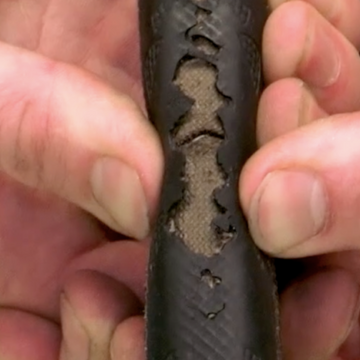
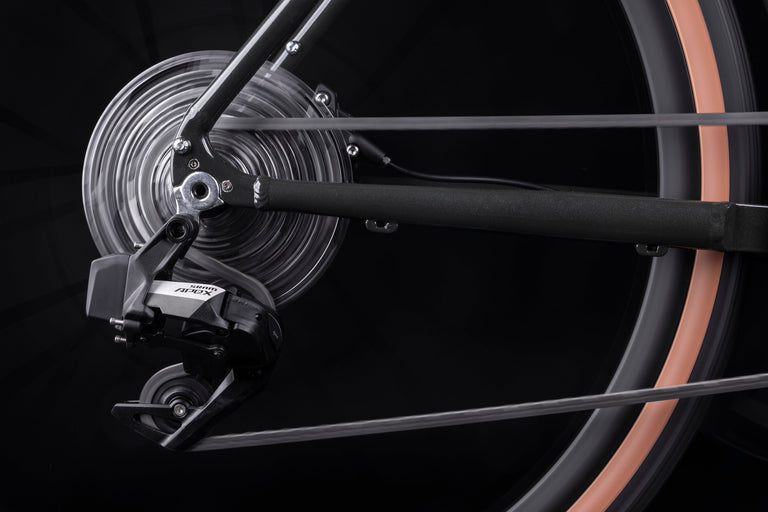
Fixing a snapped chain whilst out riding is a great skill to learn. Find out how in this easy guide and video.
There's no getting away from it: having your ride halted by a time-consuming mechanical is a extremely frustrating. But the sense of achievement from fixing problems yourself and getting back in the saddle is huge - and it always makes for a memorable ride. Find more fixes and guides on the bike hub.
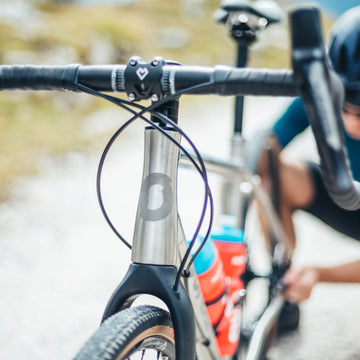
Knowing how to fix a broken chain yourself is an essential skill. As well as saving your ride, you could be in a place where it's very difficult to call for assistance. Our friends at Bicycle Maintenance Guide put together some tutorial videos and a 10-step guide below to show us how it's done. You can find tips for other mechanicals in our Spotlight on essential bike maintenance and the repair skills you need for bikepacking and cycle touring.
Tools Required
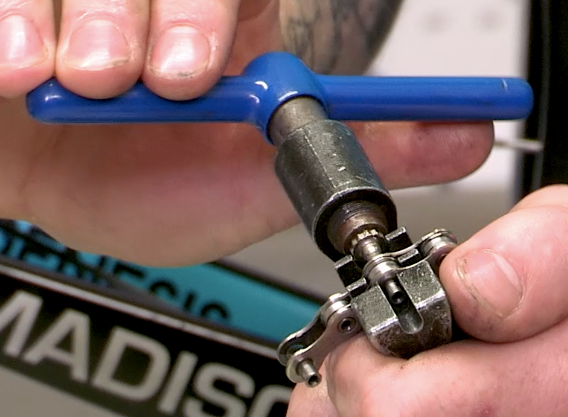
- Chain link extractor (or multi-tool with chain tool attachment)
10 Step Guide
Step 1
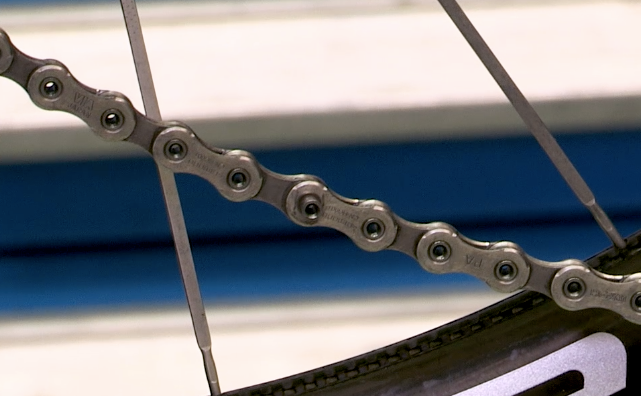
Recover the snapped chain.
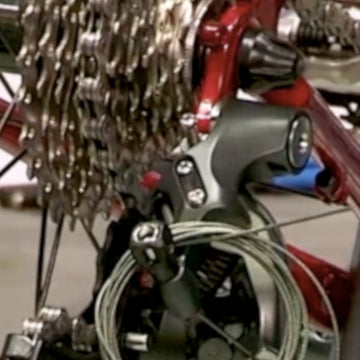
Step 2
Using a chain link extractor, remove the snapped links from either end of the chain. Make sure you leave an open link with the pin still connected on one end of the chain and a closed link on the other end.
To leave an open link at one end of the chain, use the chain link extractor tool to push the pin out of the chain, but don’t push the pin all the way through and out of the chain. As the pin is being pushed out, the resistance of pushing the pin will increase, at that point stop as this means the pin is within the outside plate of the chain.
On the closed link end of the chain, the pin can be pushed all the way through.
Step 3
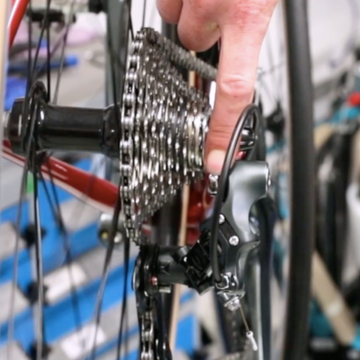
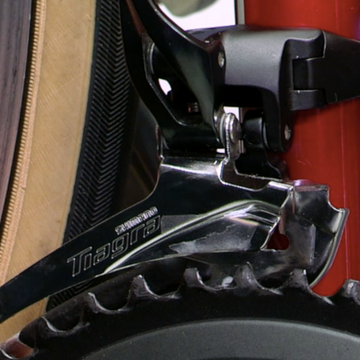
Thread the closed link end of the chain through the rear derailleur, around the cassette in an S (making sure it's underneath the guides) and over the chain rings. The closed end of the chain has to be threaded as the open end has the pin connected to it so won’t thread through the rear derailleur.
Step 4
With the chain threaded through the derailleur and cassette, let the chain sit over the bottom bracket inside of the front chain rings. This allows slack in the chain which will be needed when joining the chain.
Step 5
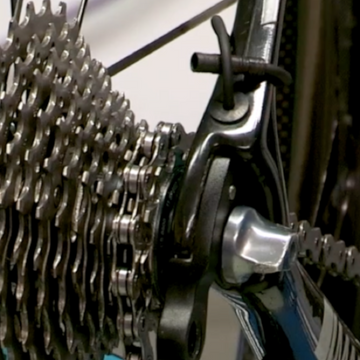
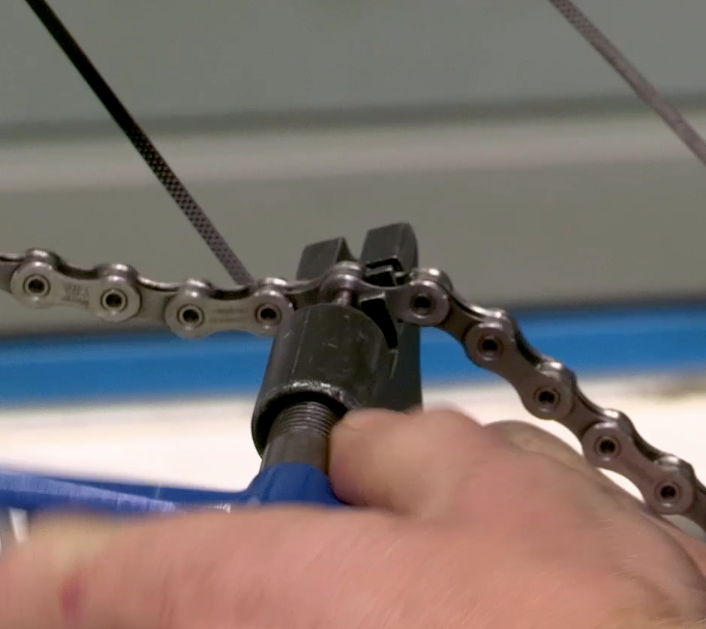
Push the open and closed end together. There should be enough of the pin protruding on the inside of the chain plate on the open link, that the pin should hold the closed end in place.
Step 6
Using the chain link extractor tool again, push the pin through the centre of the closed end link and through into the other side plate of the open end link. This completes the join of the two ends of the chain.
Step 7
The joining link could be very stiff, to loosen the link, bend the chain side to side to free it off.
Step 8
The chain is now connected and you would be able to cycle home. However, it has to be remembered that the chain has been shortened which means there will be certain gears that the bike won’t be able to run in. Mainly the large chain ring when combined with the easiest couple of gears on the cassette. To solve this problem, you can carry spare chain links in your saddle bag, simply replacing the broken link.
Step 9
Once at home replace the shortened chain for a new chain which is the correct length.
Step 10
Alternatively, there is another way of connecting a chain. Quick links can be bought which will connect two closed ends of a chain together. This method is much quicker and simpler. We would recommend always carrying a quick link in your saddle bag.
Bike Maintenance Series
This guide is part of our bike maintenance series. Explore the other guides:
- Eight Essential Trailside Skills for Bikepacking
- How to Replace an Inner Tube
- How to Deal with a Torn Bike Tyre
- How to Deal with a Snapped Rear Gear Cable
- How to Deal with a Broken Rear Derailleur
- How to True a Bike Wheel
- How to Adjust a Front Derailleur
- How to Adjust a Rear Derailleur
Credits
This content is brought to you by Alpkit and our friends at Bicycle Maintenance Guide. They have an app which makes a complete bike maintenance course.
Apple app - https://apple.co/2PFkqMT
Android app - bit.ly/2wOwWCM
This repair has been carried out on a component from a popular brand. If you are using a different component please refer to the manufacturers manual to ensure specific details of the component/task are known. The principles and general skills of the task can be transferred but maybe not the exact details.
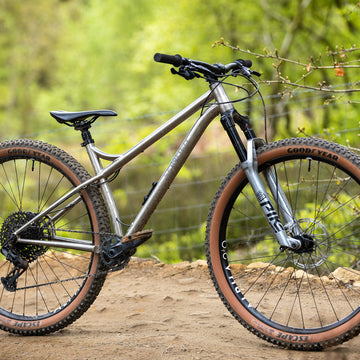
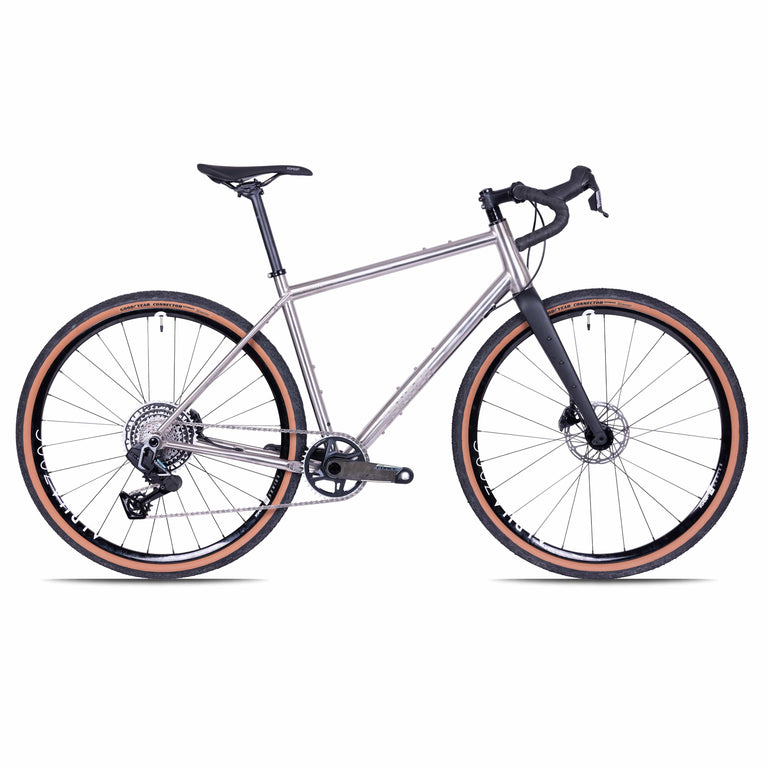
Sonder Bikes


Camino Al Apex1 AXS XPLR
- Sram Apex AXS XPLR 12-speed groupset
- Sonder Nova I25 Gravel UK Made wheelset
£1,849.00
-
Sale
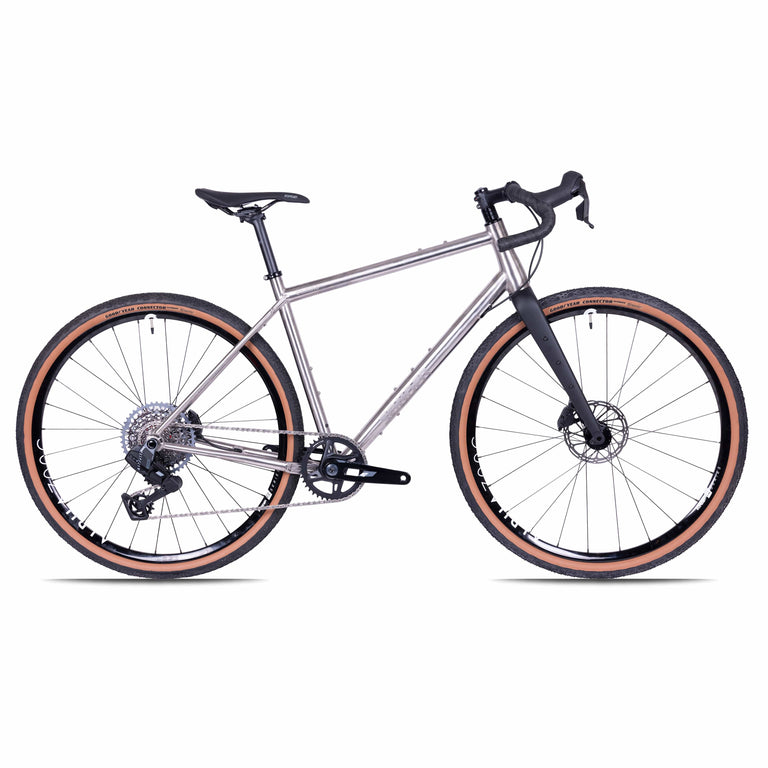
Camino Ti Apex1 AXS XPLR
- Sram Apex AXS XPLR 12-speed groupset
- Sonder Alpha I25 Gravel UK Made wheelset
£2,499.00
£2,949.00
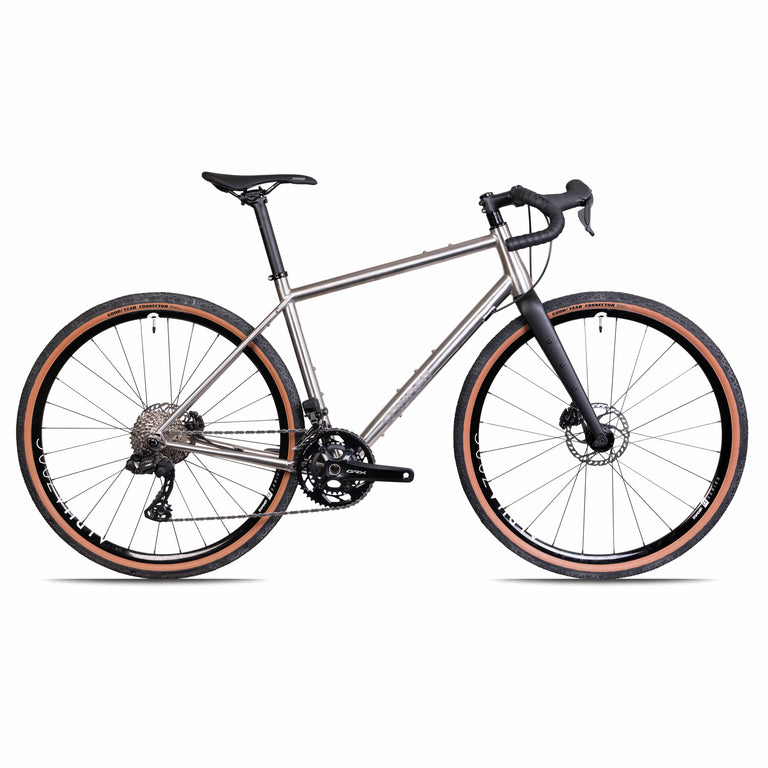
Camino Al Rival1 AXS XPLR
- SRAM Rival AXS XPLR 13-speed groupset
- Sonder Alpha I25 Gravel UK Made wheelset
£2,199.00
-
Sale
Camino Ti Force1 AXS XPLR
- SRAM Force XPLR 13-speed groupset
- Sonder Alpha I25 Gravel UK Made wheelset
£3,099.00
£3,749.00
-
Sale
Camino TI Rival1 AXS XPLR
- SRAM Rival AXS XPLR 13-speed groupset
- Sonder Alpha I25 Gravel UK Made wheelset
£2,799.00
£3,349.00
-
Flat Bar Best Seller


Camino Al Apex1 Flat Bar
- SRAM Apex 12-speed groupset
- Sonder Nova I25 Gravel UK Made wheelset
£1,199.00


-
Highest customer rating

Camino Al 105 di2
- Shimano 105 R7170 Di2 12-speed groupset
- Sonder Alpha I25 Gravel UK Made wheelset
£2,299.00

-
Sale
Camino Ti GRX2
- Shimano GRX 610 12-speed groupset
- Sonder Alpha I25 Gravel UK Made wheelset
£2,399.00
£2,799.00
Your next reads