Six step-by-step tarp pitches for camping, bikepacking and wild camping — trekking pole, ridge line, bike frame, storm setup and more. Includes the kit you need for each.
Welcome to our guide on how to set up a tarp when camping. We'll explain 6 ways you can pitch a tarp and how to stop rain collecting on your tarp.
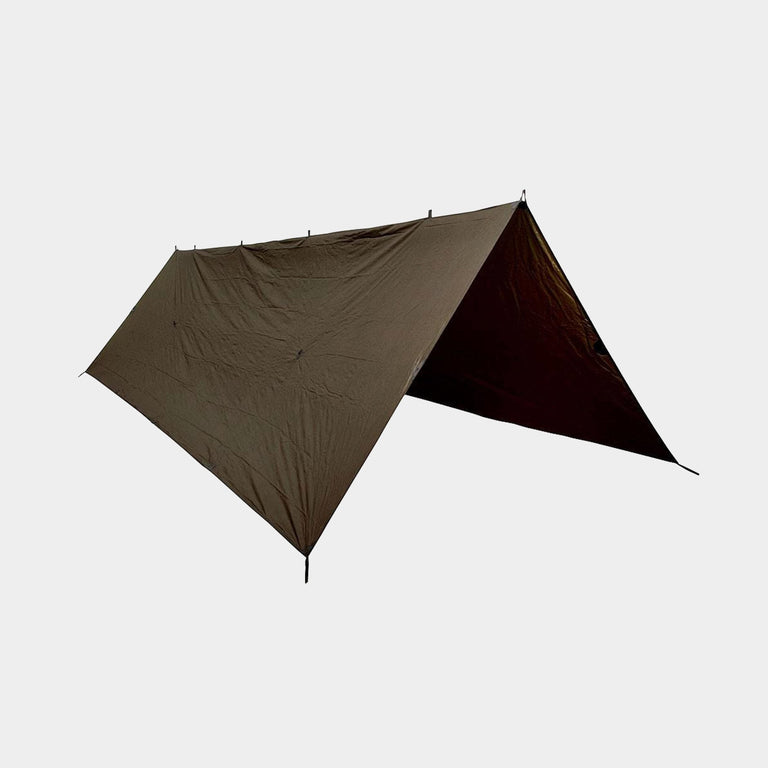
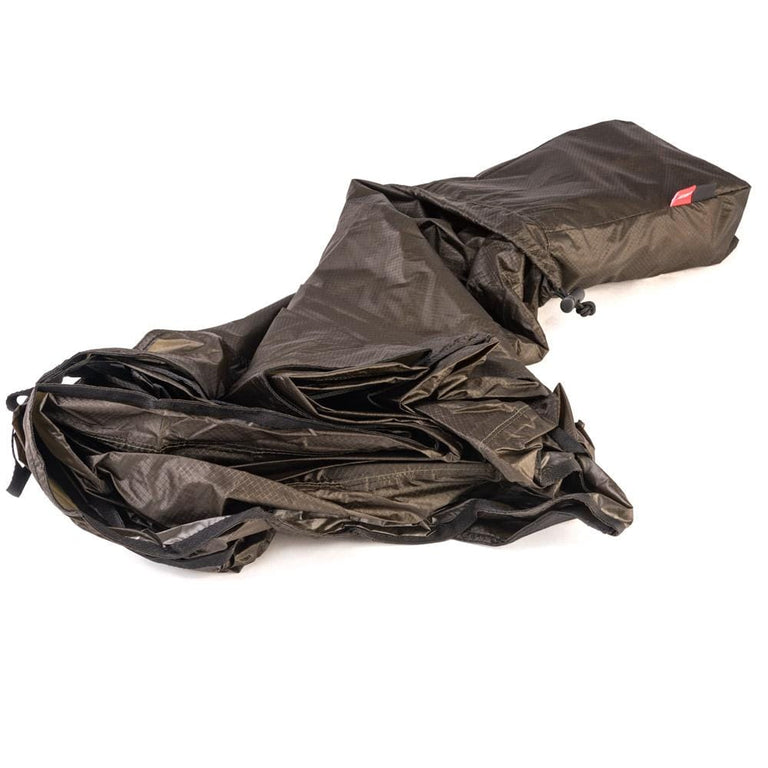
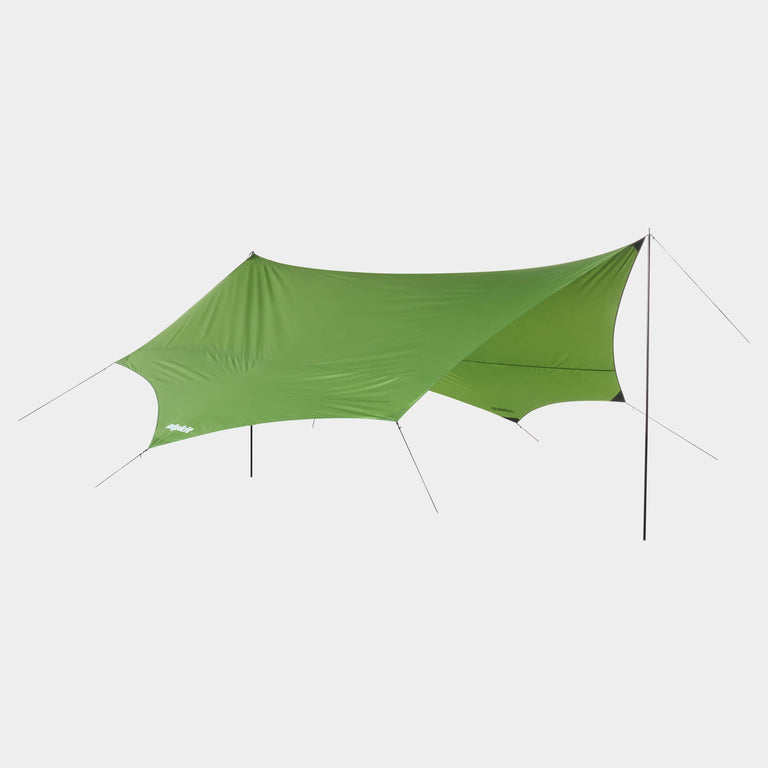
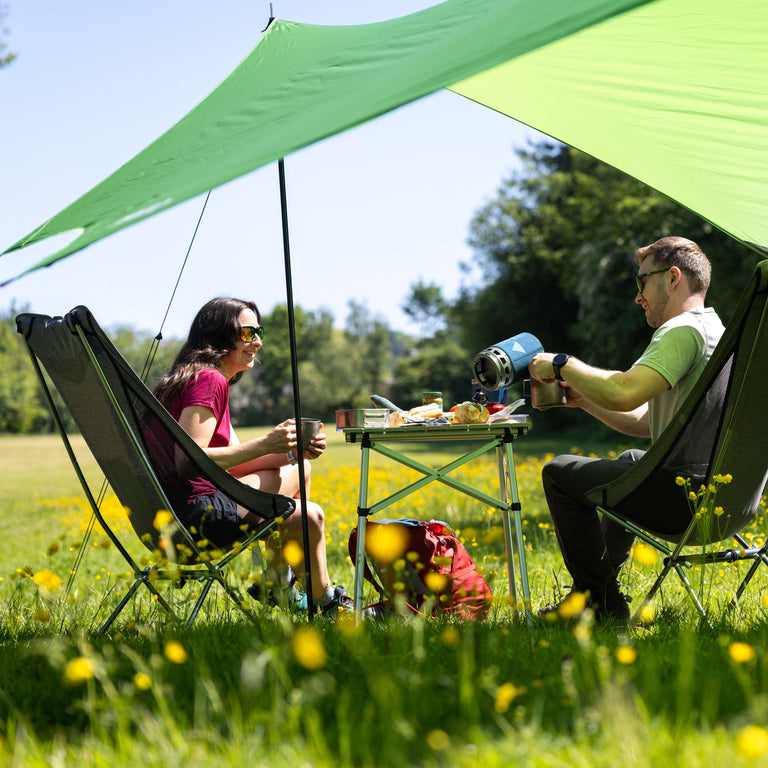
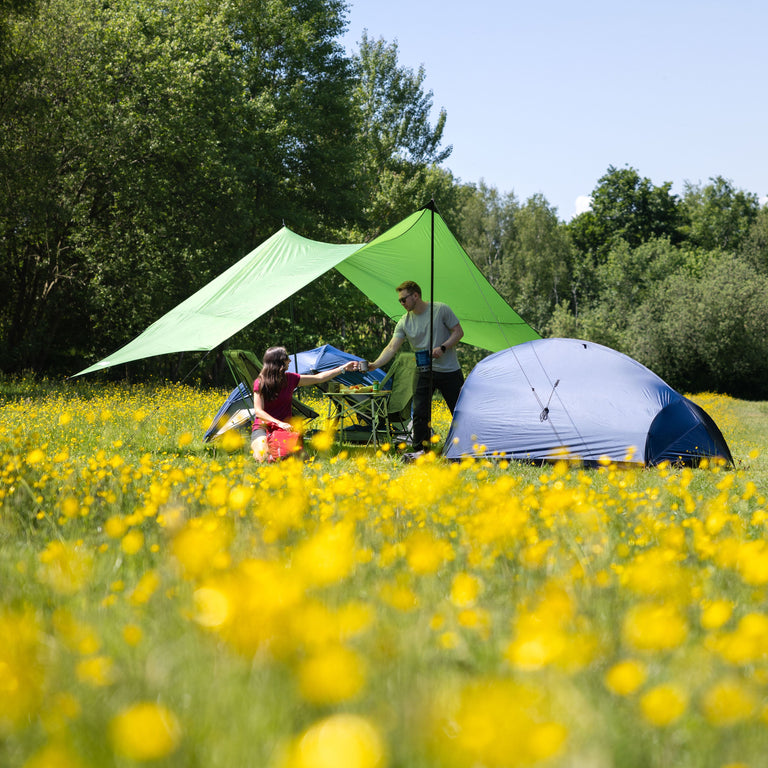
A lightweight tarp is one of the most versatile and handy bits of camping equipment you can own, and pairs well with plenty of the shelters you'll find in our camp shelters section. It's lighter than a tent, goes up faster when you're caught in an unexpected downpour and lets you sleep out in the wilderness.
The biggest tip we can give you for pitching your tarp is practice, practice, practice! That way it won't matter what the weather's doing or where you are, you'll have a secure and cosy shelter up in no time.
6 ways to pitch a camping tarp
-
Plough Point Shelter
A fast and light shelter using just 3 pegs, some cord, and your trekking pole. -
Continuous Ridge Line
A classic shelter design, especially great for using with a hammock. -
The Reflect Wedge
Set up shelter using your bike, great for when there's a lack of natural features. -
Buried Sand Bags
Stay cool on the beach and turn your tarp into a beach shelter, no pegs needed! -
Kayak Bivvy
Create quick attachments to paddles, walking poles or anything really! -
Van Attachment
Makes an awning or extra living space for your camper van.
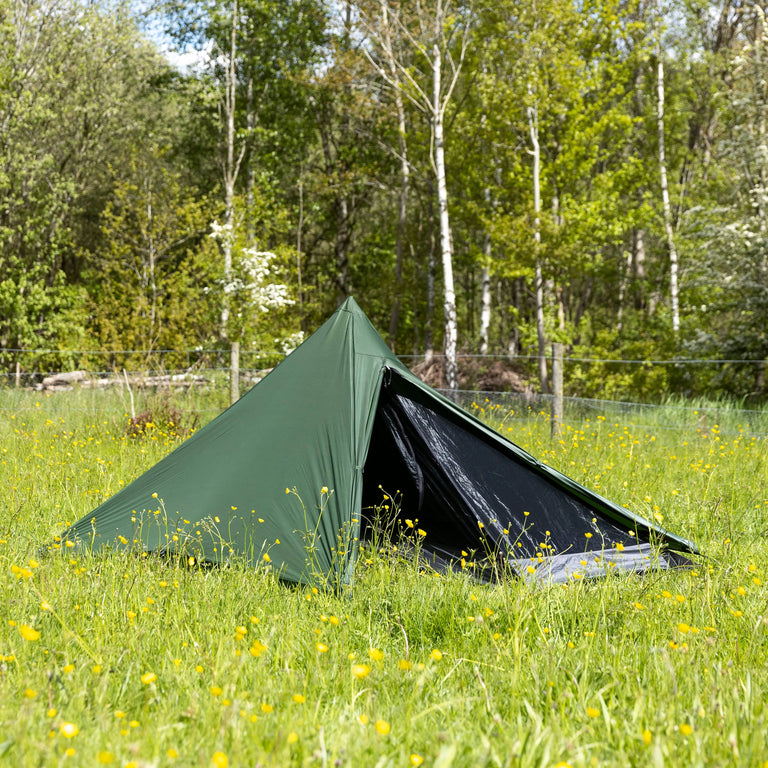
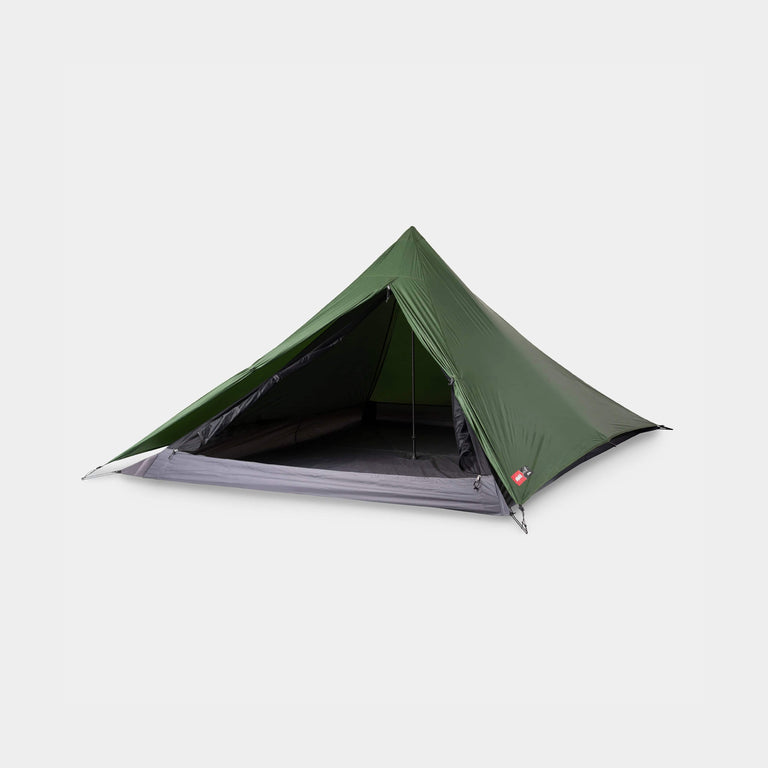
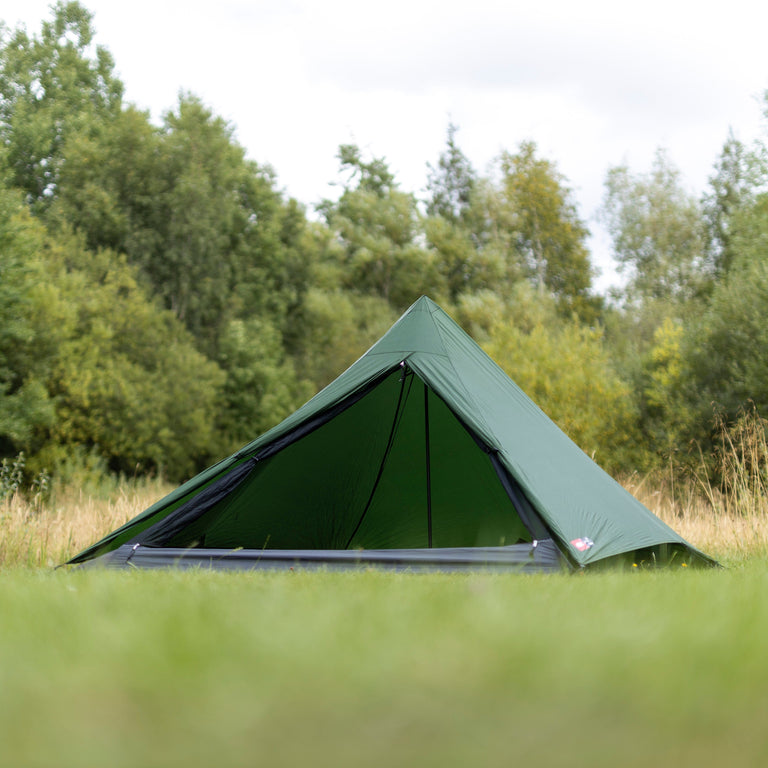
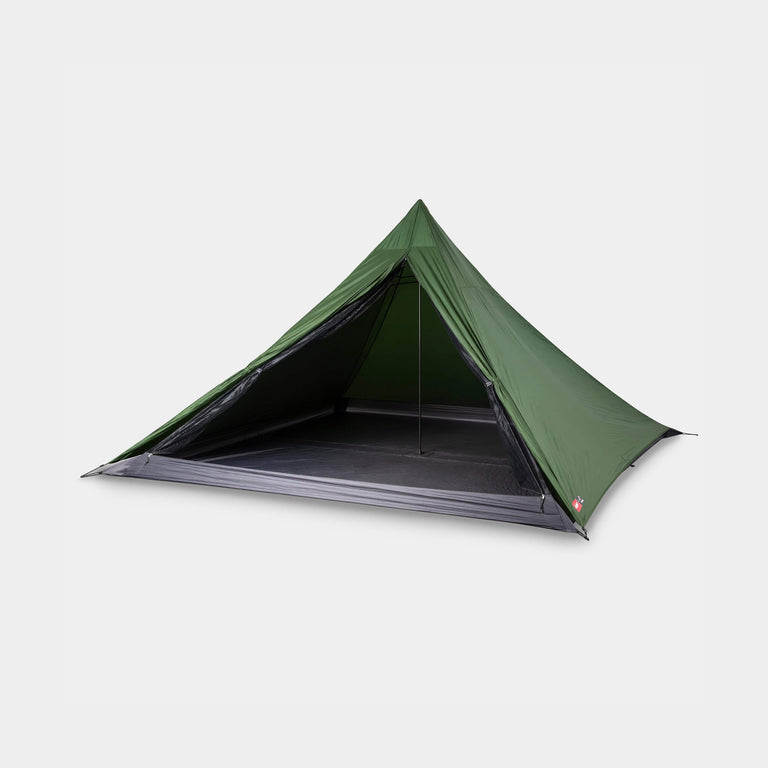
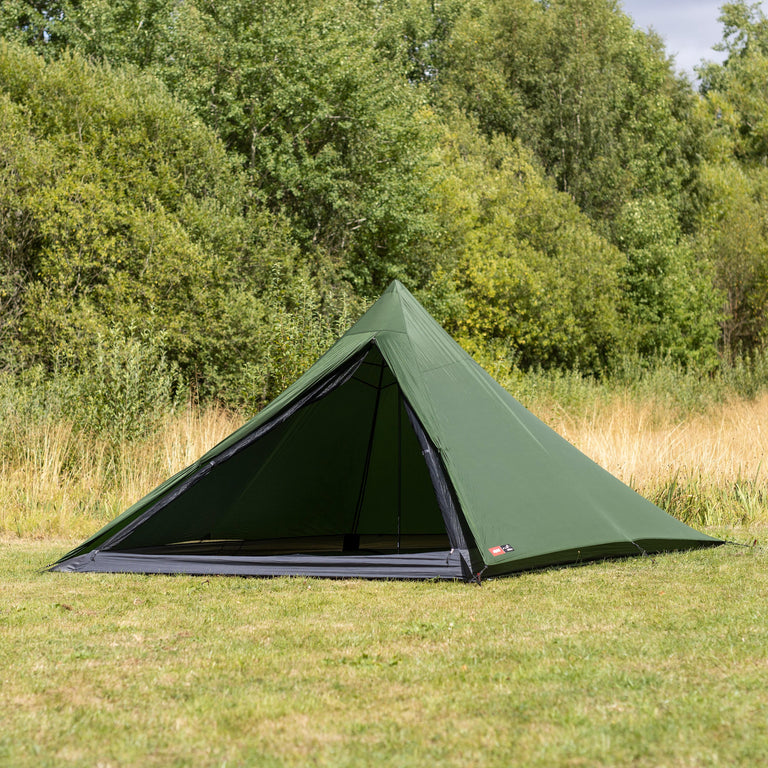
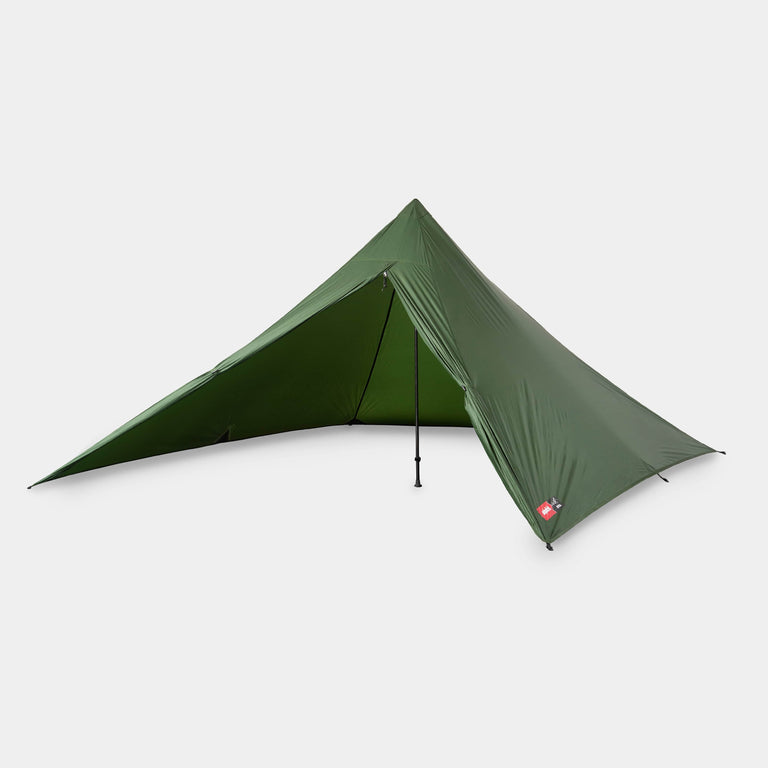
1. Trekking pole tarp pitch (Plough Point)
Best for: quick solo shelter
- Bucket loads of headroom (especially with a CarbonLong trekking pole)
- Really quick to set up
- Minimal kit required
Step 1: Tie cord to a corner tie-down loop
Tie a cord to one of the corner tie down loops.
Step 2: Peg out the other three corners flat
Lie the tarp flat on the ground where you want it and peg out the other three corners.
Step 3: Raise the fourth corner with your trekking pole
Raise the fourth corner using your trekking pole. Insert the pole tip into the rig point and tension by pegging out the cord that you tied on earlier. A longer pole (like the CarbonLong Single trekking pole) gives you more headroom.


Pro tip: Pitch away from the wind for the best protection from the elements.
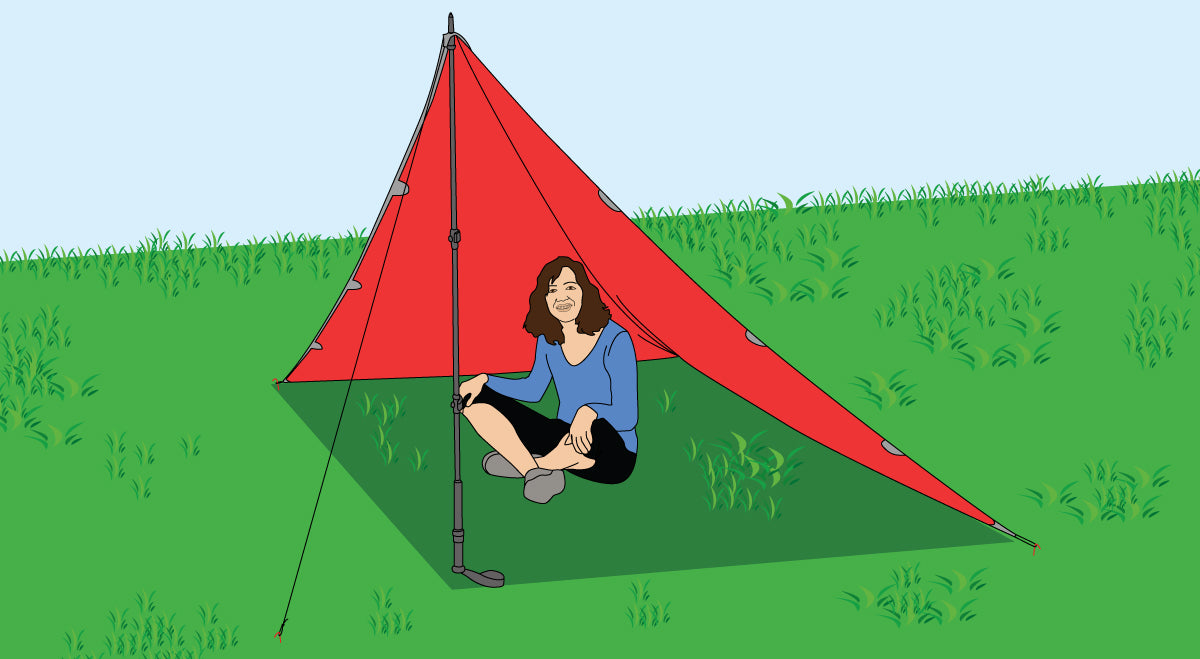
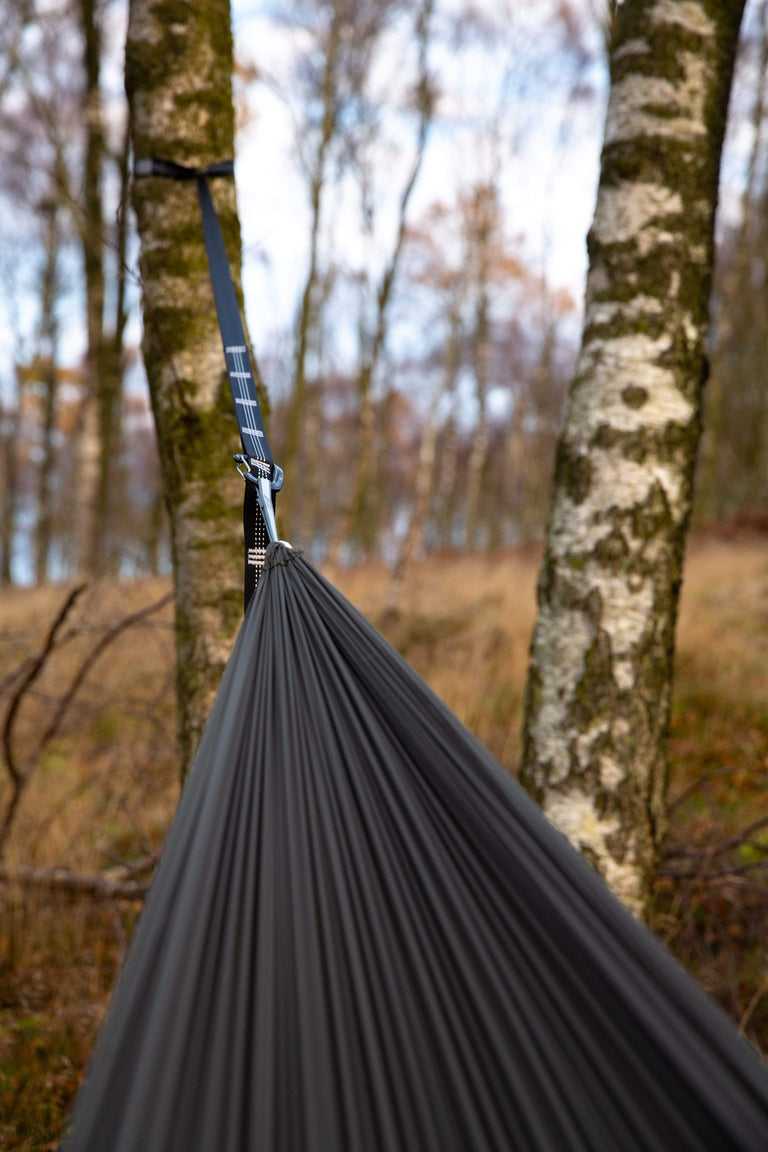
2. Ridge line tarp setup between two trees

Best for: hammock camping and woodland bivvies
- A classic pitching technique
- Super simple if you have a tarp with riser attachment points
- Uses minimal hardware
- Fits nicely over a hammock
Step 1: Prepare your ridge line at home
Home prep - you can prepare your tarp at home by threading your line through any ridge risers you may have on your tarp. Attach a clipper to one end of the line and tie a prussik knot about halfway along the line with another clipper attached to it (There are plenty of videos online showing this knot). Now pack your tarp into a stuff-bag trying to leave the 2 clippers hanging out the top for a swift set up.

Step 2: Clip the line to the first tree and attach to the tarp
Find two trees that have enough room between them to pitch your tarp and choose what height you would like it. Run the clipper (without the prussik) around the first tree and clip it back through the ridgeline and attach it to the centre point of your tarp.
Step 3: Slide the prussik to the second tree and tension
Now work your way along the ridgeline to the other end of your tarp, slide the prussik knot along the line so you have enough line to wrap it around the second tree and clip it into the centre point of this side of the tarp. Pull the prussik knot towards the tree to tighten.
Step 4: Position the tarp and peg out the corners
Work the line around the trees to slide the tarp left or right to position it over your camp or hammock, then attach guys to each corner of your tarp and peg them out.
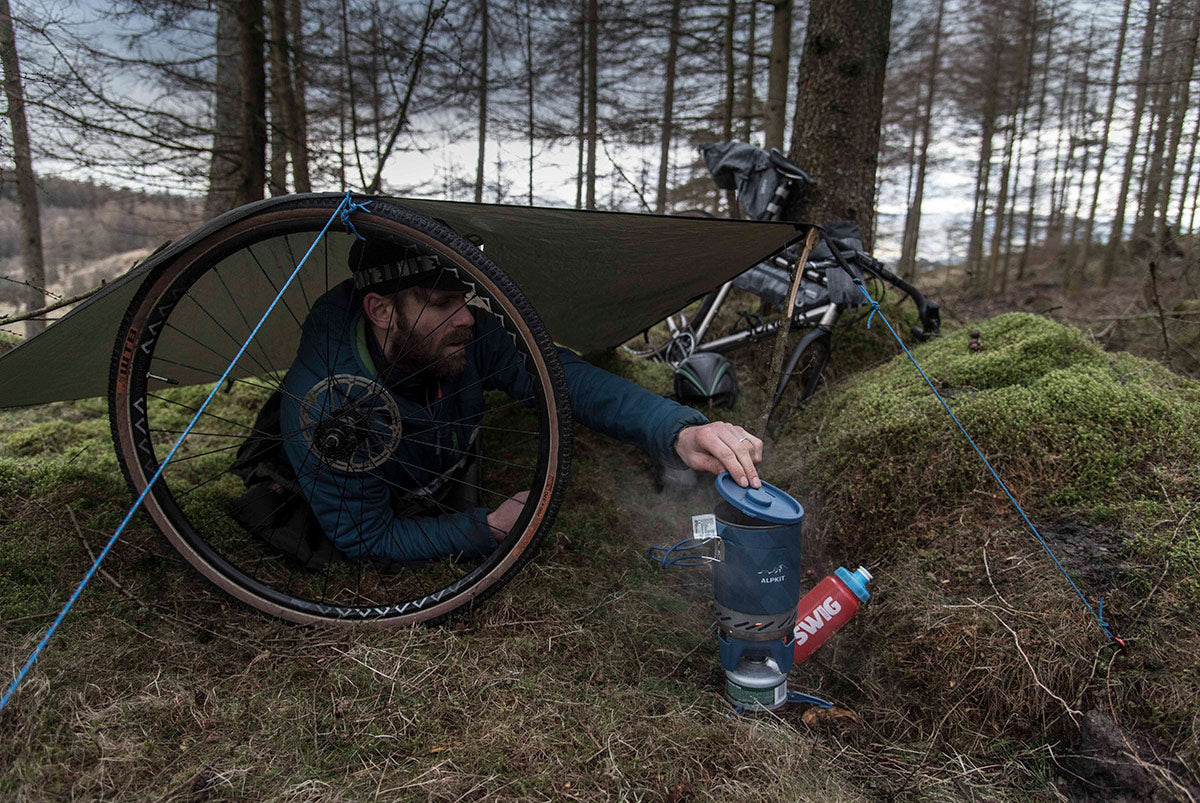
3. How to pitch a tarp with a bike
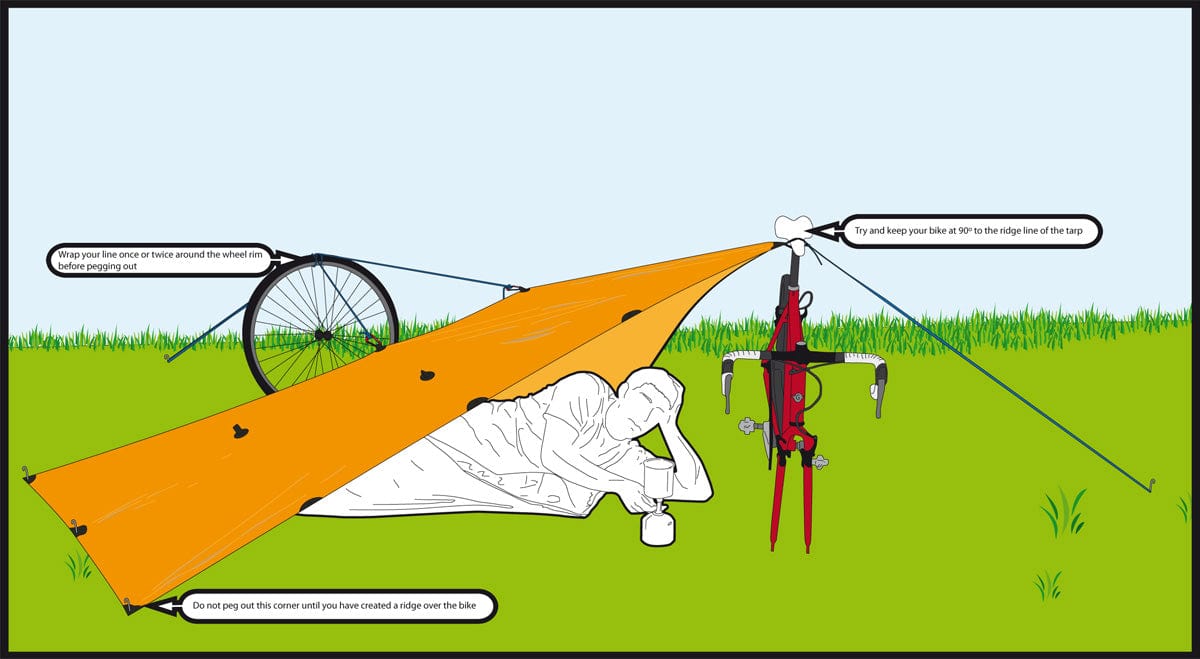
Best for: bikepacking and open terrain
- Ideal for lightweight bikepacking with a tarp
- It's quick and easy to setup - requiring little equipment, a small area and no natural features
- It provides wind shelter from two directions
- You can light your camping stove just outside.
Step 1: Peg down the long edge of your tarp
Peg down the long edge of your tarp.
Step 2: Remove the front wheel from your bike
Remove your front wheel.
Step 3: Run a ridge line from corner to corner via your bike
Create a ridge line from corner to corner. Tie a length of cord to the corner you wish to lift, secure it to the seat post or saddle of your bike and peg out. Your bike should be at approximately 90º to this ridge line. The illustration below shows the setup from above.

Step 4: Peg down the last corner to tension the tarp
Peg down the last corner making the tarp taut(ish)
Step 5: Loop cord around the wheel and peg out to lift
Attach a long loop of cord to two lifter points, wrap this around your wheel, pull tight and peg out.
Pro tip: This set up can be replicated with two walking poles in place of a bike.
4. How to set up a tarp on a beach (no pegs)
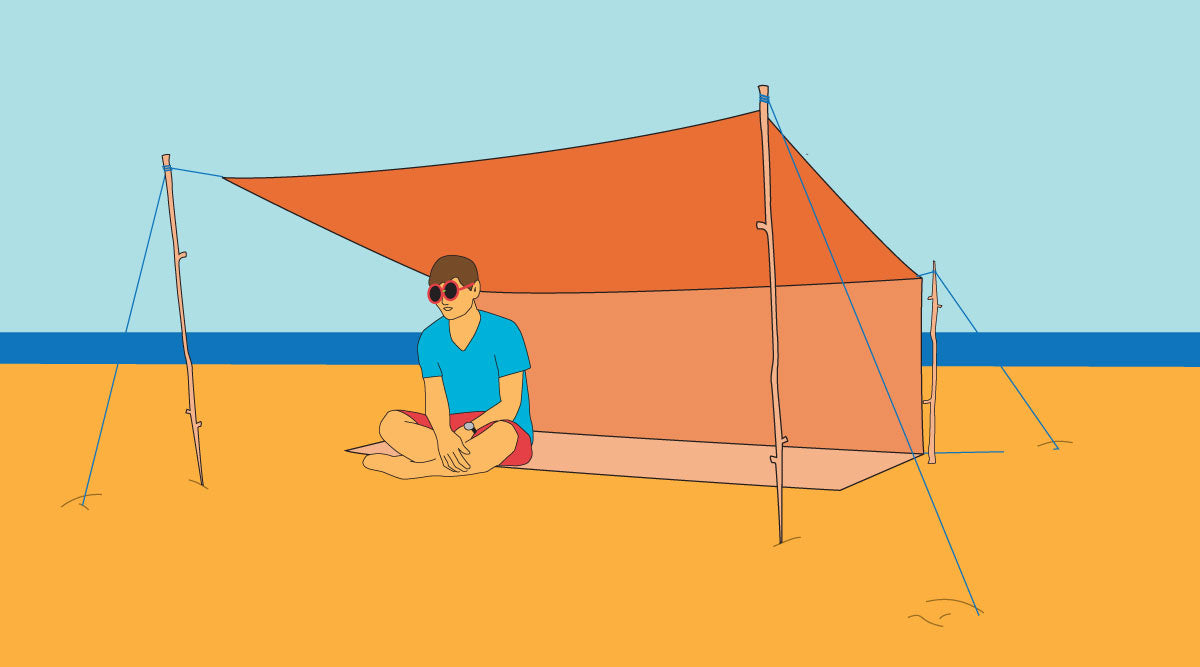
Best for: beach camping without pegs
- Stay cool on the beach
- No need for pegs
- Creates shade in open beach areas
Step 1: Attach cord to the leading corners and lifter tabs
Attach lengths of cord to the tarp at the leading corners and at the lifter tabs halfway along the sides. Loop around the top of your sticks and down to the sand.
Step 2: Fill dry bags with sand and attach to the cord
Fill some dry bags with sand and attach the cord.
Step 3: Bury the sand bags to anchor the tarp
Scoop out a hole in the sand and bury the bag. You could also bury a stick (this also works on snow).
Pro tip: Quickly attach a cord to your Rig Tarp with our Clipper accessory carabiners.
5. Tarp shelter for kayak and paddle camping

Best for: kayak and paddling expeditions
- Minimal extra equipment needed
- Utilises the Rig tarp’s stuff sack
- Can be pitched on the beach without pegs
Step 1: Place the stuff sack over the top of the paddle
Place your stuff bag over the top of the paddle.
Step 2: Pull the drawcord tight around the paddle blade
Pull the drawcord tight around the paddle blade.
Step 3: Clip the drawcord to a tarp attachment point
Attach a clipper to the end of the drawcord and clip on to any of the Rigs attachment points.
Step 4: Peg out the paddle with a guy cord
Peg out your paddle using a cord.
Pro tip: You can Larks foot the stuff bag’s drawcord around the webbing loops that cover the tarp, eliminating the need for a Clipper.
6. How to attach a tarp to a camper van

Best for: campervan awning and extra living space
- Simple trick for extending your living area
- Create a quick shelter, awning, or changing room.
Step 1: Thread cord through an attachment point on the tarp
Pass a piece of cord through an attachment point.
Step 2: Tie a double overhand knot in the cord
Tie a big double overhand knot in the cord.
Step 3: Trap the cord in your vehicle door to anchor
Trap the cord in your vehicle door.
Pro tip: If you have a set of F171 walking poles use these in the opposite corners to prop the tarp up. Note: leaving this set up over a long period in bad weather can cause water to seep along the cord and drip into your vehicle.
How to stop water collecting on your tarp
You can stop water collecting on your tarp in several ways. Here are our top tips:
-
Pitch two corners of your tarp higher
If you pitch your tarp at an angle with one side higher than the other the rain will run off and have nowhere to collect. -
Setup your tarp with a Ridgeline
Setup your tarp using our Ridgeline technique which creates a central high point in your tarp. The water simply runs off either side of this line. You can also use a branch as the ridge line if you haven't set up your tarp earlier. -
Pitch your tarp taut
Making sure you've got a taut surface to your tarp helps to stop water collecting. Water tends to collect where your tarp sags so if you've pulled it tight this will help run off. Make sure you don't over tighten the cords as this might cause your tarp to fray or rip.
Lightweight camping tarps
Once you've mastered a few pitches, a tarp becomes one of the most versatile bits of kit you can carry. Light enough to take everywhere, useful in more situations than you'd expect.
Who your purchase supports
"With the Alpkit Foundation rolling award set up it allows them to offer small individual grants to equip young people in Scouting with skills that will allow them to lead adventurous activities for other young people."Scouts Youth in Adventure →
Bivvy and tarp shelter guides
- Bivvy essentials - everything you need for your first bivvy
- Ultralight bivvy setups - go lighter with your shelter system
- Guide to wild camping - tips for a responsible wild camp
Camping Tarps
-
Sale
-
Sale
-
Sale

-
Sale
-
Sale
Tarpstar 1
An ultralight, 1-person pyramid tarp tent that pitches using trekking poles.
£121.99
£143.99
-
Sale
Tarpstar 2
Ultralight pyramid tarp tent for backpacking: 2-person, 3-season, as light as 500g
£158.99
£186.99
-
Sale
Tarpstar 4
Ultralight pyramid tarp tent for backpacking: 4-person, 3-season, as light as 771g
£199.99
£259.99
-
Sale

-
Sale
-
Sold Out

-
Sale
Your next reads