
Edale Mountain Rescue Team's navigation tips help you find your way even in dense fog. Get the most out of your head torch and master 'leapfrogging.'
Autumn's rolling in. So are the cloudier days, and the low sun. We spoke to experts - Trev and Dave from Edale Mountain Rescue Team - about how to navigate in low visibility. Here's what they told us. For more hillwalking safety advice, visit the hiking section of our site.
Advanced navigation for poor visibility
- How to navigate in low visibility
- Navigation starts at home
- How to navigate with a compass in the dark
- What is leapfrogging?
- The five D's
- How to use your headtorch in the fog
How to navigate in low visibility
Tip #1 – Fail to prepare, prepare to get lost!
When we were chatting to Trev and Dave, one thing became very clear: be prepared! “Navigation starts at home,” they told us, and we’d be inclined to agree.
Know your route – Before you head out for a hike, run or whatever the adventure might be, you should always plot the route. Know where you’re leaving from, where you’re going and what the route and surroundings look like. Pick out features, landmarks or anything that could be used to locate yourself should the weather turn.
Trev recommends setting checkpoints, having them written down or marked on the map so you can tick them off as you go. That way, if you do end up losing your bearings, you’ll have a much smaller space in which to re-locate yourself.
Plan escape routes - The weather can be unpredictable, even during a British summer. You never know when a heavy cloud might descend and limit visibility. Planning where the nearest path back to safety is, from any point on your route, ensures you know the best way to escape should the weather turn. Be mindful of where the nearest buildings, roads or rivers are that will lead safely back to civilisation.
Pack the right kit - Yes, we know this isn’t directly about navigation (although a map and compass should be #1 and #2 on your list), but packing the right kit can make the difference between keeping calm in a whiteout and all-out panic stations. Check the weather, and even if all looks well, a spare jacket for the cold and a head torch for unanticipated darkness will stop you getting caught off-guard.


Tip #2 - How to navigate with a compass in the dark
Lie the compass on the map and rotate until North on the map lines up with magnetic North on the compass. That way, all the features (whether you can see them or not) will all line up and you can take a bearing for the direction you should be heading. A simple task, but one that Trev and Dave often see done wrong.
Trev told us that many folk fall into the trap of trying to set the map by using features and landmarks. Done by sight alone, it’s easier than you might think to line up the wrong feature and start heading in the wrong direction. In a situation where you can’t make out any features at all, this technique would be pretty darn difficult.

Tip #3 - Leapfrogging
Leapfrogging is the solution to navigating across featureless ground, where walking on a bearing is pretty much impossible.
With the bearing you’ve taken, send your most courageous companion on ahead, making sure they know to walk slowly and listen for your explicitly detailed directions of “left a bit. stop there. right a bit.” to ensure they’ve walked in line with the bearing.
If it’s windy and you can’t hear, use your arms to signal positioning, but make sure you discuss it beforehand so you’re both on the same page. Walk on to where your buddy stopped and repeat the whole process until it’s either clear enough to make out features to follow or you make it back to safety.


Tip #4 - The five D’s
We’ve mentioned the four D’s before, but Trev’s tips include 5 (and an unofficial 6th).
Direction - What direction should you be heading in at different points in the journey? This could be an “approximately North-West” or a more precise “38 degrees.”
Duration - How long do you think it should take you to reach each notable feature or 'checkpoint' on your route? Being realistic helps for this step, and you should take terrain into account when estimating timings.
Distance - How far is it between each checkpoint on your route? This will also help to determine the duration between points.
Description - What does the route look like? What are the notable features that you can use as 'checkpoints' for each stage of your journey? Think: inclines, flat terrain, marshland, forests, streams, valleys, walls, and roads. You should not only identify details of your route, but a few notable 'off-route' features to tell you that you've overshot or taken the wrong path too.
Destination - Where are you heading and what do you expect to find when you get there? Should you be looking for buildings and roads, or a more obscure spot like a part of a forest that looks great for an overnight bivvy.
The 6th (unofficial) ‘D’ that Trev told us about was Dangers. Is there anything in your route that you should avoid? Obvious dangers like cliffs and sharp drop-offs or other areas to avoid such as privately owned land.

Tip #5 - How to use your head torch in fog
Much like your full beams when driving, head torch">wearing a head torch in heavy fog can often worsen the visibility. In a situation like that, Trev says the best thing to do is pull the torch down from your head to hang it from your neck. This has the same effect as dipping the beam in your car: it means the moisture in the air isn’t being reflected directly into your eyes, and opens up your field of vision. He also told us that using it down by your side as a hand torch is just as effective, though that makes it trickier to use the map at the same time.

We’d like to say a great big thank you to Trev and Dave from Edale Mountain Rescue Team for taking the time to help educate us on these tips. Mountain Rescue Teams all over the country have saved countless lives and continue to make our favourite playgrounds a safer place for adventures.
Backpacks and Rucksacks
-
Sale


-
Sale

-
Sale

-
Sold Out


-
Sale


-
Sale


Gnarl 15L
A lightweight, 15-litre multi-activity daypack for fast-moving mountain days
£51.99
£64.99
-
Sale


Skytrail 14L
14-litre mountain bike backpack built for hydration and comfort on the bike
£67.99
£84.99
-
Sale


-
Sale


Idris 25L
25-litre ultra marathon backpack with space for overnight kit and comfort on the run
£59.99
£74.99
-
Sale


Ledge 35L
35-litre hiking backpack for lightweight 4-season hillwalking and scrambling
£63.99
£79.99
-
Sale


Orion 45L
45-litre supportive mountaineering backpack for heavy loads and long days out
£79.99
£99.99
-
Clearance
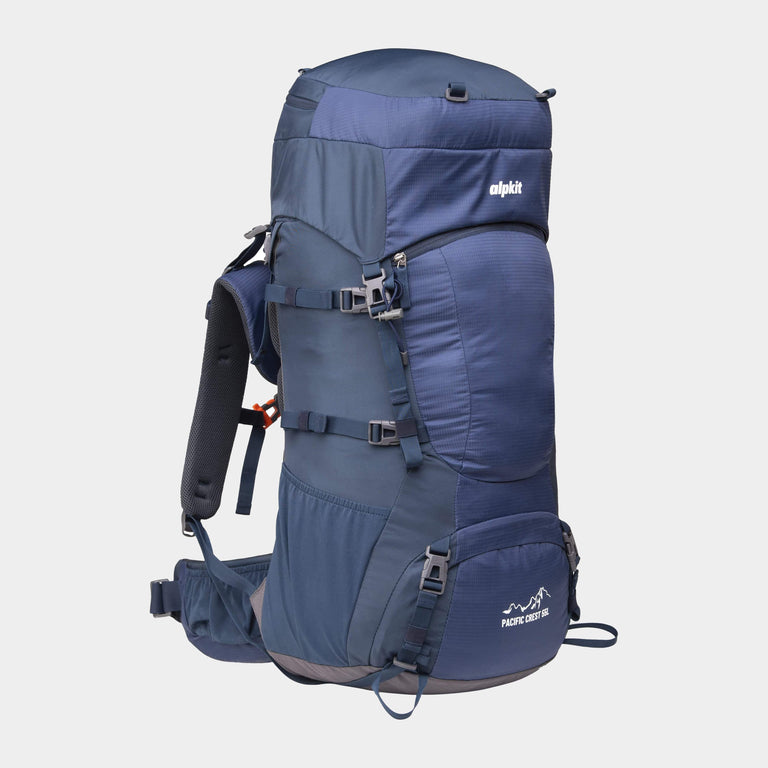
Pacific Crest 55L
55-litre hiking backpack for multi-day trekking, hiking and backpacking
£62.99
£89.99