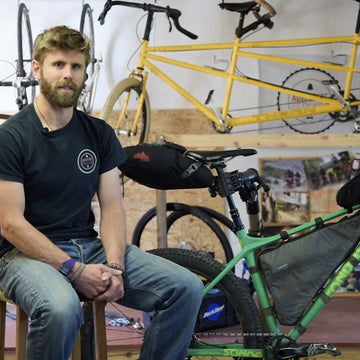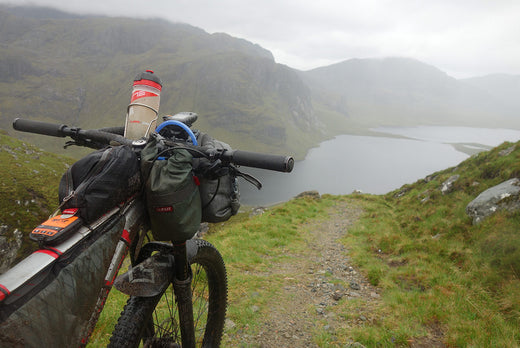
Adventure Pedlar and Sonder Rider, Pete McNeil, talks through his kit list for the Highland Trail 550. He reviews what he packed on his bike and on his body for ultralight long-distance bikepacking.
We all can, and inevitably will, worry, worry, and worry again about all manner of tiny (and to the uninvolved, totally arbitrary) kit details in the weeks and months before embarking on a big adventure. Here's what Pete McNeil packed for embarking on the Highland Trail 550.
HT550 Bikepacking Kit List
It’s almost impossible to suppress that uneasy feeling that wakes you up at three in the morning, two weeks before departure, to weigh up ‘how many pairs of socks do I really need.?’. It’s especially true when you’re balancing on the tightrope between extra weight and being suitably prepared for a race that requires you to go as fast as possible over remote terrain.
However, as with any race ‘to finish first, first you must finish’, and approaching the Highland Trail 550 for the first time I was acutely aware that I’d be spending up to eight days riding my bike over remote Scottish terrain, solely responsible for its, and my own, survival. Making those decisions about what and what not to take, I racked up many an hour of online research on blogs and write-ups, trying to glean clues about what I’d need.
Different race reports and kit lists (all tending to begin with the words “after months and months of careful planning.”) ranged from the ultra minimalists, who waxed lyrical about sleeping on bare floor and considered clingfilm to be suitable waterproof layering system, to those who seemed to be planning never to return. In brief, it all gets very confusing and even days before my departure, I was still manically adding and subtracting gear from my set up. So now that I’ve successfully made it out the other side, I thought it only right that I add to the confusion myself.
The HT550 was a great opportunity for me to try out some of Alpkit’s new product lines alongside giving a thorough shakedown to stuff that’s already provided in our Adventure Pedlars kit hire bundles. Ultimately there are no right or wrong answers as to what to take on any bikepacking trip - it all depends on what style you’re going for and where you’re headed - but in this lineup I was confident that I’d made a pretty middle-of-the-road selection, which balanced comfort, self sufficiency, and speed.

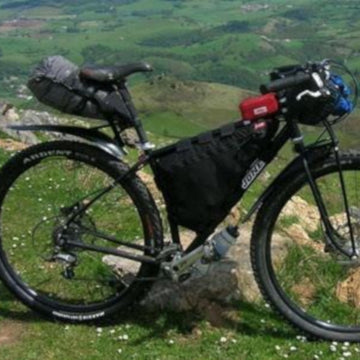
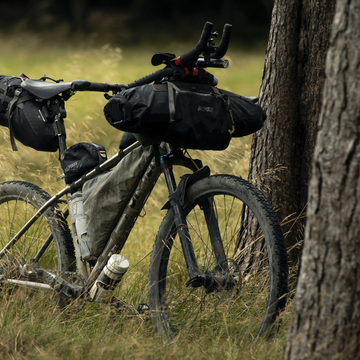
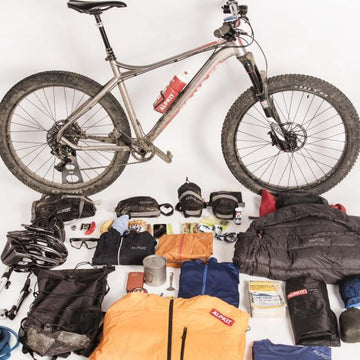
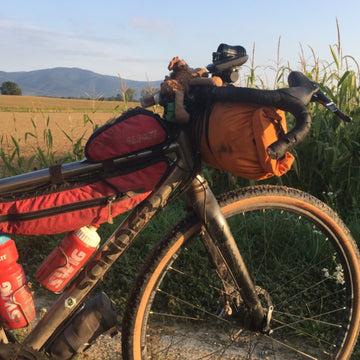
Sandy the Sonder Transmitter laiden with Pete's essentials for the trail
Bike Choice
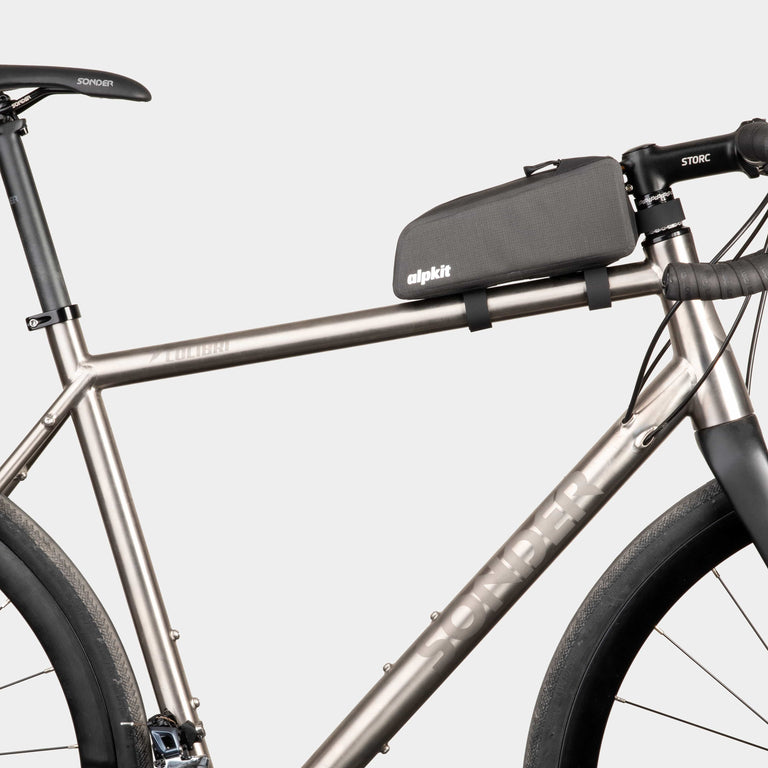
Sonder Transmitter
Build specifications
Aluminium frame, Rockshox Yari 120mm fork, Sram NX1 1x11 drivetrain (32t x 11-42), Sram Guide brakes, WTB ranger 2.8 tyres (light-front, tough-back), Lovemud Rumpus 650b+ wheelset, Lovemud finishing kit and Lovemud Confucius bars.
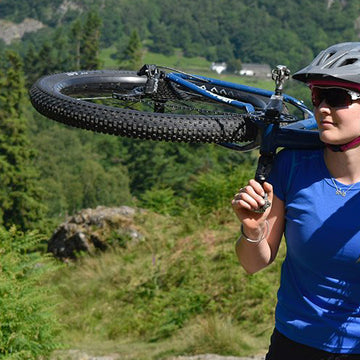
The Transmitter was a considered choice for me and lining up on the start line next to everything from rigid, lightweight carbon drop-barred rigs, to full-suspension trail machines and fatbikes, it was hard to know if I’d chosen wisely. In the end, my decision lay in what I would enjoy riding the most, and ‘Sandy’ the Sonder Transmitter has definitely been the bike I’ve had the most fun on in a long time. A couple of loaded training rides beforehand were proof enough foe me that she wasn’t really affected by carrying extra weight, and missing out on the Peak200 record by 12mins revealed that she was no slouch either.
Doubtless, you could complete the HT550 on a rigid, skinny-tired bike, but being a mountain biker at heart meant that I didn’t want to just cope with the technical terrain, I wanted to thrive on it. and this is where the Transmitter really stepped up to the mark. Admittedly there was a fair bit more tarmac and gravel than I expected in the first half of the route, and to begin with I felt the other riders pulling away more easily that I’d have liked, but by the time we hit the ‘unrideable’ steep or technical sections, Sandy more than made up for it. Plus-tyres are so effective at getting you over places you really shouldn’t be able to ride and, with the burly Yari fork up front, I could really let loose on the descents (grabbing a few Strava top tens in the process!).
The conclusion
Overall, I was 100% impressed with the Transmitter as a bikepacking rig; okay it might technically be a ‘trail’ bike, but weren’t we riding on trails too?. Enjoying the, at times, truly exceptional trail riding on offer was much less energy-sapping that just coping with it. The spec, although not the flashiest, worked well and - other than an unfortunate front puncture early on (I think I’d been too stingy on tubeless fluid) - the bike didn’t miss a beat. The Confucius bars have also now become one of my favourites. Giving multiple cockpit mounting options and hand positions (with a little extra bar tape), they’re great for the long slogs all the while maintaining the feel of a ‘proper’ trail bar: perfect for handling the trails hard and fast on a loaded bike.
Bar Roll
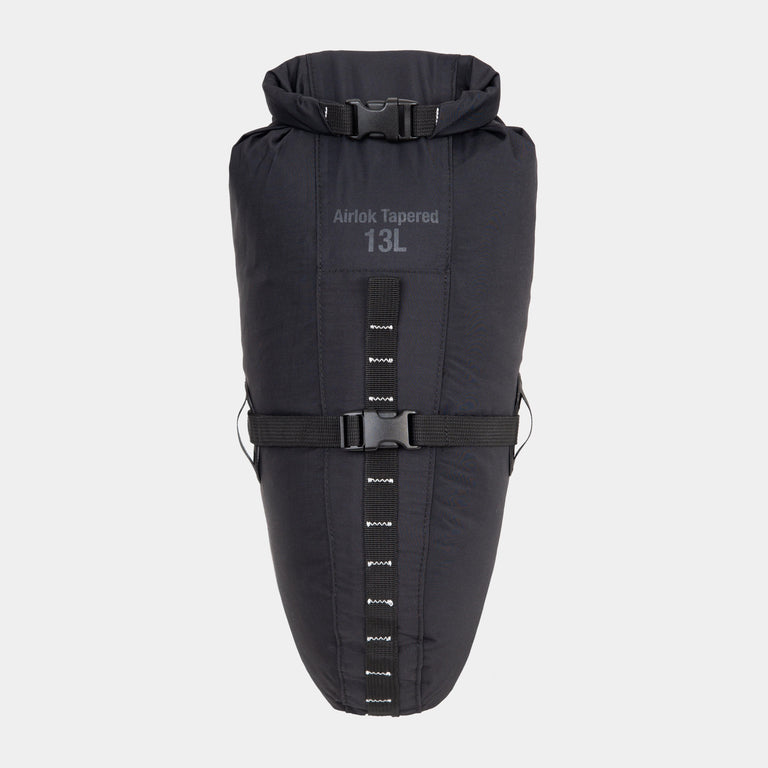
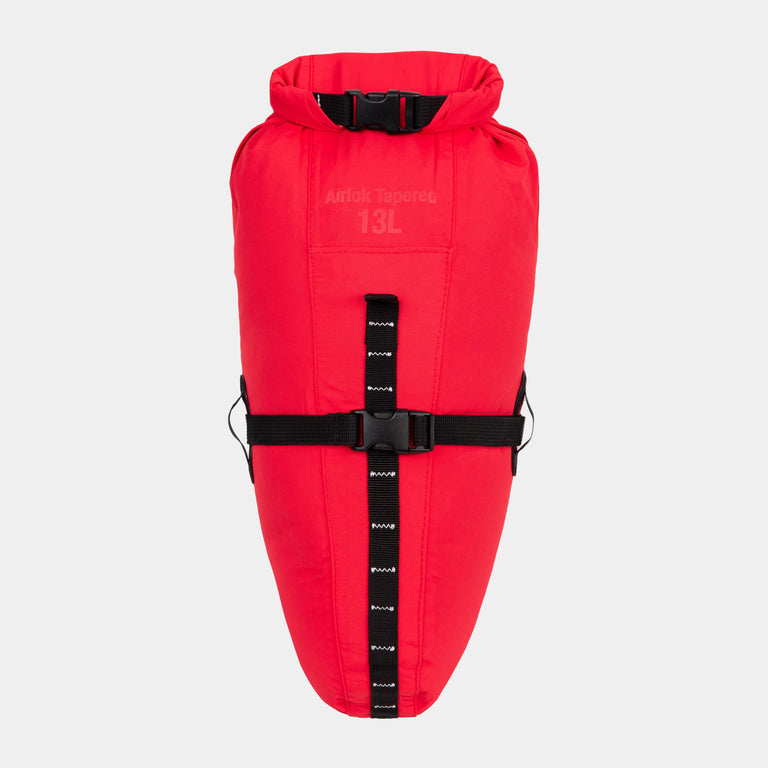
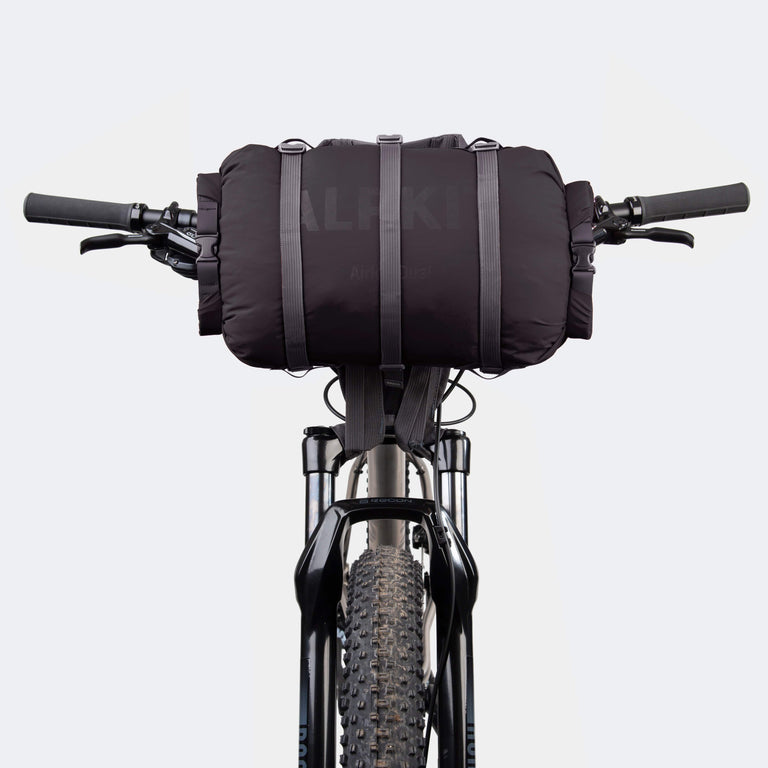
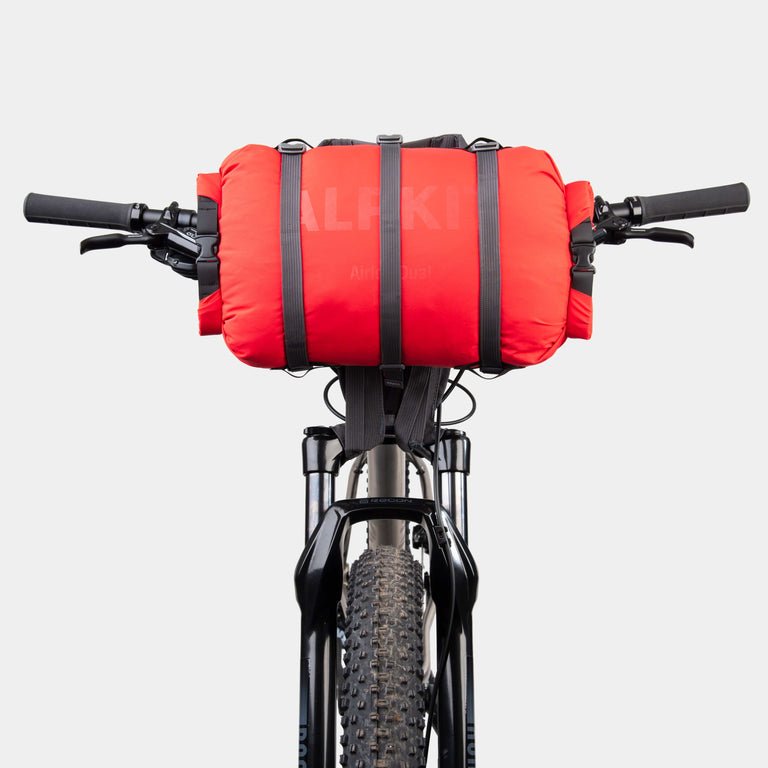
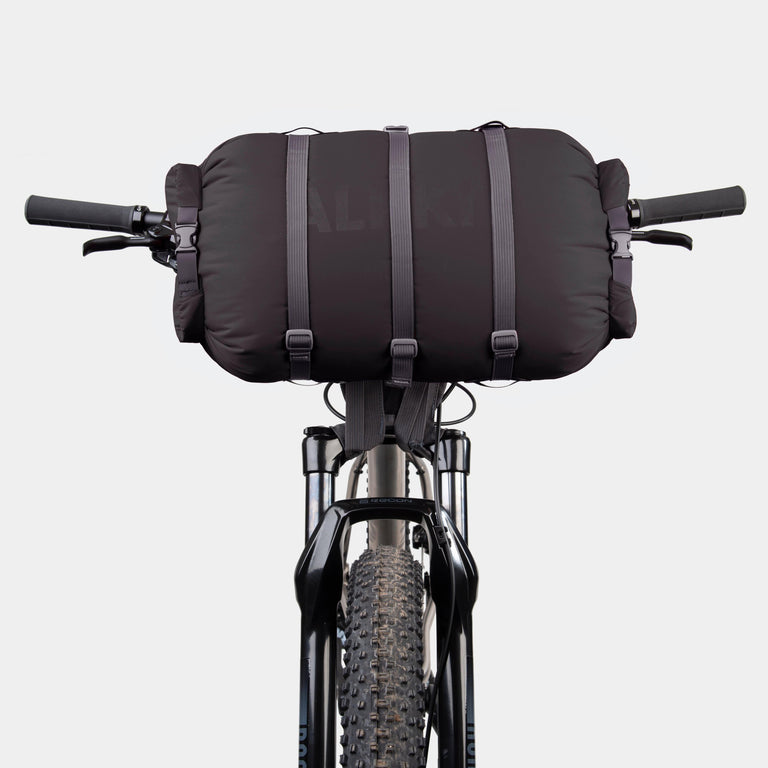
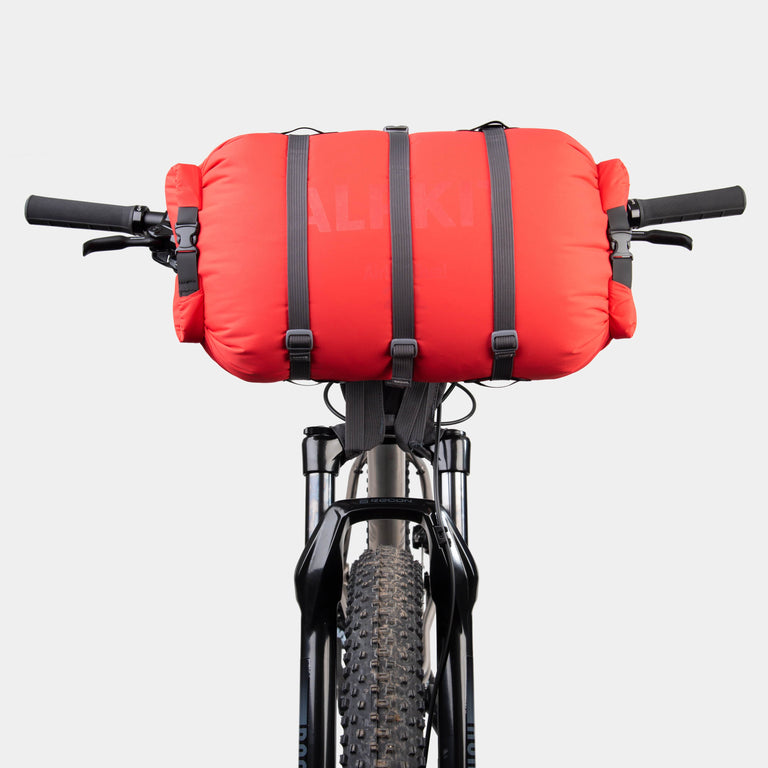
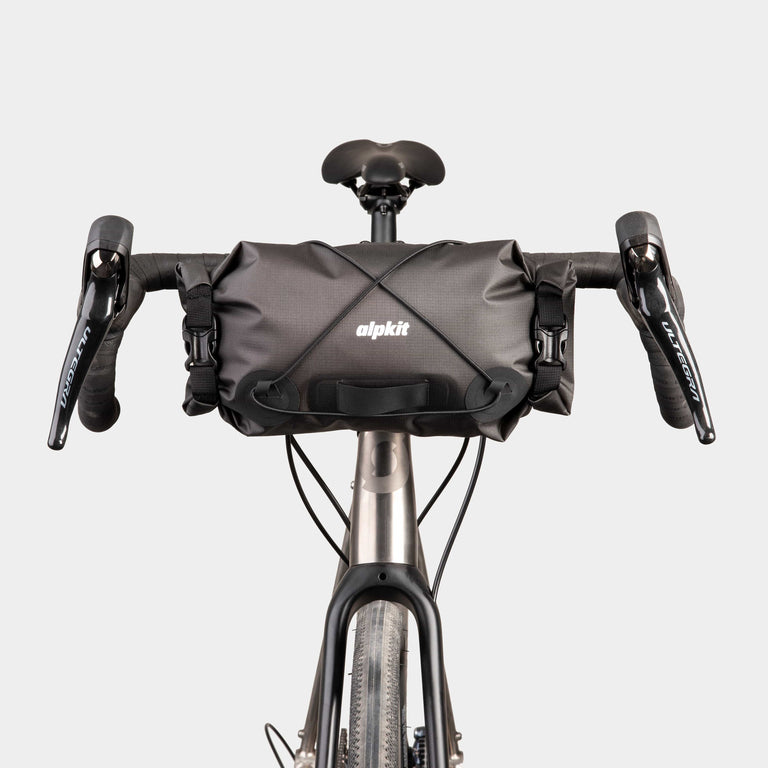
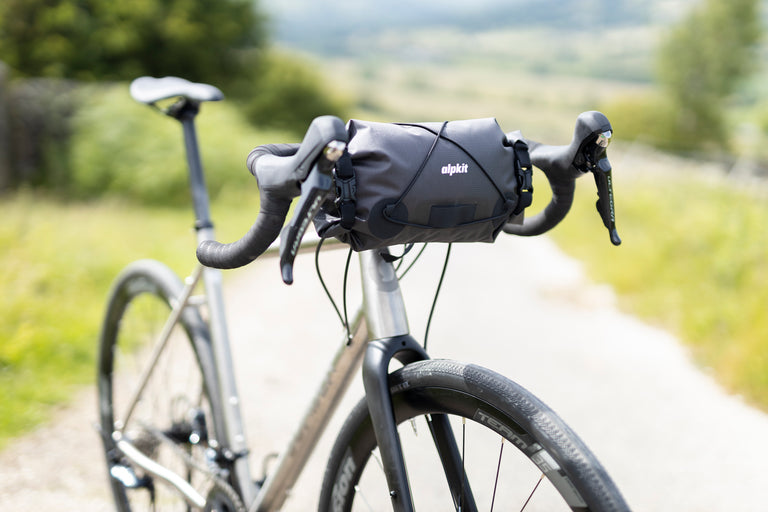
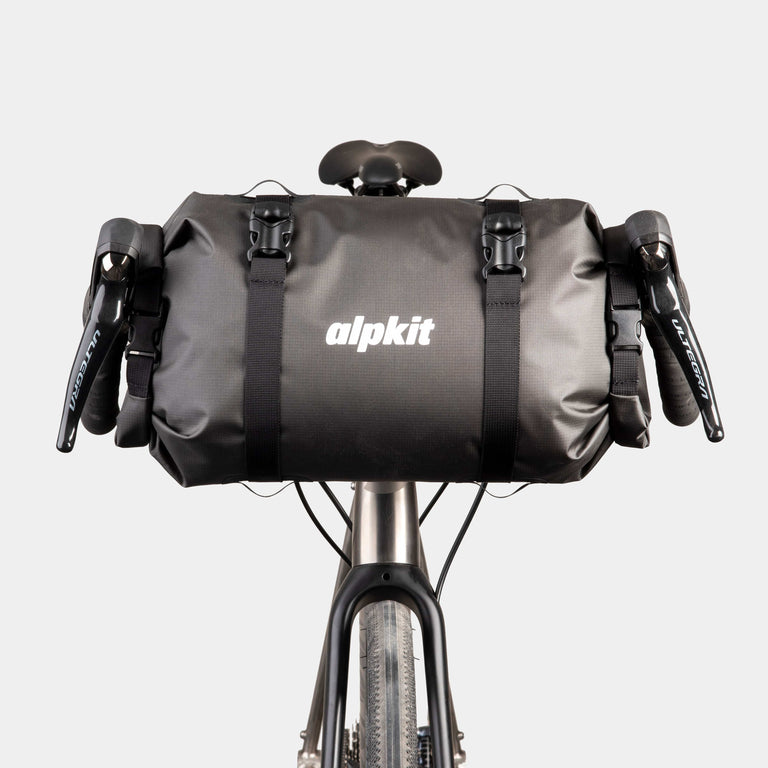
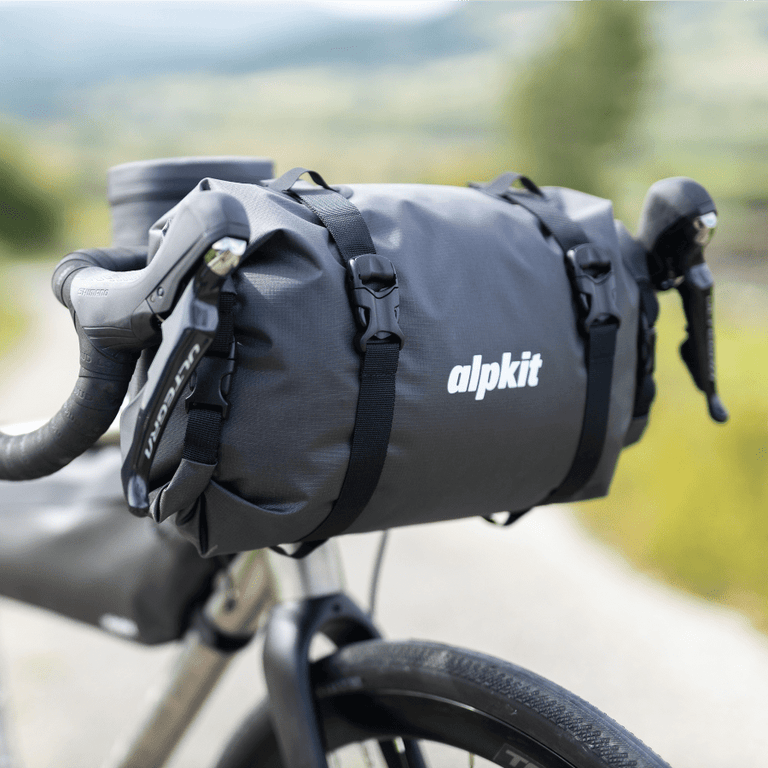
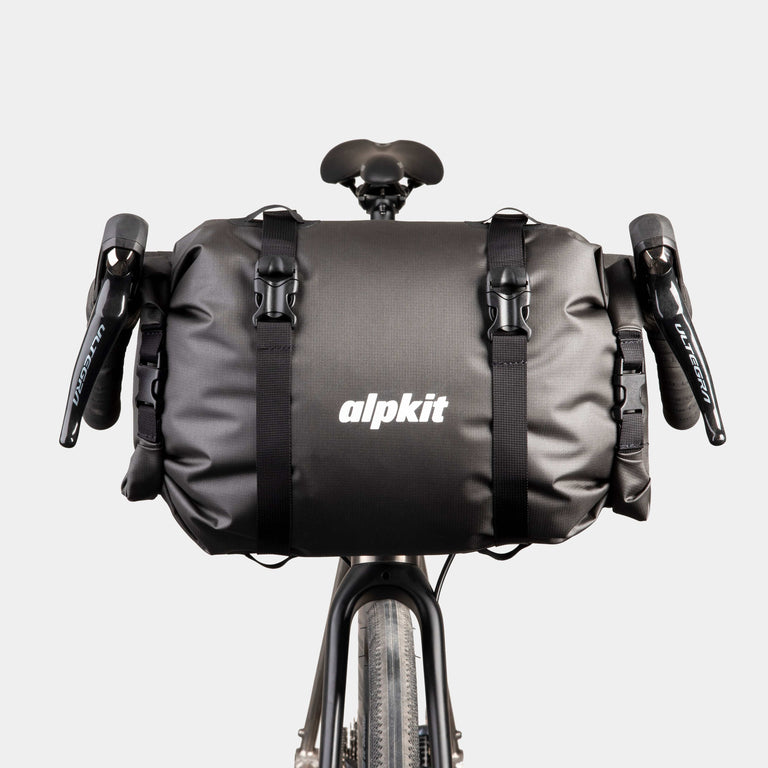
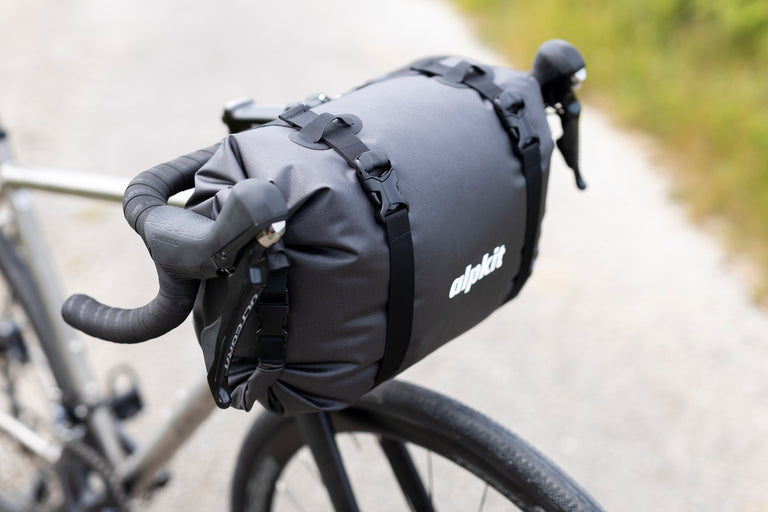
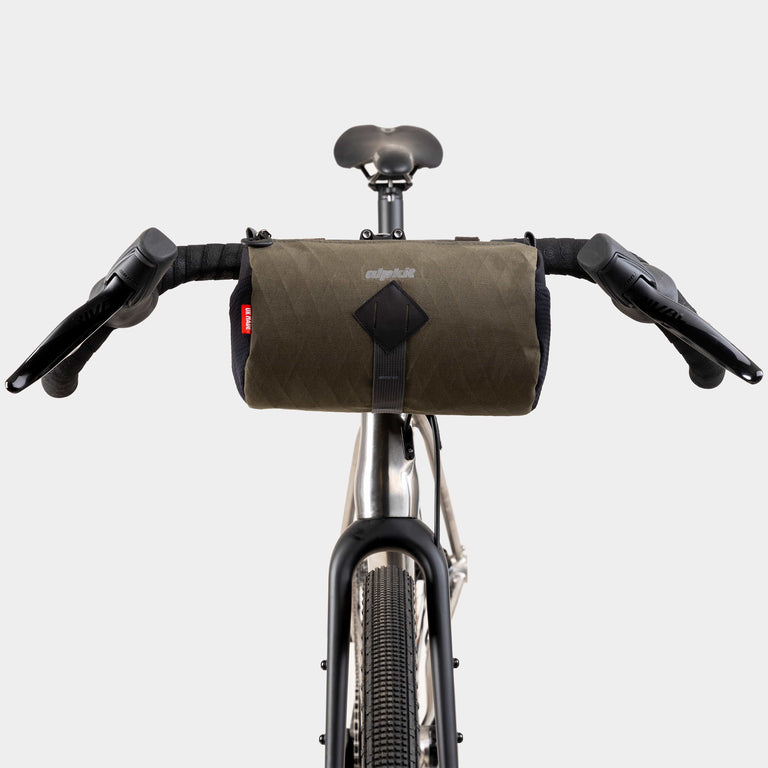
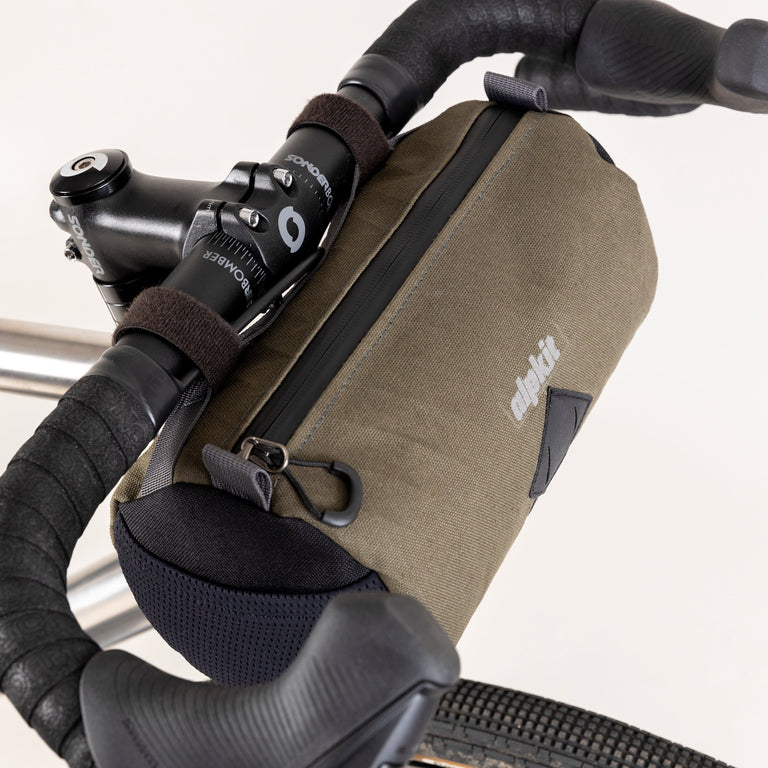
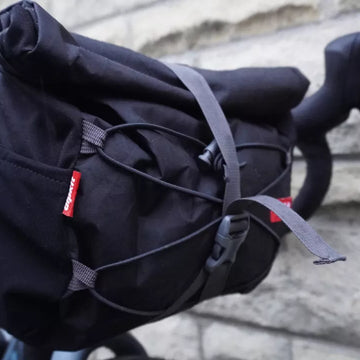
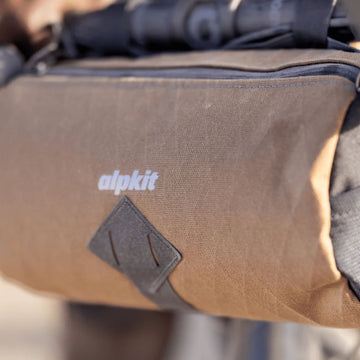
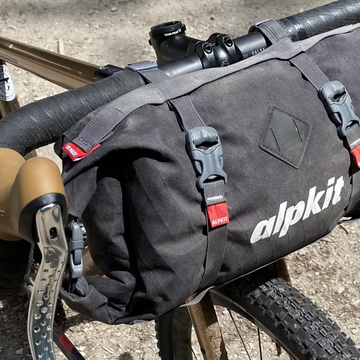
Alpkit Tivaro 13l
It was great to try out this prototype handlebar-mounted dry bag. The key word was ‘dry’: after being ejected over my handlebars in Fisherfield, with my bike landing nose first, fully submerged, in a stream, I was beyond relieved to find its valuable contents still bone dry. You can get through all manner of hardships in a day, but if your sleeping kit gets wet, it’s sense of humour failure time. The integrated harness also worked brilliantly, holding it onto the handlebars securely so that there was no need to adjust the straps throughout the race.
The Tivaro 13L welded bike luggage, Cloud Cover down blanket, Numo sleeping mat, Rig 3.5 tarp
Alpkit Numo sleeping mat
I love the Numo. A full length, squashy sleeping mat that rolls up to not much bigger than a coke can. Guaranteeing a great night’s sleep was important to me and it felt soo good to lie down on this at the end of an 18 hour day of riding. (Although I didn’t need it, I also remembered to take along a puncture repair kit this time, after waking up every hour to re-inflate taught me a valuable lesson on a previous training ride).
Alpkit Cloud Cover down blanket
My attempts to join the lightweight racers crowd led me to the Cloud Cover over a conventional sleeping bag. It’s ace if the conditions suit: you can button/toggle it up to make a sleeping bag, or just wrap yourself up in it as a blanket. It’s super lightweight and packable (into an integrated pocket), but if temperatures drop to around 2-0*C (as they did for me on a training ride) you can get a little on the chilly side. However, coupled with a down jacket, it works for most summer conditions. It’s mega versatile too: I’m currently using it as sofa-based blanket, and looking forward to using it in conjunction with my sleeping bag when things get really cold in the winter.
Alpkit Rig 3.5 Tarp and unbranded bivi with integrated midge net
Some riders went for the lightweight tent option and, to be honest, it’s not a bad idea. A good one won’t weigh much more and the Highland midges have the capacity to drive you to distraction if you can’t escape them. My setup worked well as long as I pitched in a breeze or got straight in and zipped up the bivi bag (which I’m grateful to a mate for lending me over my open ended option). On the other hand, if you’re one of those speed machines who doesn’t plan on sleeping at all, I guess it doesn’t really matter. something to bear in mind for next time maybe?
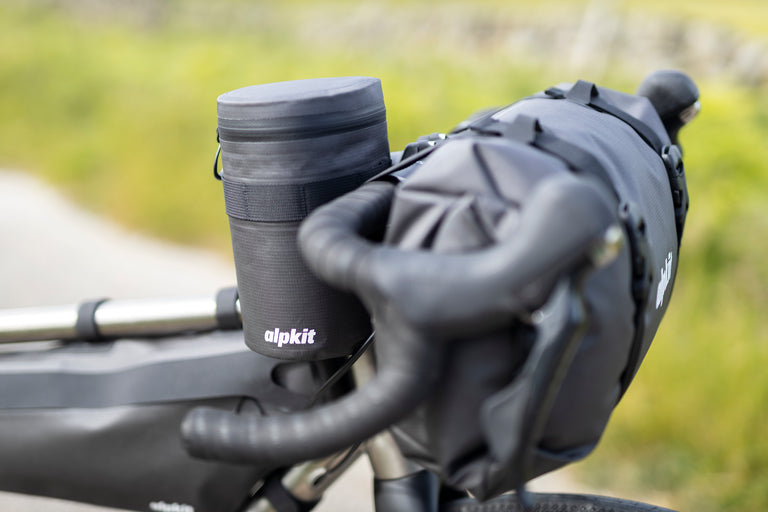
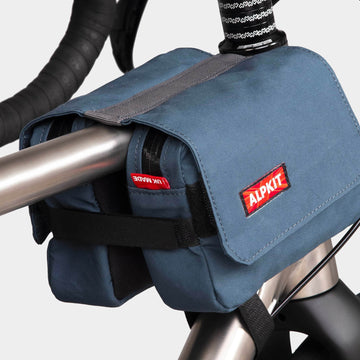
Fat Roo handlebar luggage bag, Fuel Pod tube mounted bag, Squij travel bottle, First Aid kit, and other essentials
Accessory pockets
Fuel Pod & Fat Roo
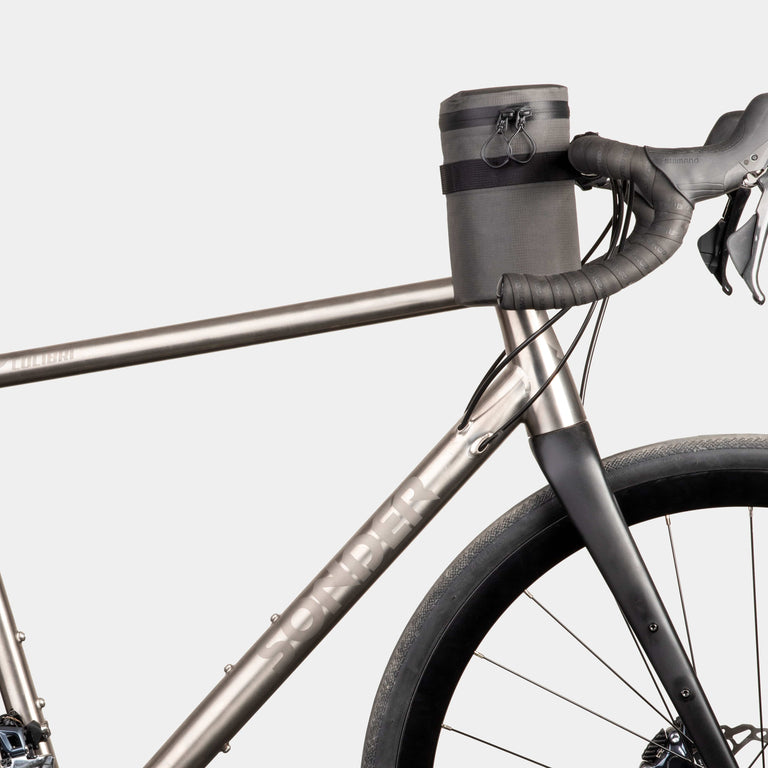
Handy, accessible spots for stashing camera, emergency maps, first aid kit, Chamoix cream sachets, midge repellent, and sun cream. I decanted suncream, Avon Skinsosoft, and (of course) peanut butter into a set of Alpkit Squij travel bottles.
Frame bag
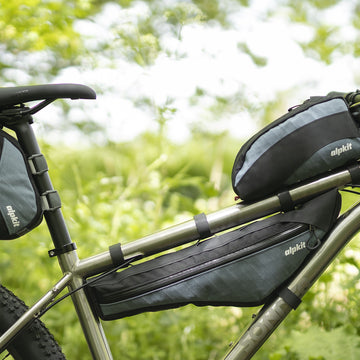
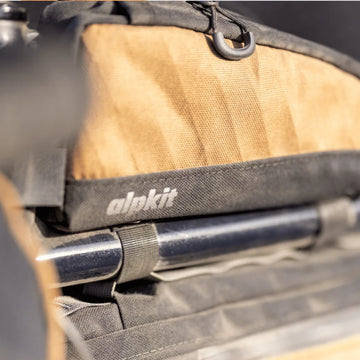
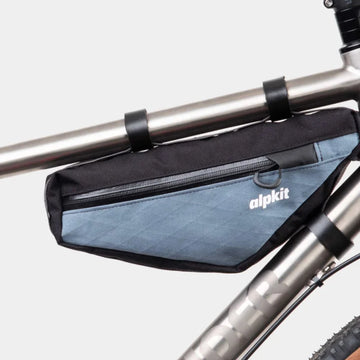
Alpkit Stingray
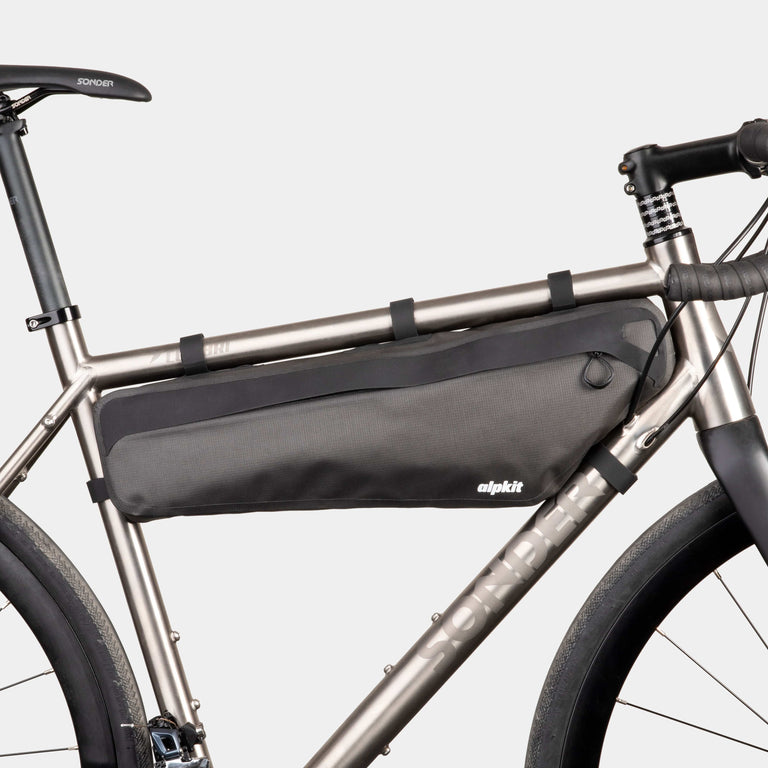
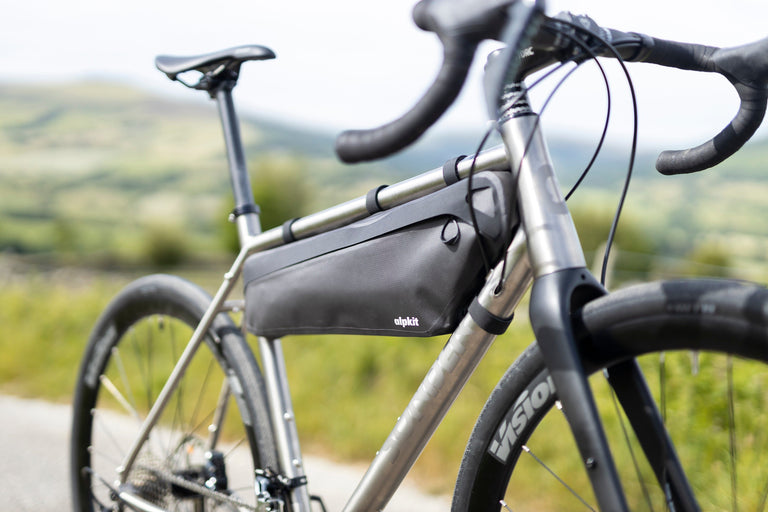
With only one bottle cage mount on the Transmitter, a frame bag made a lot of sense. The guys in the Nottingham factory made it up to fit Sandy perfectly and to my specifications (they even added a special battery mount for the Hadron light!). The two zips and divided levels worked really well, with the heavy tools, tube etc down at the bottom to keep the wight low and a bladder up top with enough space to easily cram in most of my food provisions as they were depleted and restocked. I wasn’t a huge fan of drinking through the hose whilst riding along, but the bladder worked well to refill my handy bar mounted bottle (another benefit of the Confucius bars).

Stingray frame bag and its contents: water bladder, Hadron bike light, pump, tools, spare parts, and room left for for food.
Lights
In theory you could go pretty minimal on lights for this event as it’s only dark for a couple of hours a night, but if you’re planning to ride through the night it’s nice to be able to see where you’re going (especially when your brain’s not functioning properly). Even nicer is not needing to worry too much about the battery running out: I used the Alpkit Hadron on the bars and adapted the mount of the Boson to fit on the helmet mount I had already. Blasting through the night to finish the last leg, I was mega happy with them both (even if my brain didn’t really register it at that point). I also took a spare head torch.
Water Filter
After long and careful consideration, I opted to take a water filter so that I didn’t need to be fussy about where I filled up on water. As it turned out, I accidentally left it on my workshop table before I left. and I was fine. There’s lots of water to drink in the highlands and as long as there’s no dead sheep upstream, it’s probably fine. I think the filter would, however, prove more useful in less remote areas with more livestock around.

Here's hoping there are no dead sheep upstream.
Tools & Spares
It’s hard to think of and plan for all eventualities, and I had to think hard to pare down my guiding toolkit to avoid taking a ton of stuff that I’d hopefully not have to use. Ultimately it would be a huge disappointment to scratch (exit) from the race because of an otherwise fixable mechanical problem. In my tool kit I ended up packing:
- Pump (a Crank Brothers Gem that switches between high volume and high pressure - handy for +tyres)
- Shock pump - The tiny Topeak one
- Park Multitool - That has just about everything on it.
- Leatherman Wave - That has everything else on it
- Duck Tape
- Zip ties
- 1 x Gear cable
- Puncture repair kit (inc patches for sleeping mat)
- Tyre boot
- Spare brake pads x 4 (in the end I didn’t have to use any but if it got wet.)
- Spare mech hanger
- Jubilee clip
- Small assortment of nuts/bolts/washers
- Spare valve core
- Chain quick links x 2
- Spare spokes and nipples x 3
- Chain Lube (essential!) - decanted into a sushi soy sauce bottle
- Tubes x2 (& I ended up using both.)

You know when you go into the petrol station and you're hungry.
Food
You can come up with all the very best dietary shenanigans that work best for you before you go but unless you can buy them all from a petrol station shop then it probably won’t be of much use. That is, unless you carry it all with you. This was my mistake. I took along some food that journeyed with me almost the whole way around the route. In reality, when you’re moving fast you can re-supply at least once a day and probably more (even when food stops are 150km apart). Listening to your body is best when deciding what to buy and it may be worth entering any establishment twice, the first time grabbing just enough so that you can avoid making important decisions about what to get when you’re hungry.
The exception to this rule is any specific rehydration or energy product that’s not commonly available in village shops. I’m not a huge fan of the stuff myself but took some Nuun tablets to add to my water and a few caffeine-laced products kept the sleep demons at bay when pushing out towards the finish.
Seatpack
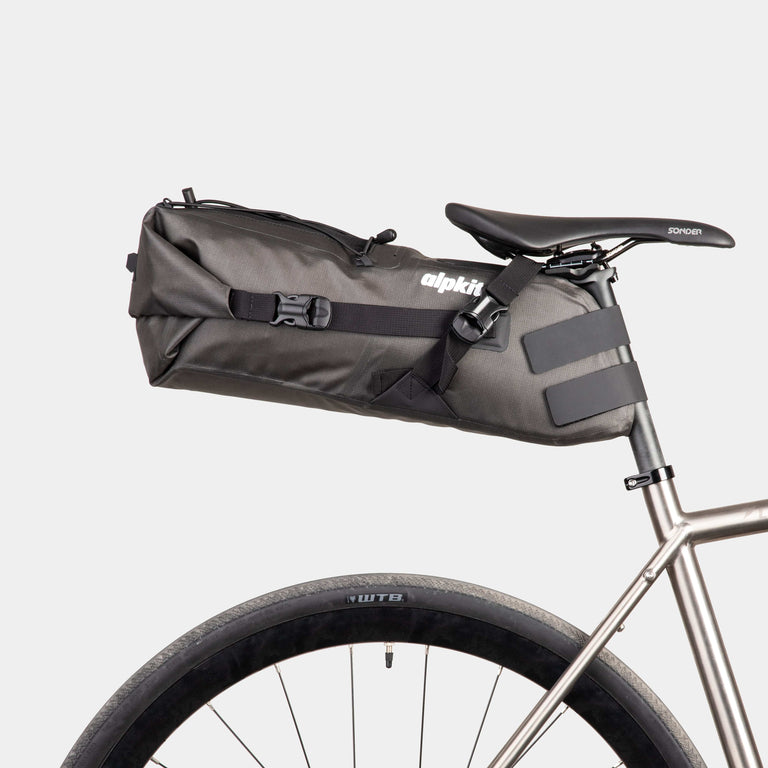
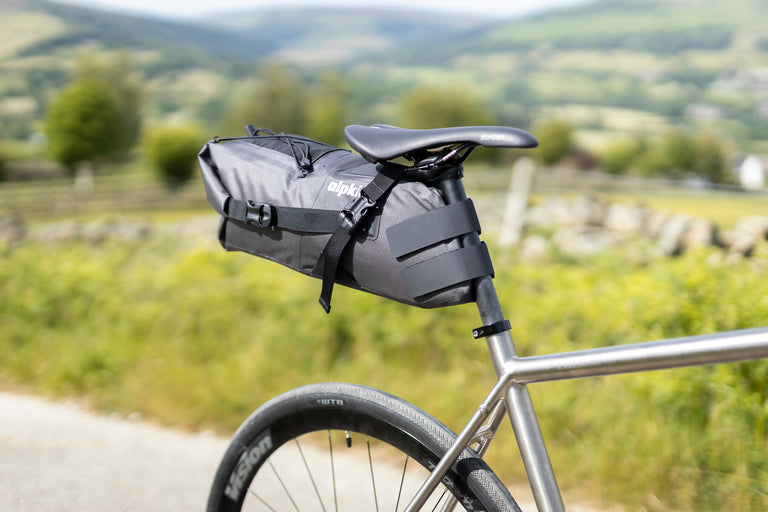
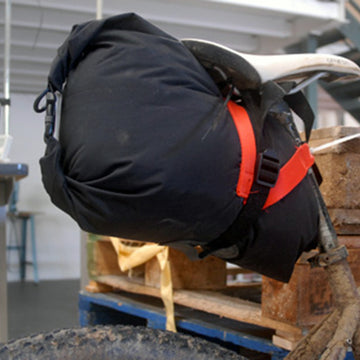
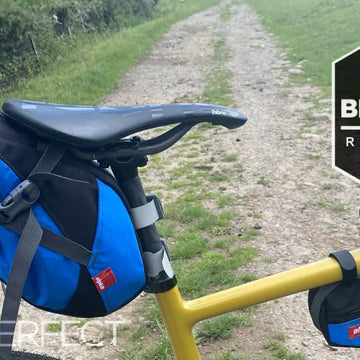
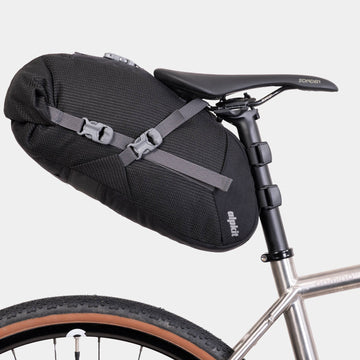
Alpkit Koala
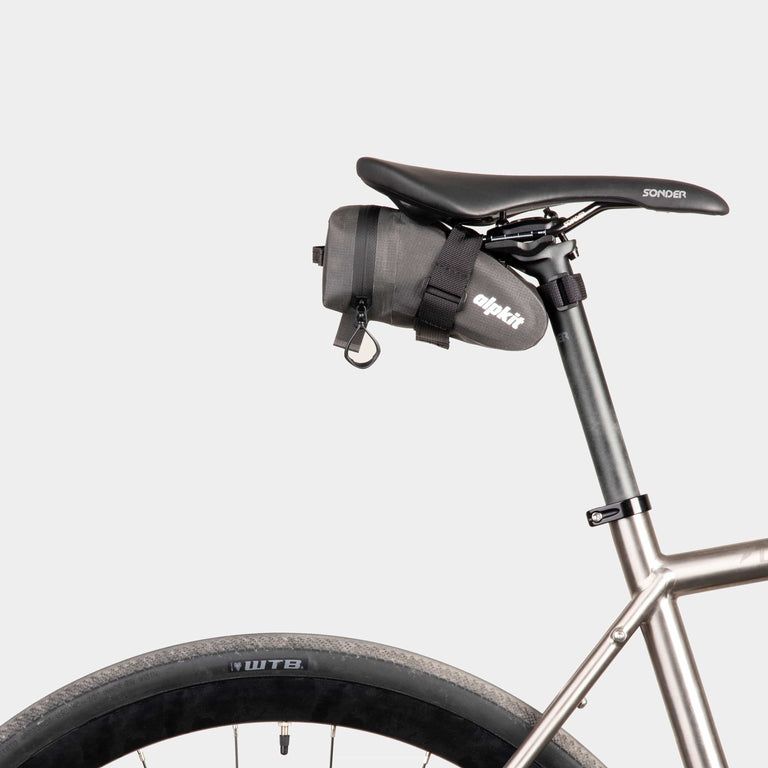
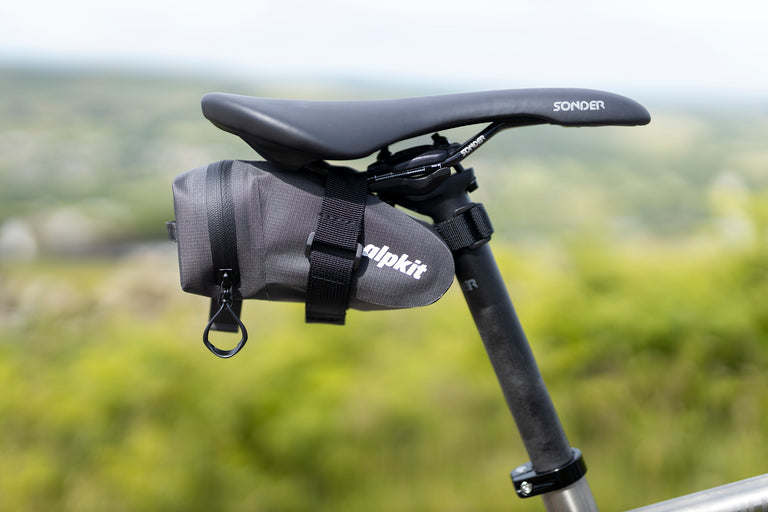
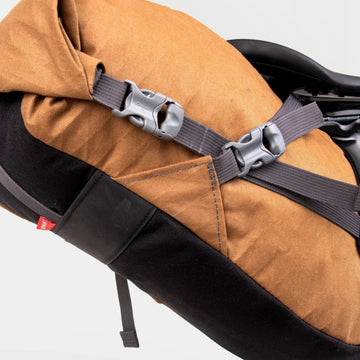
Tried and tested from our Adventure Pedlars hire fleet. I love how solid and secure these are on the back of the bike. With loads of straps to tighten, it stops any unwanted dangling or flopping on rough trails. It’s not 100% waterproof so I used a small dry bag inside for my dry clothes, which also made them easier to get out.

Alpkit Koala lightweight seatpack Katabatic synthetic jacket, Merino base layers">Kepler Merino, Parallax waterproof trousers, Kraku ultralight stove, MitiMug650 cooking pot, Snapwire foon,
Stove
The tiny Alpkit Kraku stove coupled with a small gas canister fits perfectly into the MitiMug650 along with a Snapwire Foon. A lot of riders chose not to take stoves but this relatively light and tiny package ended up giving me more options, ultimately dictating my whole race. I shoved in some coffee granules and a couple of cuppa soups too for some all important brew stops which, in some cases, saved me time over choosing to stop in coffee shops. Ultimately, it’s still nice - even when racing - to stop at the side of the trail for a brew.
Spare Food
I stuffed an emergency Firepot dehydrated dal & rice meal into the bottom of my seat pack which was to prove tactically essential in me getting a sub 5 day time. It was pretty tasty too!

Cooking with the Kraku ultralight stove, MitiMug650, and Snapwire Foon
Dry clothes
Essential for a good night sleep. I took a Merino wool base layers - 100% Pure Non-Mulesed Merino">Kelper merino top and some 3/4 tights. The Katabatic Primaloft jacket could have been overkill for the conditions we got but it’s one of my favourite bits of kit and if things had turned bad for any reason I wouldn’t have wanted to be without it. I also put in an extra set of waterproof socks to save my feet from sodden shoes in the morning: seeing the state of some other riders feet at the end, I’m glad I did
Waterproofs
The weather can be pretty unpredictable up there and despite not being the wettest it could have been, we certainly had our share of downpours. Whilst I didn’t end up using the lightweight Parallax trousers for riding in the rain, they were handy protection against the midges when setting up my bivi. They’re also another bit of kit I wouldn’t have wanted to go without if the weather took a turn for the worse. Waterproof gloves were handy too although probably not essential. The only kit I didn’t use was the Gore Windstopper full leg warmers.
Spare batteries (not shown)
As well as spare lithium batteries for the Spot tracker and Garmin, I decided to take a pretty hefty USB battery pack to charge my phone a full 6 times. My thinking was that if the Garmin failed then I could rely on my phone for navigation. I think, in truth, I was being a bit paranoid having read Lee Cragie’s ‘Joining the Dots’ book and this proved to be an unnecessary weight. I’d still recommend taking a battery but next time I’d opt for a smaller, lighter option.
On my body
OMM Ultra waist pouch
Deciding not to take a rucksack was a great idea. Not only did it eliminate the temptation to carry more weight on my back, but it also made changing layers with the whims of the weather loads easier. With the waist pouch, I could keep those extra layers close at hand and not go too long with the ‘just wait and see’ mentality that can either see you sodden through to the skin or sweating buckets. I also stowed handy stuff that I didn’t want to forget whenever I left the bike (money, phone, toilet paper etc.) and it provided a little extra space for stocking up on food supplies. My iPod and headphones became essential for lifting my spirits or losing myself in when things got tough.
Shimano XM9 Gore-Tex boot
For a bike race that involves so much walking, an SPD hiking boot seemed like just the ticket. For the most part they kept the weather out, however once water gets in (like on the Fisherfield river crossing) it doesn’t tend come out again. This was where waterproof socks came in handy. Poor foot condition was one of the biggest complaints from finished riders in the Real Food Cafe (and they had the smell to prove it!). Mine weren’t really much of a problem so I guess this footwear choice paid off.

Everything that was on me, including the Gravitas ultralight waterproof, and Rhythm Thicky Jersey
Gore bib shorts
I’ve probably been using these for way too long but, in the end, I wanted to go with something I trusted for such a crucial bit of kit. They didn’t disappoint, although I’m not sure how much life they’ve got in them now.
Gore AlpX Windstopper baggies
Being a mountain biker at heart , it’s taken me a fair old while to accept that, for ultra long distances on the bike, baggies aren’t quite the ticket most of the time. However, for protection against the elements when the rain came in, these did the trick nicely.
Alpkit Kelper Velo short sleeve top & Planet X merino arm and knee warmers
Short sleeves combined with arm warmers proved by far the most versatile way of regulating my body temperature on the bike, plus merino stops you from smelling (too bad.)
Alpkit Rhythm Thicky Jersey
Great for chilly mornings and evenings; I love the fit of this jersey and the mesh back panel stops you from overheating.
Alpkit Gravitas Waterproof Jacket
This was another of my favourite bits of kit. Although not cycling specific, this waterproof jacket">super-effective waterproof packs down to about the size of a tennis ball. It’s also light and breathable enough to work as a windproof without making you steam up.
Ultimately, as a bikepacking setup I felt that all this kit worked really well for me and was happy with my choices for the type of trail and the time of year. However, as with so much of the experience of my first HT550 race, it has all very much been an education. Whilst I was able to ride faster and further than I could ever have imagined with this setup, I can’t help wondering how to go little lighter and a little faster next time round. watch this space.

