Pack with purpose for every type of bikepacking adventure. Whether you're going ultralight for a quick off-road raid or fully loaded for the long haul, here's how to get it right.
There are many types of bikepacker. The ones who arrive at camp in under six hours, eats a cold wrap and is asleep in a bivvy by 9pm. Then there are the ones who roll in at dusk, sets up a proper shelter, boils water for a real meal and considers the titanium spork a luxury they've absolutely earned. Then we have the rare breed who sleep where they fall until they are awoken by a badger chewing their ear.
Neither is wrong. Both require you to pack with purpose. The mistake most people make, especially on their first trip, is packing without a clear philosophy. You end up carrying too much for a fast trip, or not enough for a comfortable one. The kit you choose and how you load it will shape your entire experience. There is an art to packing.

This guide isn't about which bags exist (we've covered that in our guide to bikepacking bags) or which tent to choose (that's here). This is about the packing decisions that come after those choices are made, the philosophy, the weight distribution, the access logic and the waterproofing that turn a bike loaded with stuff into a properly sorted rig.
In this guide
- Your riding style drives your packing system
- The fast and light approach: less weight, more miles
- The grand touring approach: everything you need for self-sufficiency
- Weight distribution — the rules that apply to both
- Pack for access, not just capacity
- Waterproofing your load
- Test before you commit
Your riding style drives your packing system
Before you reach for a single bag, answer one question: what is this trip actually about?
If the riding is the point, the distance, the terrain, the flow then you want to carry as little as possible. Weight is the enemy of enjoyment on long climbs and technical descents. Every kilogram you save is a kilogram your legs don't have to move uphill.

If the whole experience is the point — including where you sleep, what you eat and how you feel on day three a little extra weight pays dividends. Comfort compounds over days. A better night's sleep and a hot meal put more miles in your legs than a lighter bike.
Neither approach is a compromise. They're just different trips. The problem comes when you try to blend them without intention. When you bring the cooking set for the grand tour but not the extra sleeping mat insulation to go with it, or when you cut down to a bivvy and a single jersey but forget that the evenings are cold.
Pick your approach before you pack, and everything else follows.
The fast and light approach: less weight, more miles
Fast and light isn't about deprivation. It's about precision. You're not leaving things behind because you can't be bothered, you're leaving them behind because they don't earn their place on this particular trip.
Fast and light bikepacking in practice
Your target for a fast and light overnighter or multi-day sprint is typically under 8–10kg total pack weight, including food and water. Every item should pass the "will I use this every day?" test. If the answer is "maybe", leave it.
Shelter: a compact solo tent or bivvy bag. If you're riding in spring or summer, you may not need a full tent at all. A lightweight bivvy with a small tarp for wet nights covers most conditions and packs to almost nothing.
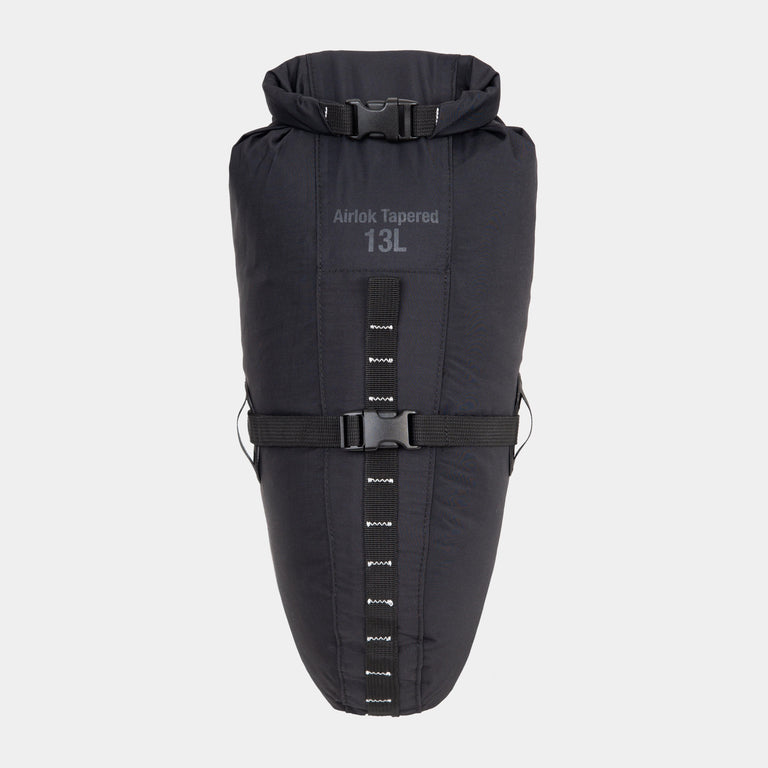
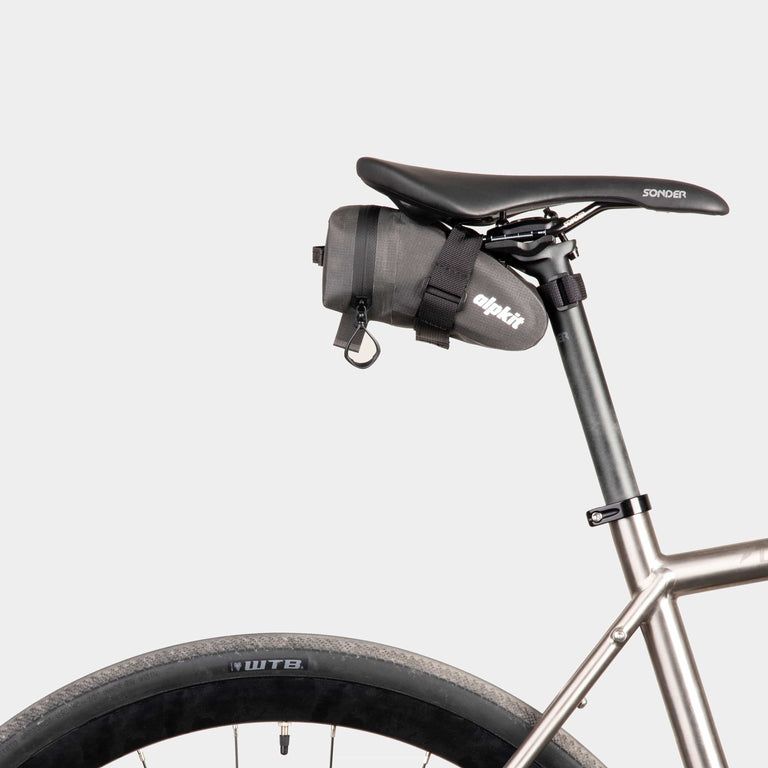
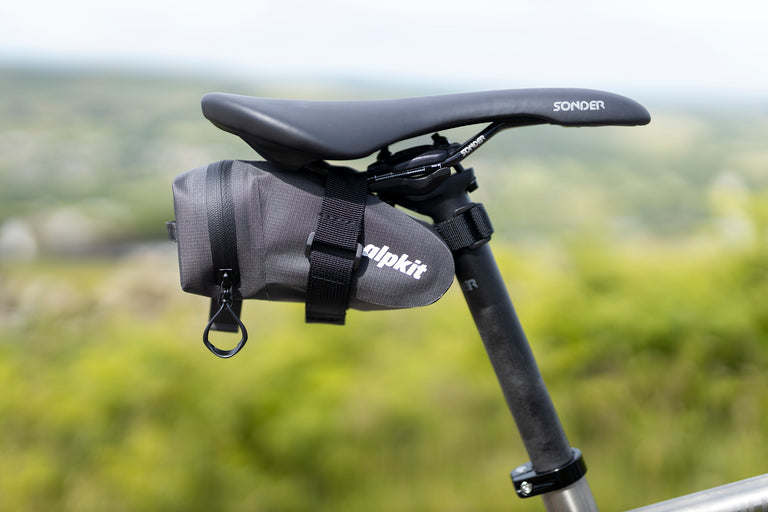
Sleep: a three-season down sleeping bag compressed tight in your saddle bag. Pair it with a lightweight inflatable mat, warmth from below matters more than most people expect.
Clothing: one riding kit on you, one set of off-bike clothes. A waterproof jacket. An insulated layer. That's it. The tempation for redundancy is fair, make sure you don't compromise your safety but do you really need that second fleece?
Food: high-calorie, no-cook where possible. You're riding, not camping. Anything that requires fuel and cooking time is eating into your riding time or your sleep.

Packing placement for fast and light bikepacking
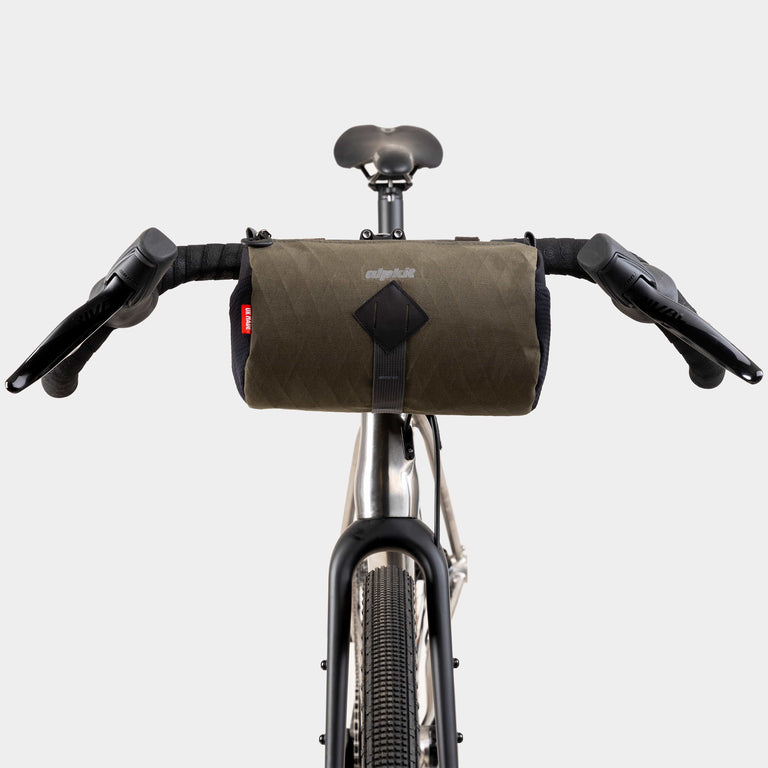
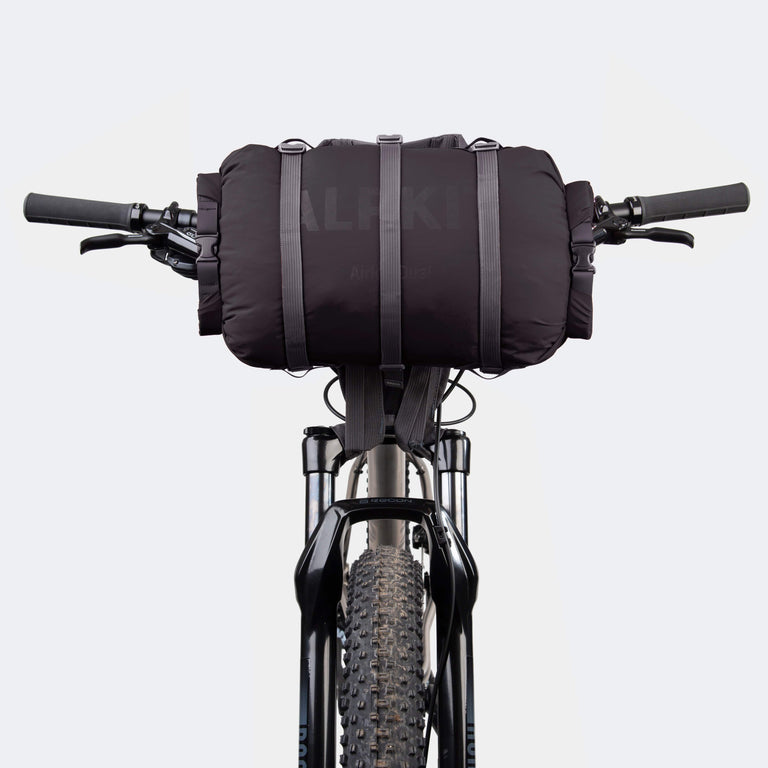
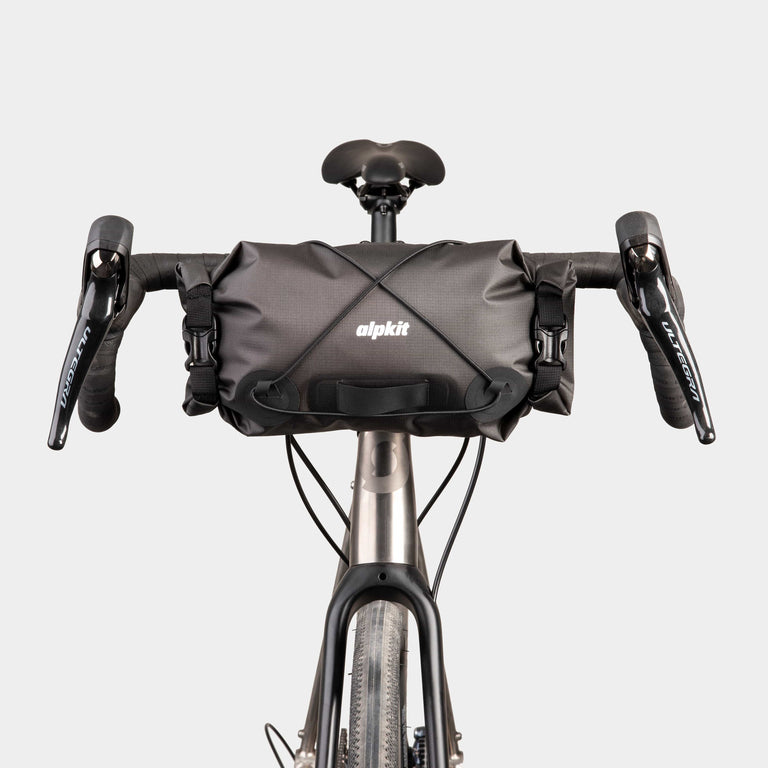
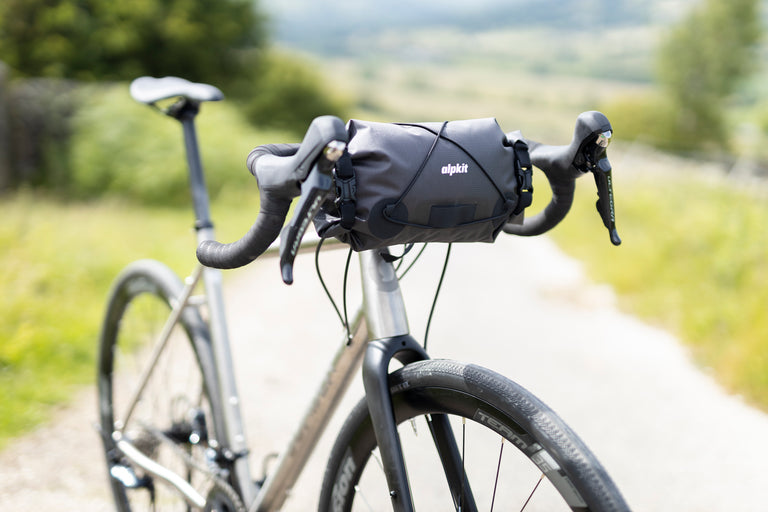
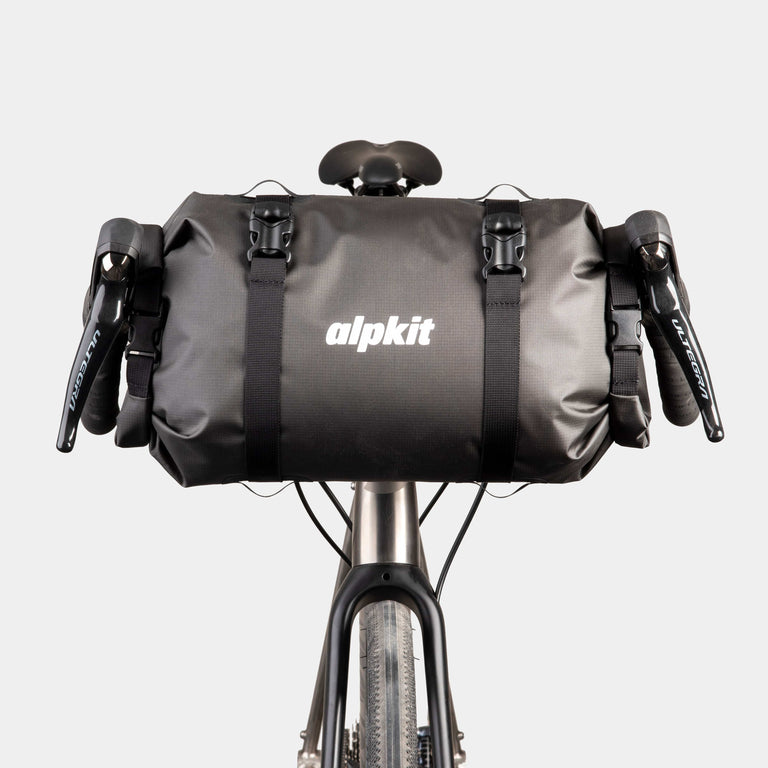
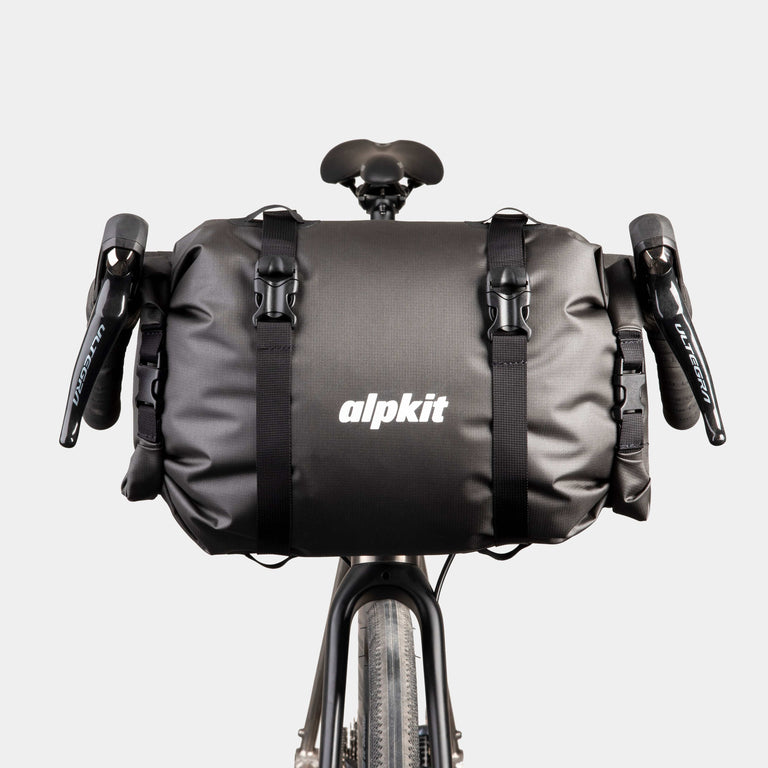
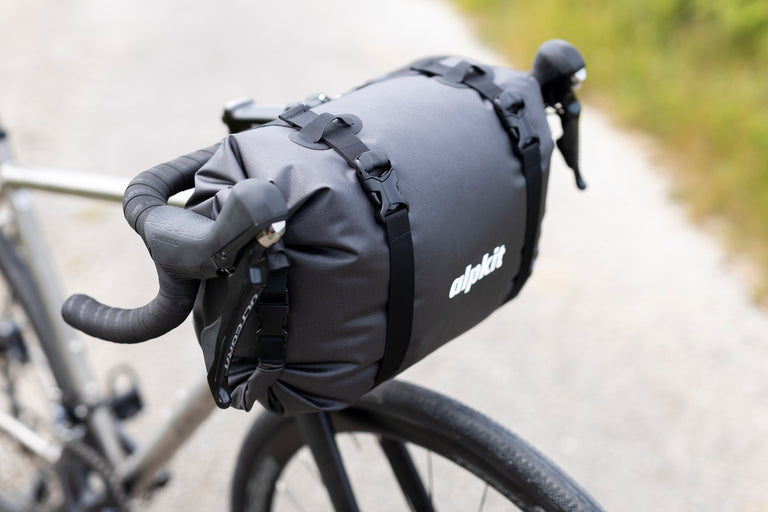
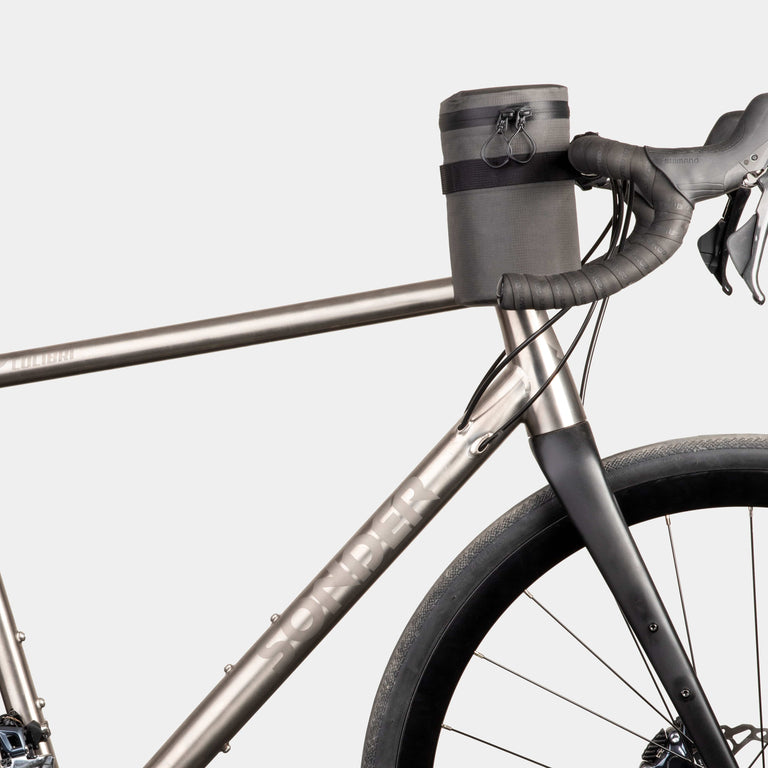
With minimal kit, the classic three-bag reckless setup works well: saddle bag, frame bag, handlebar bag. You probably won't fill all three, which is fine. A half-full handlebar bag beats a heavy one.
Keep your heaviest items — tools, spare tubes, food — in your frame bag, low and central. Your sleep system goes in the saddle bag. Snacks, a light layer and your phone stay in the cockpit or handlebar bag for easy access while moving.
The grand touring approach: everything you need for self-sufficiency
Going longer, slower and with more comfort doesn't mean abandoning the discipline of packing well. It means choosing your comfort items deliberately and loading the bike with the same logic as the fast-and-light rider, just with more to work with.
Grand touring bikepacking in practice
You're probably looking at 12–18kg total for a multi-day grand tour. You've got panniers or a more generous handlebar and saddle setup. You have the space for a few luxuries but you should still use it wisely.
Shelter: a tent with enough headroom to sit up, change kit and wait out a wet morning in comfort. The right bikepacking tent at this end of the spectrum gives you a genuine home for the night rather than just a rain cover.
Sleep: a warmer sleeping bag and a more comfortable sleeping mat. You're not saving enough weight to justify a cold, thin mat over multiple nights. Your sleep quality directly affects how you ride.
Food: a camp stove, a pot and the ingredients for a real meal. After 70 miles in the rain, cooking something proper isn't a luxury it's a morale boost. We've got a whole camp kitchen guide covering exactly what to take at both ends of this spectrum.
Clothing: two riding kits if you're out for a week or more. It's not weakness, it's hygiene and comfort. Pack dry bags inside your bags so each set stays clean and dry.
Packing placement for grand touring
At higher volumes, you might add panniers to your setup, especially for road-heavy tours where bike handling is less of a concern. The weight capacity of a pannier setup gives you genuine freedom to carry comfort items without compromise.
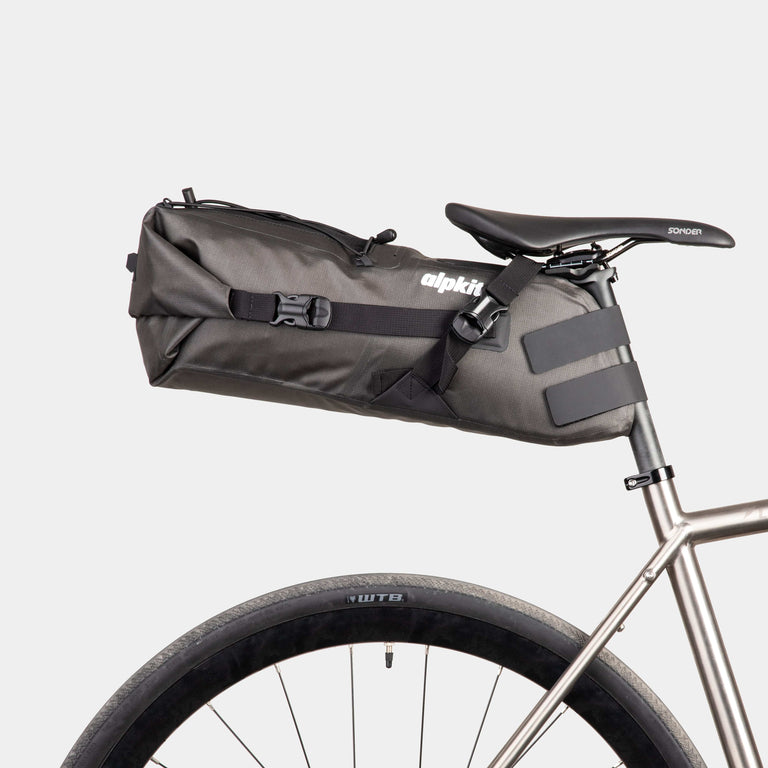
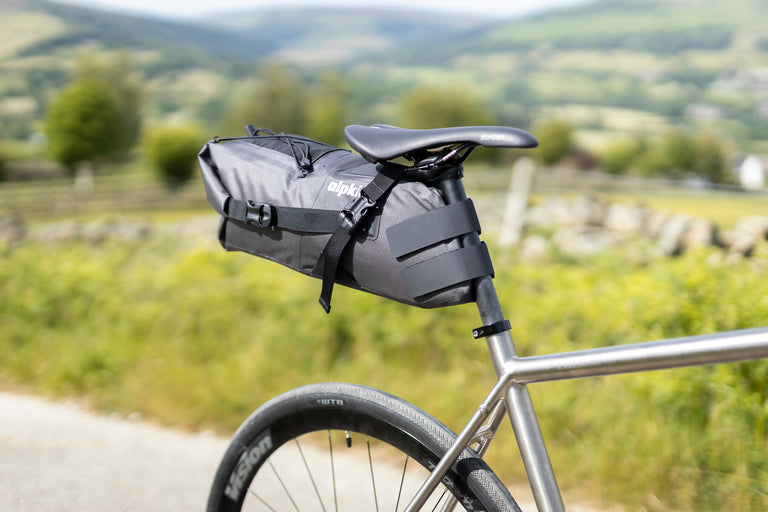
If you're sticking to bikepacking bags, get the biggest saddle bag you can comfortably run and keep your heaviest items , food, fuel canisters in the frame bag. Clothing and the sleeping system go in the saddle and handlebar bags. Keep your tent accessible in the handlebar bag or a dry bag strapped to your forks, so you can get to it quickly when you're setting up in the dark.
Weight distribution — the rules that apply to both
Whatever your approach, weight distribution affects how your bike handles. Get it wrong and a perfectly light setup can feel horrible to ride. Get it right and a heavy bike can feel stable and controllable.
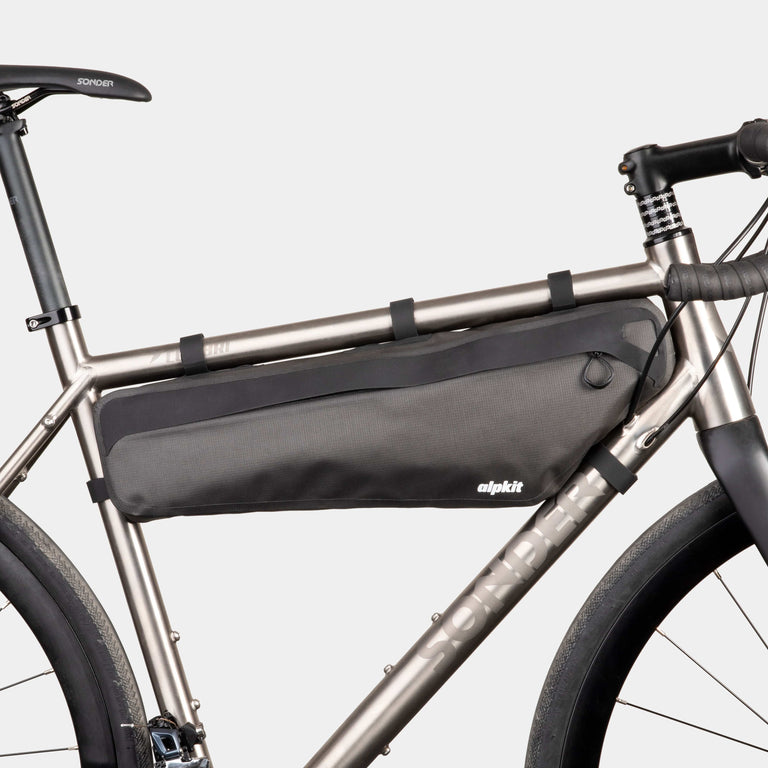
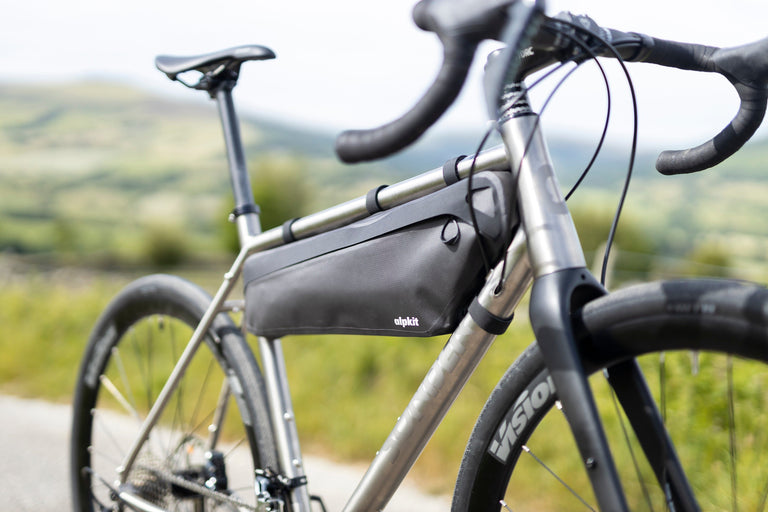
Heavy items go low and central. Your frame bag is the ideal home for heavy kit like food, tools, water bottles and fuel canisters because it sits at your bike's centre of gravity. High and rearward weight creates a pendulum effect, especially on technical terrain.
Bulky but light items go high. Your sleeping bag, bivvy and spare clothing are bulky but light. They're fine in the handlebar bag or saddle bag where their volume doesn't compromise handling.
Balance side to side. If you're using a single-sided frame bag, think about compensating on the other side. Asymmetric loading pulls the bike left or right on steep climbs and slow technical sections.
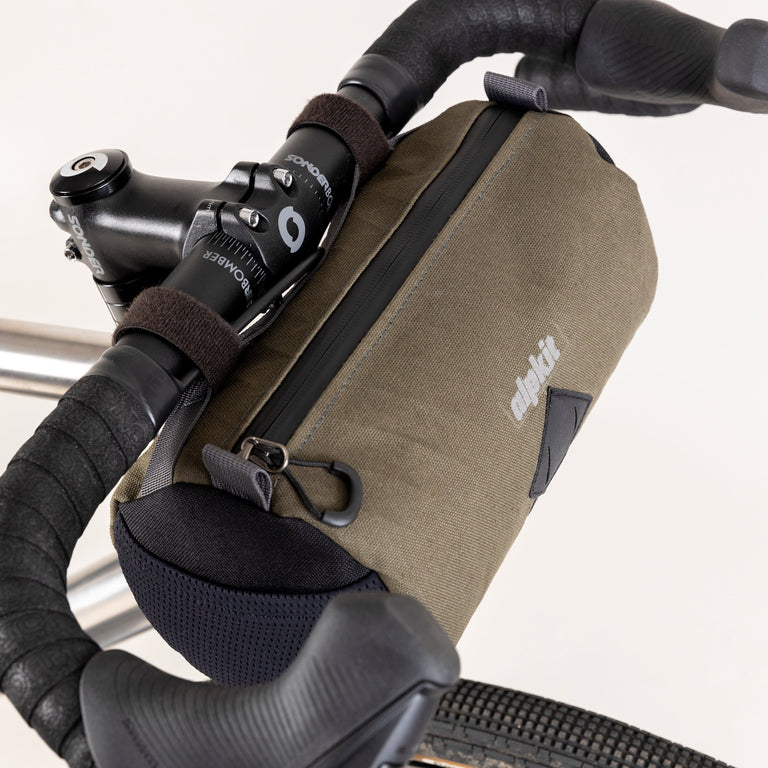
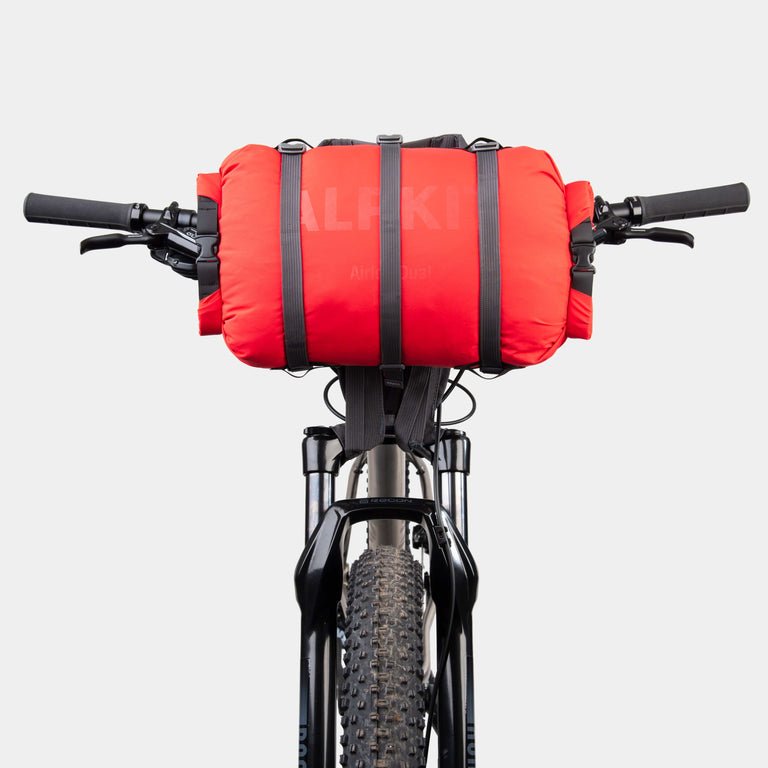
Don't overfill the handlebar bag. A jam-packed handlebar bag affects steering. As a rule, once a handlebar bag is hard to pick up with one hand, it's too heavy. Move the heaviest items out of it and into the frame bag.

Pack for access, not just capacity
You'll be into your bags a lot, especially your snack bag multiple times a day. Think through what you actually need to reach while riding and what can live at the bottom until camp.
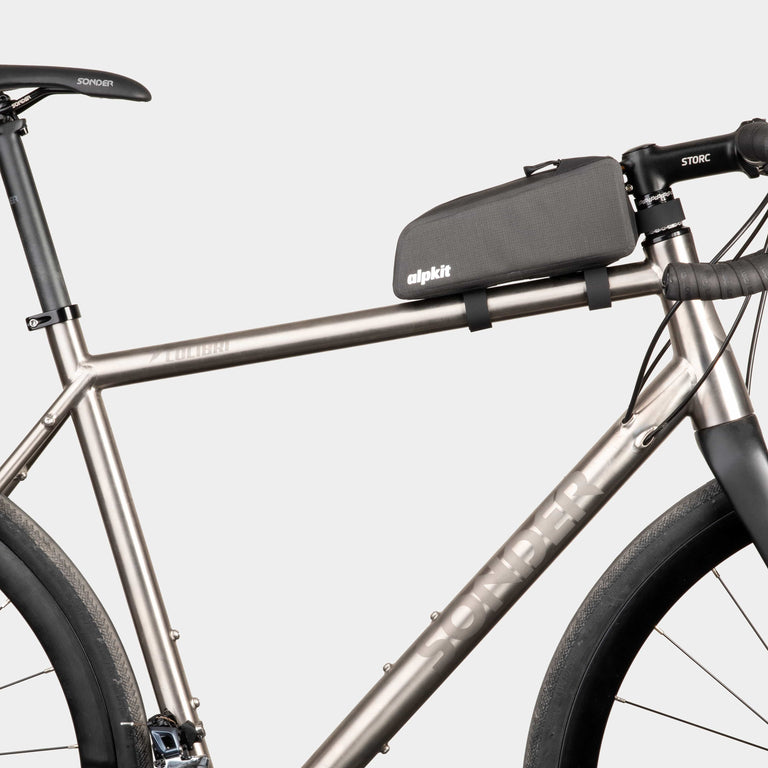
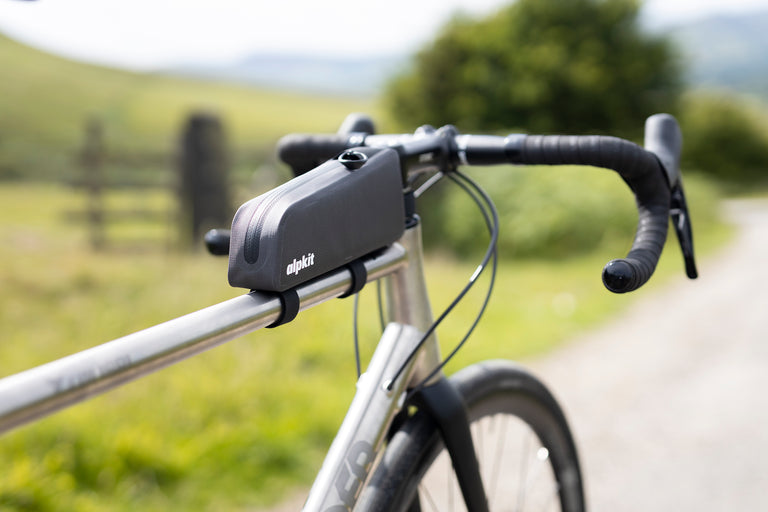
Cockpit and top tube bags: snacks, phone, sunglasses, one emergency layer. Items you'll grab without stopping.
Frame bag: tools, pump, spare tubes, food reserves, fuel. Items you need in the day but not constantly.
Handlebar bag top access: waterproof jacket. The one thing you'll need suddenly and urgently. Don't bury it.
Handlebar bag and saddle bag deep storage: sleep system, spare clothes, camp kit. You're only getting into these at the end of the day.
Pack in reverse order of need. What you'll use last goes in first. It sounds obvious until you're standing in the rain pulling everything out of your saddle bag to find your waterproof trousers underneath your sleeping bag.
Waterproofing your load
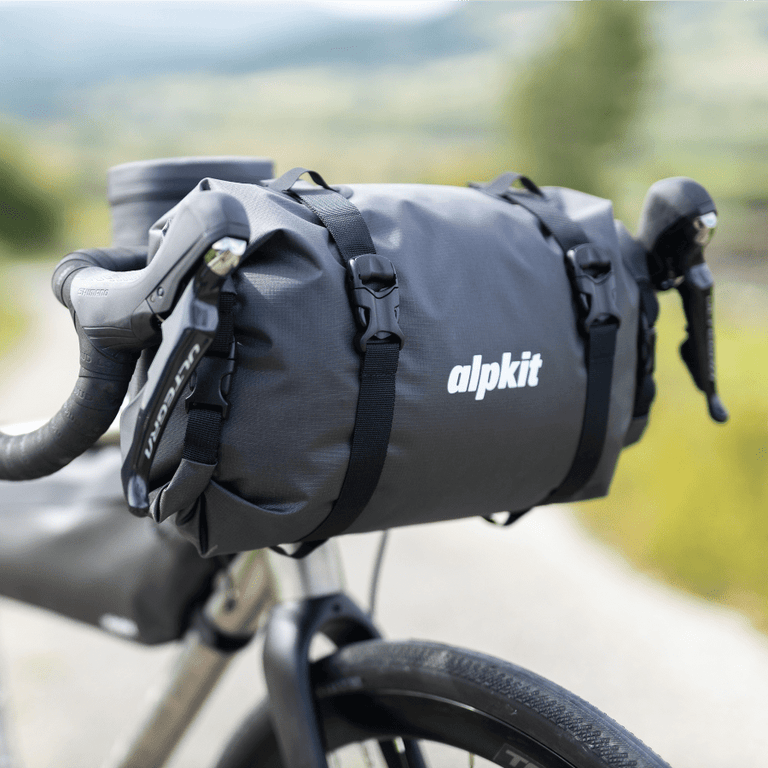
Most bikepacking bags are water-resistant, not waterproof. Roll-top closures do a good job of keeping rain out, but a long day in heavy rain, or a stream crossing where your bike tips over, will find the limits of water resistance quickly.
The solution is simple: use dry bags inside your bikepacking bags for anything that must stay dry. Your sleeping bag and down jacket are important to keep dry;, wet down loses its warmth almost completely. Spare clothes, electronics and first aid should also go inside a dry bag.
Pack each dry bag by category rather than location. One for your sleep system, one for spare clothing, one for electronics. It keeps things organised and means you can pull out exactly what you need at camp without unpacking everything.
Test before you commit
The single most valuable thing you can do before a big bikepacking trip is load up your rig and ride it. Not a short spin around the block — an actual ride with the full kit, including a climb if your route has one.
You'll immediately feel any bag rub against your leg on the pedal stroke. You'll notice if the handlebar bag is interfering with the brake cables. You'll find out whether your saddle bag is drooping under the weight. You'll discover which bag you can't reach without stopping.
An hour's test ride before you leave home saves you a miserable first day discovering all of this on the trail. Adjust, move things around and ride it again until it feels right.
Then pack a bit less than you think you need. You'll be grateful on the climbs.
Further reading
Bikepacking Bags
-
Sold Out
-
Sold Out

-
Made In Britain