How to pack a rucksack or waterproof backpack for hiking. Master weight distribution, accessibility and organisation with these 10 practical tips.
The magic of a great rucksack lies in a simple paradox: it must carry everything you need for your adventure, yet stay completely out of your way until you need it.
A badly packed rucksack breaks that paradox. It fights against you with every step. Weight pulls you backwards on climbs, straps dig into your shoulders, and the one thing you need is always at the bottom. The difference between a miserable slog and an enjoyable day out often comes down to how you pack, not what you pack.
We've packed rucksacks for everything from afternoon rambles to multi-week expeditions. What we've learned is that packing is an art form. This is the art of carry.
Quick start
- First time packing? Start with The three golden rules
- Day hike or multi-day? Jump to Packing for different trip types
- Weight worries? Go to How heavy is too heavy?
- Quick tips? Skip to 10 packing tips
The three golden rules of rucksack packing
Every packing decision serves the central paradox - carrying everything while staying out of your way. These three rules make it happen:
- Pack light - ruthless packers are happy walkers
- Pack heavy items centrally and close to your back - protects your posture and balance
- Keep essentials accessible - waterproofs, snacks and map within easy reach
Get these three right and everything else falls into place.

Where to pack each item for perfect balance
Think of your rucksack in four zones. Each zone has a job: some items need protection, some need quick access, and some need to sit where they'll keep you balanced. Here's how to fill each zone.
Bottom zone - camp comfort
Pack light, bulky items you won't need until evening camp in the bottom of your rucksack.
- Sleeping bag (in a dry bag or compression sack)
- Sleeping mat
- Camping pillow
- Clothes for sleeping in (merino long johns, warm socks)
Use a dry bag to compress and waterproof your sleeping kit. Wet down is useless down. Not sure what sleeping system to build? See our guides to choosing a sleeping bag and choosing a sleeping mat.
Middle zone - heavy and dense
This is your centre of gravity. Pack your heaviest items here, against your back, with lighter items towards the front to sandwich them in place.
- Tent (or just the poles - see tip below)
- Stove and fuel
- Cookware
- Food reserves
- Hydration bladder (if not using bottles)
- Spare clothing
Get this zone right and the pack feels lighter than it actually is. Get it wrong and you'll feel every gram.
Top zone - daytime access
Pack items you might need during the day here. Waterproofs should always be near the top or a side zip - it will rain exactly when they're least accessible.
- Waterproof jacket and trousers
- Spare warm layers
- First aid kit
- Toilet kit (toilet roll, trowel)
Lid and pockets - constant access
Pack small items you'll reach for throughout the day across your lid and pockets. Hip belt pockets are perfect for snacks and navigation - no need to stop and swing the pack off.
- Water bottles
- Snacks
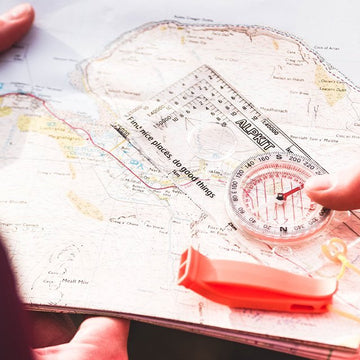
- Compass and map
- GPS or phone
- Head torch
- Sun cream and midge repellent
Packing for different trip types
The same principles apply whether you're out for an afternoon or a fortnight, but the balance shifts. Here's how to adapt.
Day hikes (20-35L)
No sleeping system simplifies everything. Food, water and layers become your main concerns.
- Water and snacks take priority - you'll consume these throughout the day
- Layer access is critical - weather changes fast in the hills
- Keep it light: 5-8kg is a comfortable target
Make sure you choose the right size rucksack - too big and you'll fill it with things you don't need.
Overnight and weekend trips (40-55L)
Now you're carrying a full sleep system. The zone approach becomes essential.
- Sleep kit in the bottom, tent and food in the middle
- Balance comfort items against weight - this is where the hard decisions live
- Target weight: 9-13kg fully loaded
For a complete kit list built around a lightweight system, see our lightweight multi-day camping guide.
Multi-day expeditions (55L+)
Food weight becomes a significant factor. A week's worth of meals adds up fast.
- Plan your resupply points to avoid carrying more food than necessary
- You may need to repack as you consume supplies - the balance changes daily
- Typical weight: 12-18kg depending on remoteness and conditions
Going ultralight? Our ultralight camping kit list covers how to get base weight down to 4.5kg.
Winter and cold weather
Bulkier clothing and a warmer sleeping system eat into your space. Organisation becomes even more important.
- More layers means more items to manage - colour-coded dry bags help
- Keep water bottles inverted so lids don't freeze shut
- Insulated covers for water and fuel canisters
- Stash tomorrow's base layer in your sleeping bag overnight - warm clothes in the morning
For a full guide to dressing for cold camping conditions, see what to wear when camping to stay warm.

How heavy is too heavy?
Your rucksack should weigh what you can comfortably carry. That's the honest answer - it varies enormously between people and trips.
Some practical benchmarks:
- Ultralight target: 4.5kg base weight (everything except food and water)
- Comfortable multi-day range: 9-13kg fully loaded
- Heavy but manageable: up to 18kg for remote expeditions
- Warning zone: over 20kg for most people
Weight myths worth ignoring
"No more than a third of your bodyweight" and "maximum 20%" get repeated often but rarely apply in practice. Your fitness, terrain, daily distance and trip length matter far more than arbitrary percentages.
The real test: can you walk comfortably for six hours with this weight? If not, something needs to come out.
10 packing tips that make a real difference
These are the details that separate functional packing from the art of carry.
1. Dry bags and packing cubes
Two different tools, two different jobs. Dry bags waterproof. Packing cubes organise and compress. Both are worth using, but not interchangeably.
Use dry bags for anything that genuinely cannot get wet: sleeping bag, down layers, electronics, documents. A rain cover alone isn't enough — seams leak and straps let water in. The Airlok 36L is the right size for a sleeping bag; the Airlok 12L handles spare layers; the Airlok 3L is ideal for a phone, battery pack and cables. Colour-code them: you'll find anything in seconds without unpacking half the bag.
Use packing cubes for clothing in the main compartment where waterproofing isn't critical. They compress bulky items, keep clean and dirty clothes separate and make it easy to pull out a day's worth of kit without disturbing the rest. Small for base layers and socks, medium for midlayers and spare shirts, large for down jackets and fleeces. They add a little weight but save a lot of time rummaging.
The combination: dry bags for critical kit, packing cubes for clothing. Your pack will feel half the size.
2. Pack only what you'll use
Decant liquids into smaller bottles. Portion out exactly the food you need. Every gram you don't carry is energy saved for the trail.
3. Fill dead space
Stuff socks into boots. Slide flat items into gaps. A tightly packed bag is a stable bag - nothing shifts or rattles as you move.
4. Roll, don't fold
Rolled clothes compress better, create fewer creases, and fit irregular spaces. Roll everything from t-shirts to waterproof trousers.
5. Waterproof the essentials
Even with a rain cover, pack your sleeping bag and any down layers inside dry bags. Covers leak at seams and where the straps pass through. Wet insulation is useless insulation.
6. Share group gear fairly
Tent, stove, cookware - split the weight across the group, not just onto the strongest carrier. Coordinate your packing together so nothing gets duplicated or forgotten.
7. Do a shakedown walk
Pack your bag and walk a few miles locally before a big trip. You'll quickly discover what's uncomfortable, what's inaccessible, and what you didn't actually need.
8. Keep a packing checklist
Write down what worked (and what you never used) after each trip. Your list will improve over time and you'll stop forgetting essentials.
9. Adjust straps after packing
Hip belt first, then shoulder straps, then load lifters. Most weight should sit on your hips, not your shoulders. A two-minute adjustment makes an all-day difference.
10. Stand your bag upright before setting off
Give everything a moment to settle into position. Catches loose straps before they snag on something and ensures the weight sits where you packed it.
Packing mistakes that ruin good trips
Overpacking "just in case"
The spare clothes you never wear, the gadget that seemed useful at home. If you didn't use it last time, leave it this time. Every "just in case" item costs you energy on every step.
Ignoring weight distribution
All the weight at the bottom pulls you backwards. All the weight at the top makes you top-heavy on rough ground. The middle zone exists for a reason.
Burying your waterproofs
It will rain exactly when your jacket is least accessible. Always. Keep waterproofs where you can grab them without unpacking half your bag.
Skipping the hip belt
Shoulder straps alone turn a comfortable pack into a painful one. Your hips are built to carry weight; your shoulders aren't. Use the hip belt properly and tighten it first.
Packing a wet tent on top
Morning condensation and dew will soak through to everything below. Pack wet items in a dry bag or strap them to the outside where they can air out.
Adjust your rucksack after packing
Packing isn't complete until the fit is right. A well-packed bag worn badly is still uncomfortable.
- Loosen everything before putting the pack on
- Hip belt first - should sit on your hip bones and take 70-80% of the weight
- Shoulder straps - snug but not tight, with a small gap between the top of your shoulders and the pack
- Load lifters - the small straps at the top that pull weight towards your back, especially useful on descents
- Sternum strap - stops shoulder straps sliding outwards, shouldn't be over-tightened
If something doesn't feel right after a few minutes of walking, stop and adjust. Small tweaks make a big difference over a full day.
The art of carry
A well-packed rucksack resolves the paradox. It carries everything you need, yet stays completely out of your way. You stop thinking about the load and start thinking about the landscape.
That's the art of carry - not just what you bring, but how it all comes together. Weight balanced, essentials accessible, nothing wasted. Your bag works with you, not against you.
Next steps
Backpacks and Rucksacks


-
New


-
New


-
New


-
New


-
New


-
New


Idris 25L
25-litre ultra marathon backpack with space for overnight kit and comfort on the run
£74.99
-
New


-
New


-
Members Price
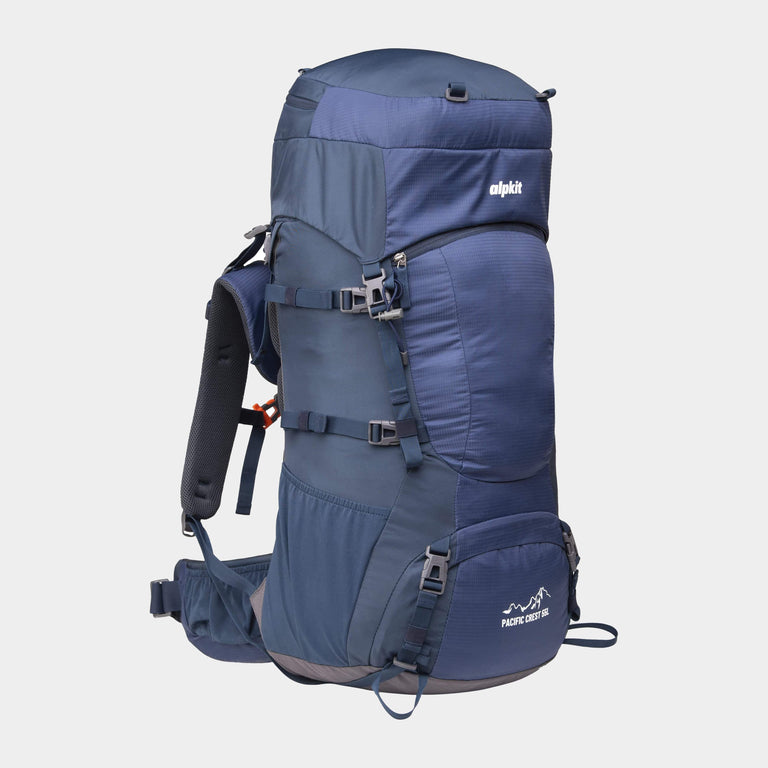
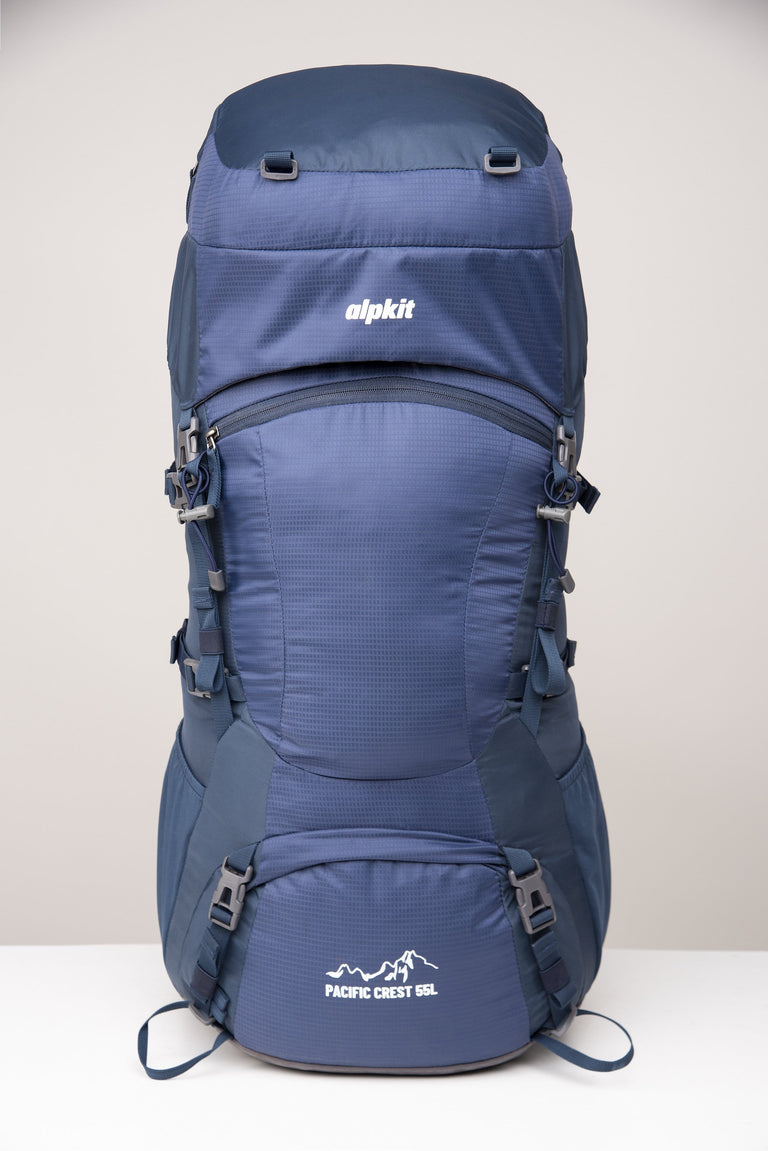
Pacific Crest 55L
55-litre hiking backpack for multi-day trekking, hiking and backpacking
£62.99
£89.99
Your next reads