Sonder Bikes

How to use your walking poles
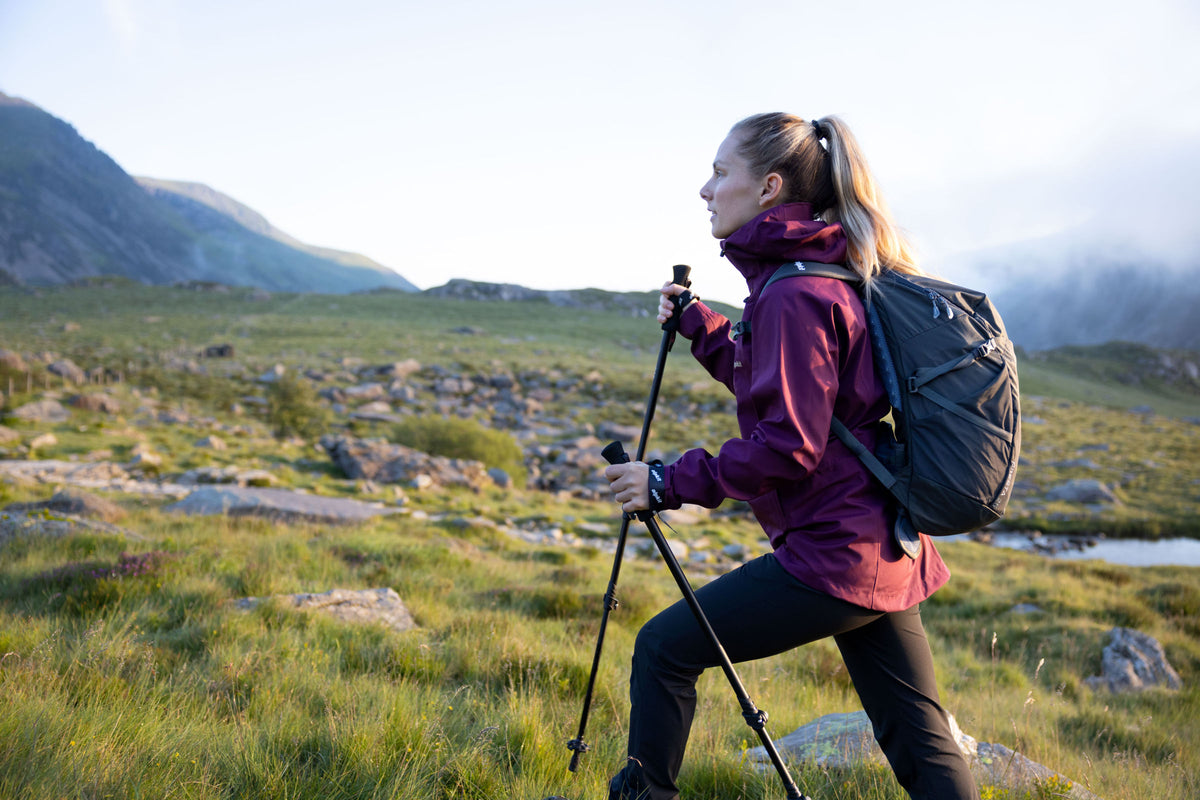



How to use walking poles: set the right length, hold the straps, and walk uphill, downhill and on the flat with one pole or two.
To use walking poles, set them so your elbow sits at about 90 degrees, put your hands up through the straps, and plant each pole level with the opposite foot as you walk. Shorten them for long climbs and lengthen them for long descents. Over a day on the hill they take some of the load off your knees and legs, and give you two extra points of balance on rough ground. For more hillwalking advice, take a look at our hiking hub.
Set the length before you start walking. Stand upright on level ground, hold the pole by the grip with the tip beside your foot, and adjust it until your elbow sits at about 90 degrees with your forearm level. That's your starting length for flat and gently rolling paths, and both poles should match. Folding poles usually have a shorter adjustment range than telescopic ones, so set them for the ground you walk most. If you're tall, the Carbonlong Backpacker Twins extend to 150cm. If you're still buying, our guide to choosing trekking poles has a rough length chart by height.

Alpkit trekking poles use one of the following adjustment systems. Please follow the instructions that apply to your poles. Do not extend any poles past the STOP indicator.
A Snaplock is a lever cam that clamps the pole section in place. The Alpine Trail Twins use them, and you can work them with gloves on.
! Do not overtighten. This may jam the mechanism or damage the pole.
! Do not extend beyond the STOP line.
Occasionally the expanding widget may not lock on the inside of the pole. If this happens pull out the lower section. Make sure the widget is clean and dry. Twist the widget with your fingers so that it expands. It should be a snug fit when you insert it back into the larger pole. Twist to lock.
These poles have a continuous wire running through the pole sections. The Compact Hiker Twins and Carbon Marathon Ultra Twins work this way.
Put your hand up through the strap from underneath, so the loop sits around your wrist, then close your hand round the grip with the strap running between your palm and the handle. Adjust the strap so it supports your wrist while you hold the handle lightly. If it's too short it digs in, and if it's too long it gives no support. Then push down through the strap on each step and let it take the weight, so your fingers and forearms don't tire.
Take your hands out of the straps for river crossings and steep, rocky ground. If a pole jams between rocks, it won't take your wrist with it. In cold conditions, keeping your hands warm is just as important as grip technique.

If you're new to walking poles, start on an easy path with short steps. Move each pole with the opposite leg, the way your arms swing when you walk without poles: right pole with left foot, left pole with right foot. Plant the tip roughly level with your leading foot, angled slightly back, and push down through the strap as you step past it. Keep your elbows close to your sides and your shoulders relaxed.
The rhythm usually comes after a few minutes. If it doesn't, let the poles trail behind you for a few steps while you walk normally, then start planting them once your arms have picked up the swing. If you want poles mainly for balance, keep your steps short and plant the poles a little wider than your feet. That gives you a steadier base on uneven ground.
On flat ground, poles help most when you push through them. Keep them at your starting length, plant level with your leading foot and push back as you pass it, so your arms add a little drive to each step. Over a long level track that takes some of the work off your legs. On a short stretch of flat path it's fine to carry them, or let them swing.
On tarmac and hard-packed paths, fit the rubber tips that come with most of our poles. They grip smooth surfaces better than a bare metal tip and stop the clatter. Take them off for wet rock, grass and mud, where the tungsten tip bites into the ground.
For a long climb, shorten your poles by about 5 to 10cm. Shorter poles let you plant them just ahead of you and push down as you step up, without hunching your shoulders. For a long descent, lengthen them by about the same. Longer poles reach the ground below you, so you can plant them before you step down and take some of the load off your knees. Keep your weight over your feet rather than hanging off the poles.
When traversing a slope or on a zigzag path, set the downhill pole longer than the uphill one and swap them at each turn. Just remember you're supposed to be walking, not forever adjusting your poles. On short ups and downs, hold the pole lower down the shaft on the climb, or rest your palm on top of the pole on the way down. That's what the extended grip option on the Carbonlong Backpacker and the grip below the handle on the Carbon Marathon Ultra are for. On long, rocky descents, the sprung handle on the Alpine Trail Twins softens the jolt of each plant, and you can lock it out when you want a firm pole.
Two poles give you the most balance and the most help on hills, because you can push or brace on both sides. They're the better choice for backpacking with a heavy pack, long descents and rough ground. One pole leaves a hand free for a map, a dog lead or a camera, and is enough on good paths where you want a bit of support on steps and stiles.
With one pole, plant it with the opposite foot as you would with two, and swap hands now and then so one arm doesn't do all the work. On a traverse, hold it on the downhill side. All our poles also come as singles, such as the Alpine Trail Single and Nanolite Pole Single, and you can see them all in our walking poles range.
Your arms and shoulders do work they're not used to when you first walk with poles. Start with shorter walks and build up to longer days.
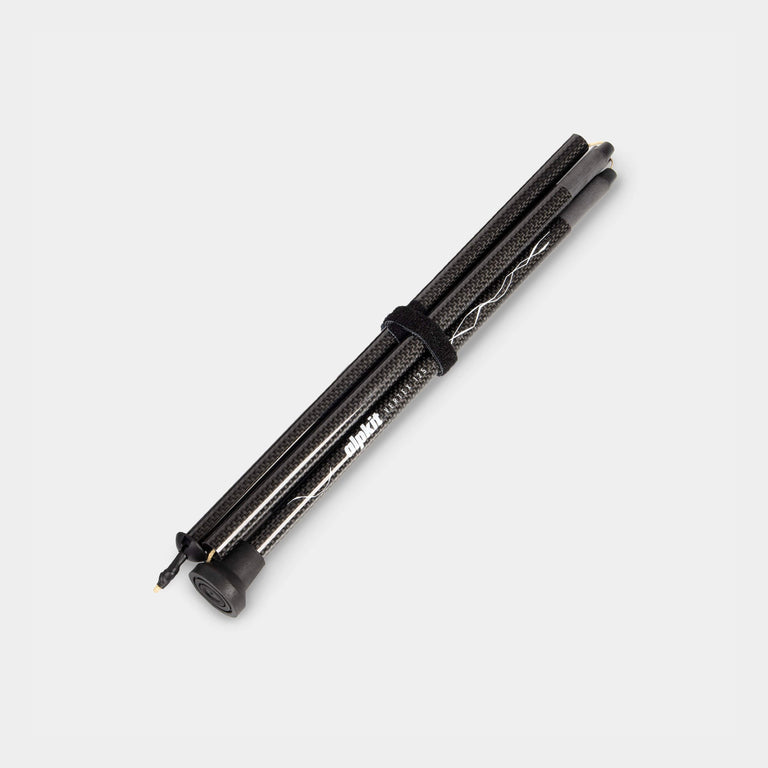
It is important to remember the limitations of your trekking poles, especially when the terrain gets tricky. On rocky terrain where you need to scramble or climb it is very often best to pack the poles away and use your hands to better advantage. Folding poles stow fastest. The Compact Hiker Twins pack down to 38cm, and the Nanolite Pole Twins fold to 35cm to go inside your pack. They come in a choice of three fixed lengths, with rubber feet included. For longer poles, choose a rucksack with attachment straps to stow them safely. Our guide to packing a rucksack for a day hike has more. For more on managing technical terrain safely, see our guide to staying safe on the hill.
To ensure that your poles last longer, it's important to take proper care of them. Always store them in a dry place, keep the straps clean, replace the tips when they start to wear out, and inspect the poles regularly for any signs of damage.
Black Friday


Black Friday


Black Friday


Black Friday


Black Friday


Black Friday


Black Friday


Black Friday


Black Friday


Black Friday