Panniers, racks and weight distribution explained. Learn how to load a touring bike so it rides well, stays balanced and keeps your kit accessible across multi-day routes.
You've booked the time. You've chosen the bike. Now comes the bit that most guides skip: how do you actually load the thing so it handles well, stays balanced across three days of climbing and keeps your waterproof jacket somewhere you can reach it without unpacking everything else?
Loading a touring bike is different from bikepacking. You're working with racks and panniers rather than frame bags and saddle rolls. The capacity is bigger, the weight is higher, and the principles that govern a well-loaded rig are different enough that it's worth understanding them before you start stuffing bags.
This guide covers the how. For the what (what kit to take on a three-month tour), Henry's setup article has you covered.
In this guide
- Touring vs bikepacking: two different loading philosophies
- Panniers and racks: why load placement changes how your bike handles
- Cycle touring weight distribution: the rules that matter
- Packing a touring bike: what goes in each zone
- Loading the Sonder Santiago
- Common cycle touring packing mistakes
- How to test your loaded touring bike before you ride
Touring vs bikepacking: two different loading philosophies
Bikepacking compresses your kit and wraps it around the bike's frame. Frame bags, saddle bags and handlebar rolls keep weight close to the centre of gravity. It's a system built for off-road terrain and bikes without rack mounts. The goal is to move with the bike rather than carry the bike.
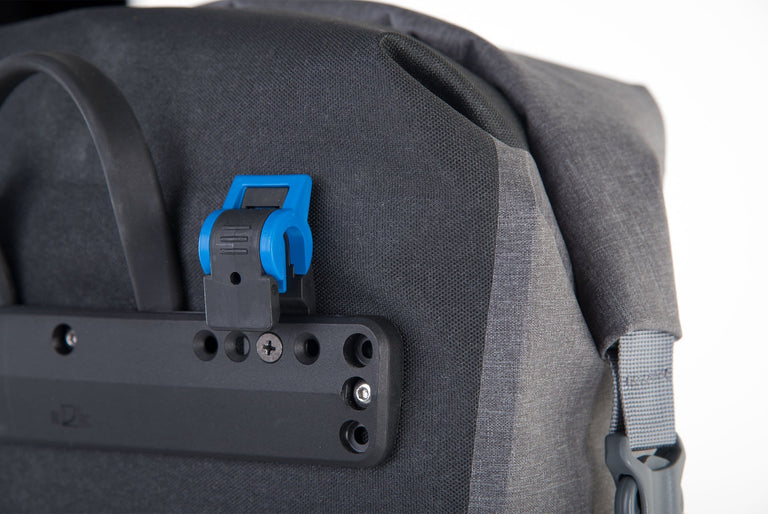
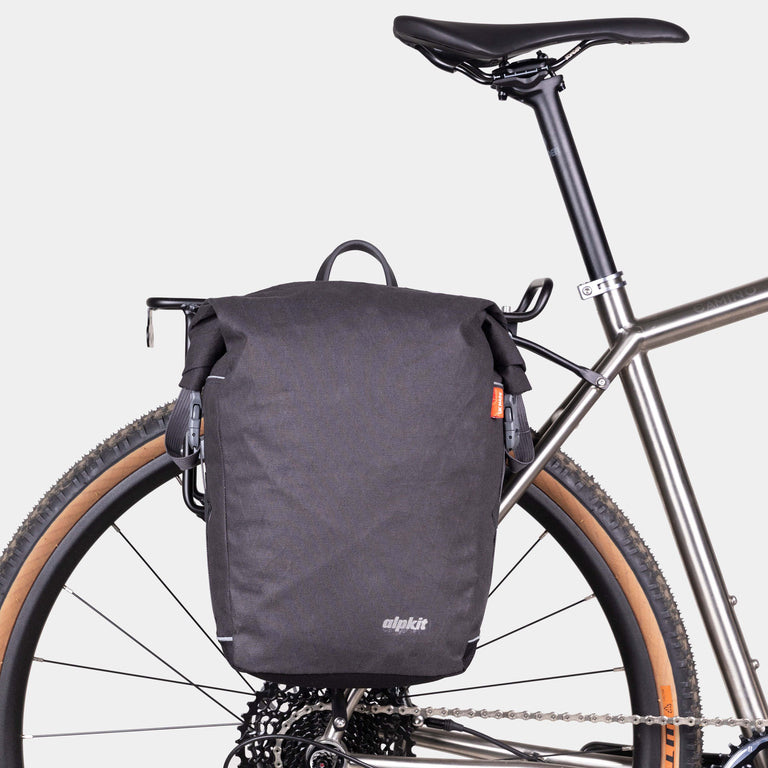
Touring uses racks. Rear racks almost always, sometimes front racks too. Panniers hang off the sides, low on the frame. The total capacity is much higher and the loading philosophy is different: you're managing volume and weight across multiple large bags rather than squeezing into a minimalist frameset.
The bikepacking packing guide covers the frame-bag approach in full. This guide is for the pannier-and-rack system: a Sonder Santiago loaded for a week on the road rather than a Sonder Adum stripped back for a gravel raid.
Panniers and racks: why load placement changes how your bike handles
Before you pack a single item, understand the zones you're working with. Each zone has a job.
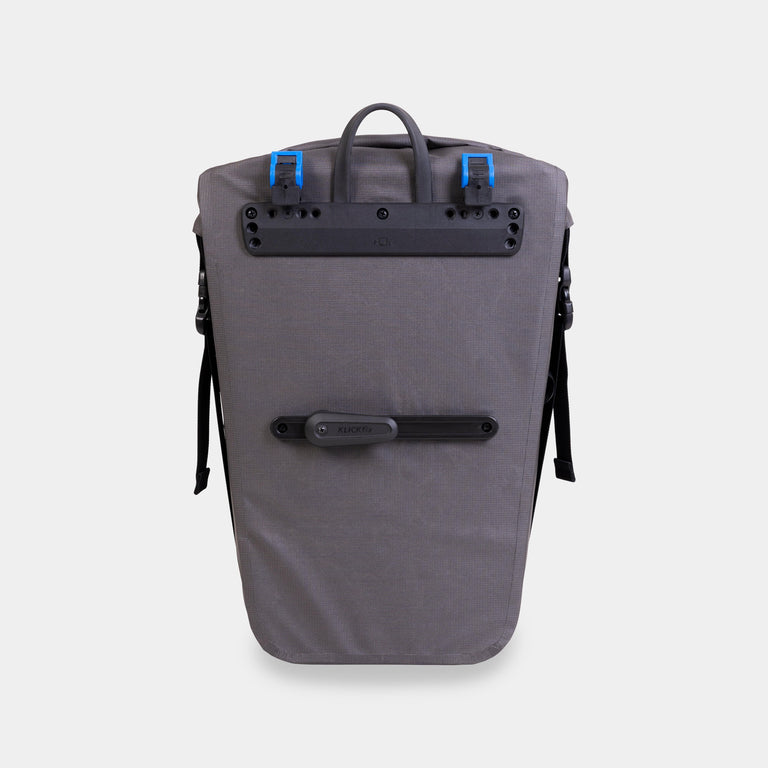
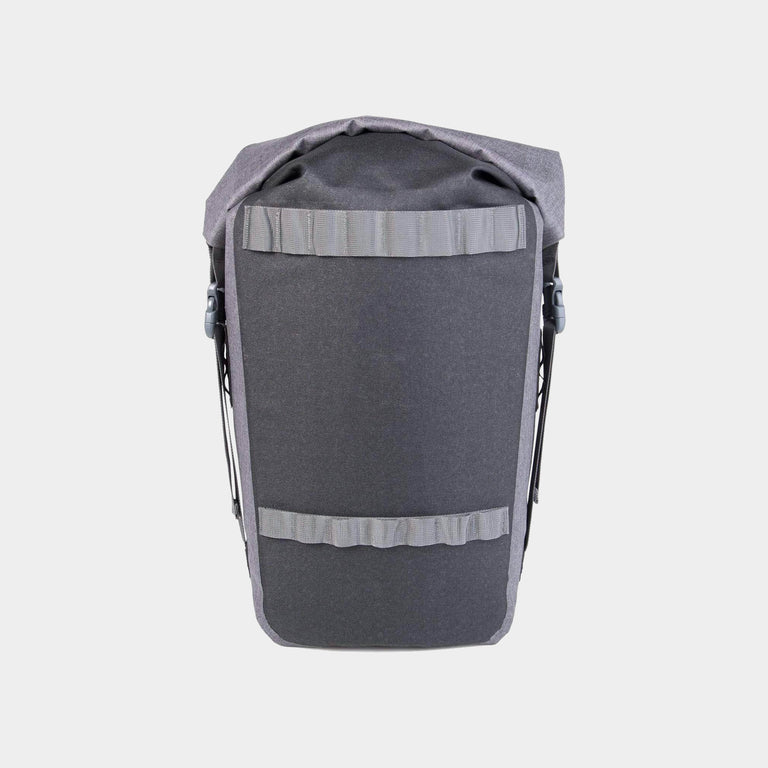
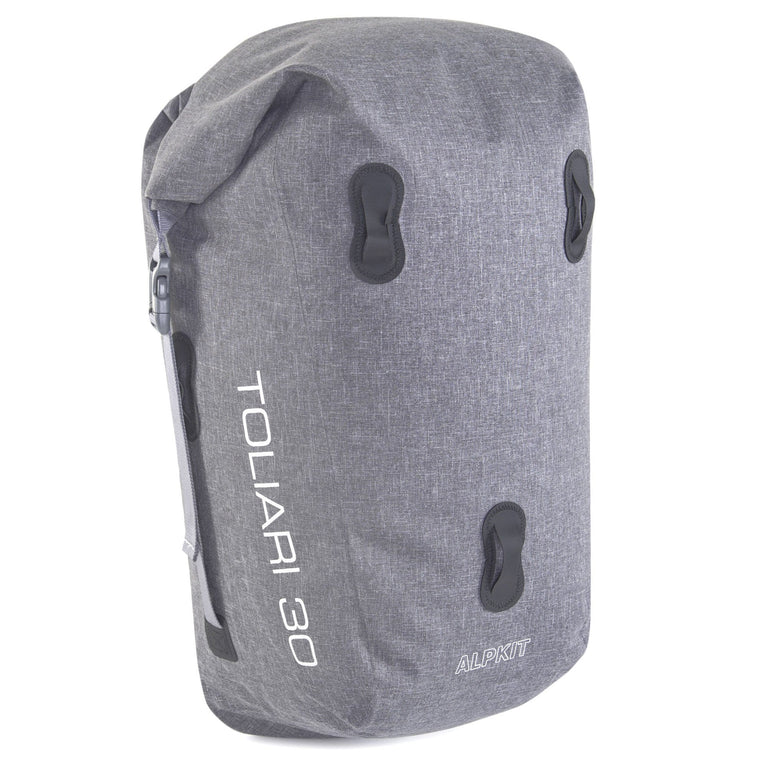
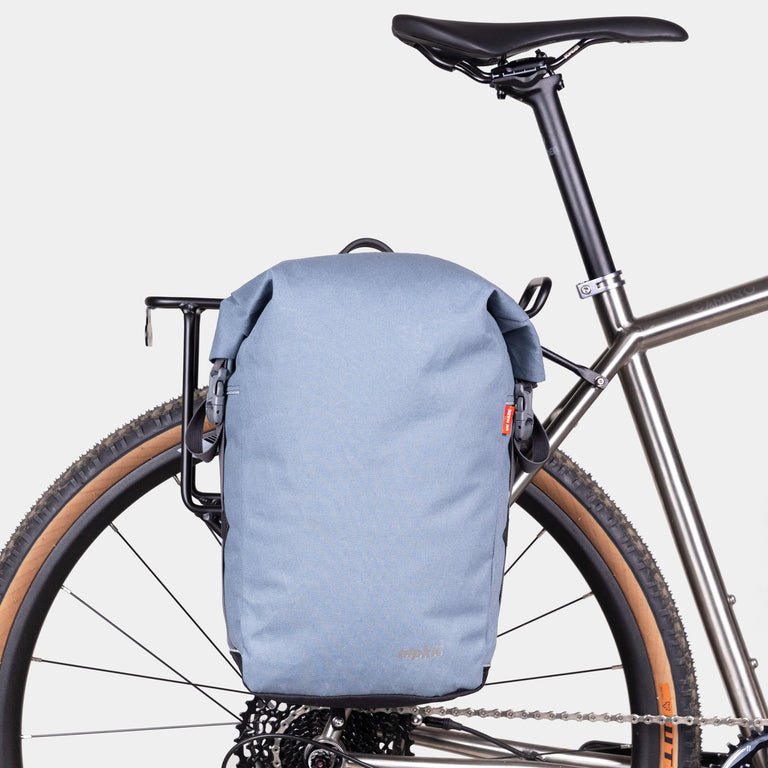
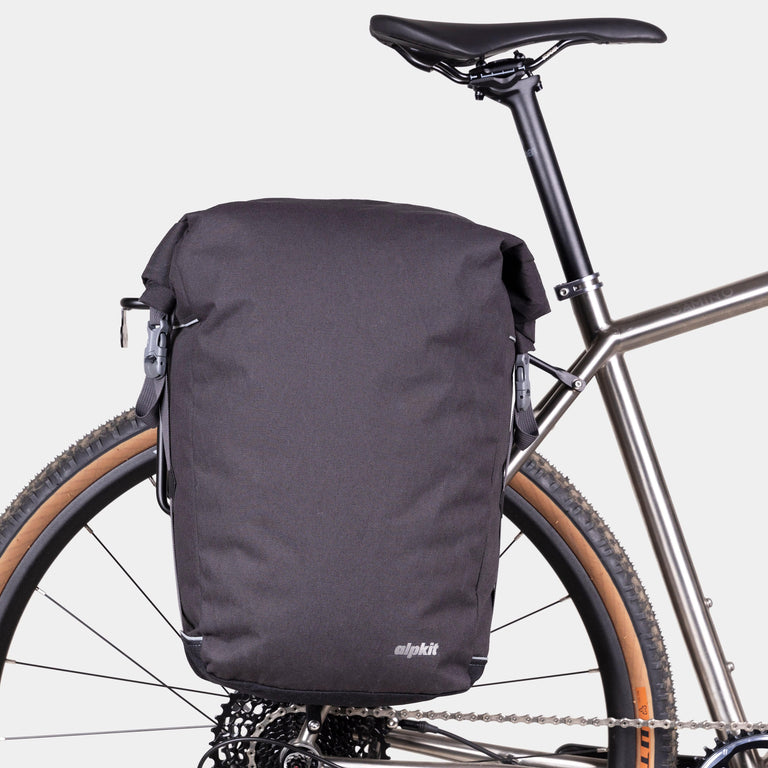
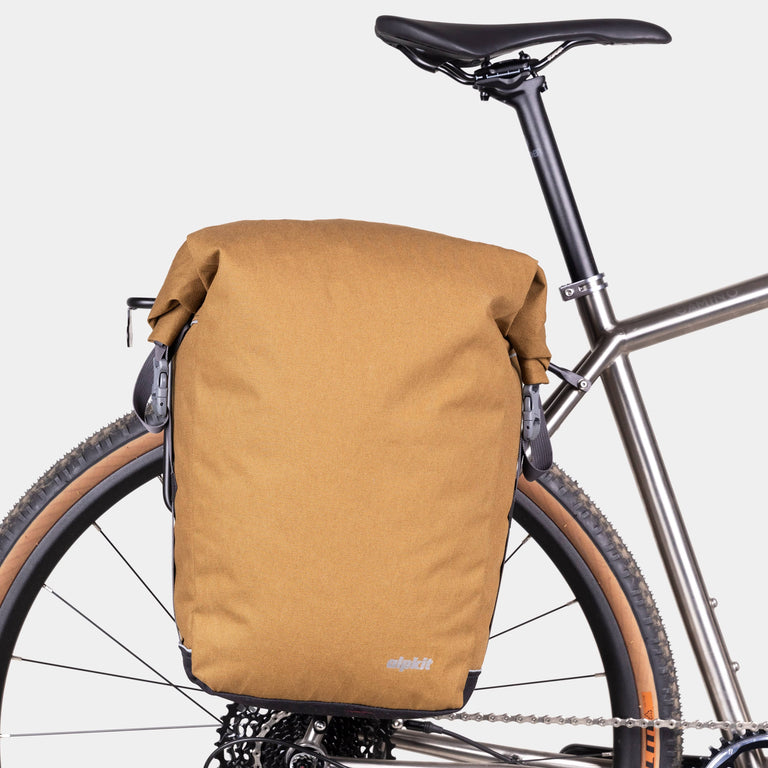
Rear panniers: your main hold
Your rear panniers will carry the majority of your kit. They're large, stable and designed to sit low on the rack. This is where your sleeping system, spare clothing and cooking kit lives. Because they're behind you, balance between left and right matters. An uneven rear end makes the bike wander, especially on climbs.
Aim for equal weight across both bags. If you're carrying two very different volumes of kit on each side, redistribute or use a stuff sack to fill the lighter bag and balance the load.
Front panniers: do you need them?
Front panniers add carrying capacity and improve the overall weight distribution of the bike, but they also add complexity. A bike with four panniers handles very differently from one with two, and front-heavy loading makes the steering feel sluggish.
For shorter tours (a long weekend to a week) rear panniers alone are usually enough. For extended tours where you're carrying more kit or heavier food and water, front panniers spread the load and make the ride more comfortable over distance. The rule: only add front panniers if the rear load alone would put too much weight over the back wheel.
Handlebar bag for touring: keep it light
The handlebar bag sits up front and is your fast-access zone. Map, phone, snacks, wallet, lip balm, sunscreen. Things you want without stopping. Keep it light. Weight up high on the bars affects steering feel and gets amplified on descents. Aim for a bag that's comfortably full of soft, light items rather than one straining at the seams with dense kit.
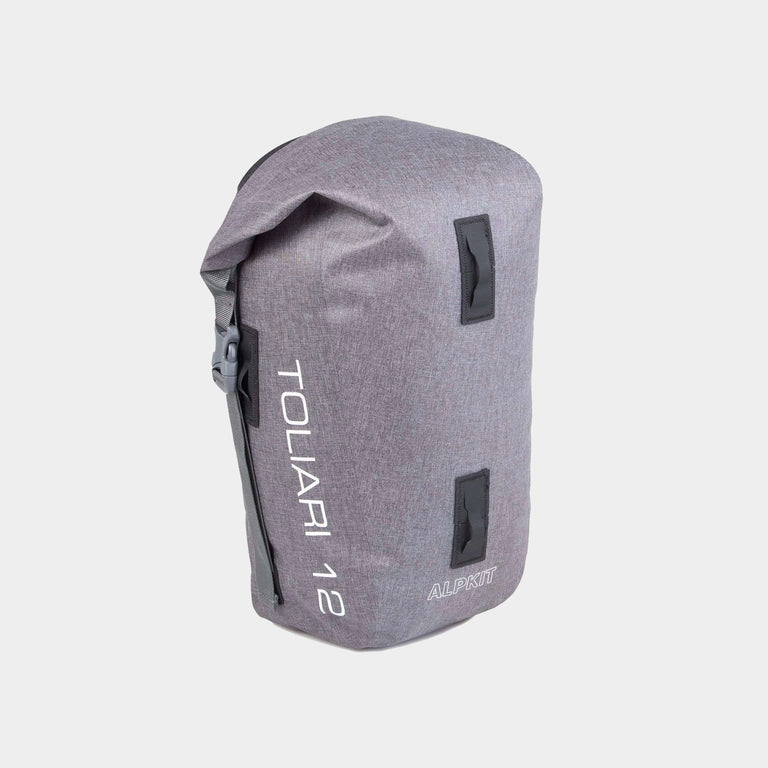
Frame bag: tools and roadside spares
Even on a rack-and-pannier setup, a small frame bag earns its place. Tools, a tube, pump and CO2: anything you'd need roadside without unpacking a pannier. A top tube bag adds another quick-access pocket for snacks and an energy gel or two. Neither should carry heavy items. The frame is the structural centre of the bike and adding significant weight there doesn't help stability the way low-mounted panniers do.
Cycle touring weight distribution: the rules that matter
A badly loaded touring bike is noticeably harder to ride. A well-loaded one almost disappears beneath you. These are the principles that make the difference.
Keep weight low and central
Heavy items (your tent, sleeping bag, cooking pot, spare shoes) go at the bottom of your panniers. Light, compressible items go on top. This lowers your centre of gravity and makes the bike feel planted rather than top-heavy. It's particularly noticeable on descents and in crosswinds.
Central means close to the bike rather than hanging outward. Pack dense items against the inner wall of each pannier (the side that faces the wheel) and bulky but lighter kit toward the outside. This keeps mass as close to the centreline as possible.
Balance front to rear
The rear wheel carries the most weight on a loaded touring bike. That's normal and expected. But too much weight over the rear makes the front end light, which affects steering precision and can make the bike skittish on descents.
As a general guide, you want roughly 60% of your load over the rear and 40% over the front if you're using four panniers. With two panniers only, the rear carries everything and this imbalance is unavoidable. Just avoid loading the handlebar bag heavily.
Pack for access, not just capacity
The things you use at camp every night (tent, sleeping bag, mat) don't need to be accessible while you're riding. Stuff them deep. The things you need on the road (rain jacket, snacks, phone charger, first aid kit) need to be reachable without unpacking everything.
Establish a system and stick to it. Same thing, same place, every day. When you're tired at the end of a long day, you want to reach for your jacket without thinking.
Packing a touring bike: what goes in each zone
| Zone | What goes here | Weight |
|---|---|---|
| Rear pannier bottoms | Tent, sleeping bag, roll mat, spare shoes, food for camp | Heavy |
| Rear pannier tops | Rain jacket, camp clothes, towel, first aid kit | Light to medium |
| Front panniers (if used) | Cooking system, water, food for the day, spare clothing | Medium: keep roughly balanced with rear |
| Handlebar bag | Map, phone, wallet, snacks, sunscreen, glasses | Light only |
| Frame bag | Tubes, tools, pump, multi-tool, quick-access spares | Light to medium |
| Top tube bag | Energy gels, small snacks, lip balm | Very light |
Tools and bike spares deserve their own logic. They live in the frame bag because you need them fast and they're heavy enough that dispersing them into a pannier shifts your load balance. A compact repair kit (tube, tyre levers, multi-tool, pump or CO2, chain quick-link) covers most roadside situations without significant weight.
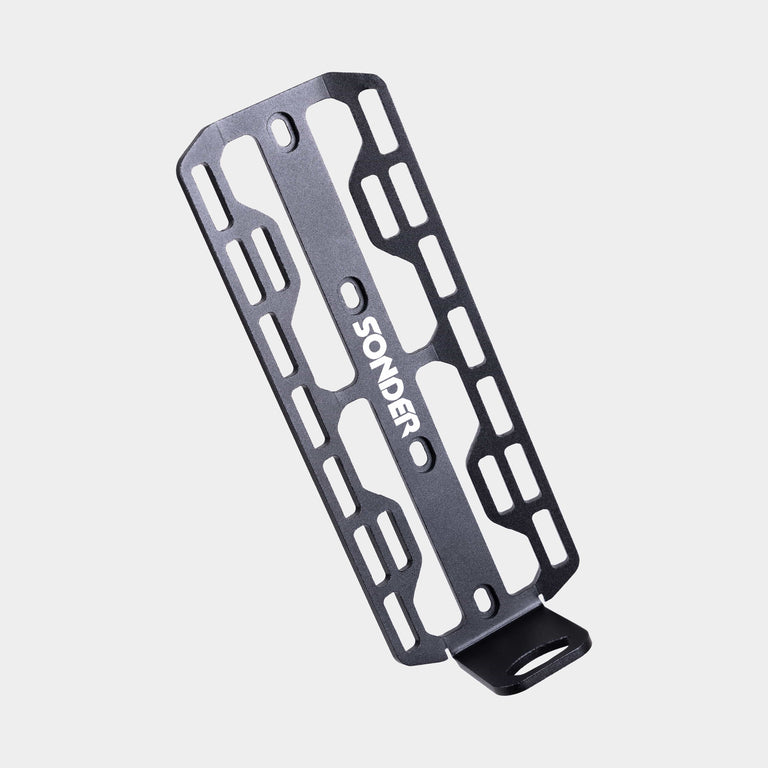
Loading the Sonder Santiago
The Sonder Santiago is built around a touring-ready steel frame with rack mounts front and rear, a relaxed geometry and clearance for 38mm tyres with full mudguards. It's an honest bike. It doesn't pretend to be fast but it's completely comfortable loaded to the roof.
On the inaugural Santiago tour around the Llyn Peninsula, the crew discovered firsthand what good loading feels like in practice. Shoes at the bottom, sleeping kit spread across both rear panniers, down jacket accessible at the top and tools in the frame bag. "The key is getting a well-balanced bike while having the stuff you need often within easy reach": a principle that holds on every touring bike, not just the Santiago.
For a rear-only setup on the Santiago, a 40-litre pair of panniers handles most weekend and week-long tours comfortably. Add a 20-litre front pair for longer tours where you need to carry more food or water between resupply points.
See how it handled its inaugural tour and read more Santiago stories from the community.
Common cycle touring packing mistakes
Loading everything into the rear then adding a heavy handlebar bag. This creates a see-saw with nothing in the middle. The front end lifts on climbs and the steering gets vague.
Packing heavy items high. A tent strapped to the top of a rack bag raises your centre of gravity and makes the bike feel unstable in corners. Pack vertically: heavy at the bottom, light at the top.
Left-right imbalance. A rear end heavier on one side makes the bike pull. Repack until both panniers feel the same in your hand before you set off.
Nothing to eat until you stop. If your snacks are buried inside a pannier, you'll either skip eating or lose fifteen minutes every time you need a gel. Use the handlebar bag and top tube bag for this.
Riding it unloaded. A touring bike handles very differently under load. What felt comfortable empty may feel vague or twitchy loaded. Always test your packed bike before committing to a route.
How to test your loaded touring bike before you ride
Pack everything you intend to carry. Then ride the bike. Not a quick roll down the street: a proper 20 or 30-minute test on the kind of road you'll be riding. Notice how it handles corners, climbs, descents and braking. If something feels wrong, it usually comes down to one of three things: too much weight high, poor front-to-rear balance, or left-right imbalance in the rear.
Fix it at home. Repacking on a roadside on day one is demoralising. Getting it right in the car park before you leave means the rest of the trip just works.
Further reading
Panniers and Cycle Touring Bags

-
Sold Out
-
Sold Out
-
Sold Out
-
Sold Out
-
Sold Out